

Basic Cake Decorating Techniques


Cake decorating is an incredibly fun way to express your creativity and you end up with a delicious dessert when you’re all done. As a beginner, there are a few basic cake decorating techniques that you’ll want to master first.
This page contains affiliate links which means I may earn a commission as an Amazon Associate (or other affiliate program) from qualifying purchases. I only recommend products that I use and trust.
Basic Cake Decorating Techniques
If you spend time scrolling through cakes on Instagram or Pinterest, you’ll quickly discover so many amazing styles and techniques, but for beginner cake decorators, it can be a bit advanced. You’ve got to walk before you can run.

When I got started, I stuck to a fairly basic “uniform” for my cakes. I’d frost the cake as best I could, then I’d pipe a border up top and fill in the center with sprinkles. Swap out the colors and piping tips for more variety. These basic cake decorating techniques will help you get started on your own cake journey!
Borders
I once had someone on the internet tell me that a cake is naked without a bottom border. Guess who has two thumbs and almost never uses a bottom border. This girl. Don’t let anyone (other than a paying customer) tell you how to decorate your cakes. Many of these borders can be used on the top of your cake, or around the bottom.
Rope

Tip: Medium size open or closed star. 1M (pictured), 2D, or 4B work well.
Technique: Pipe a continuous loop of overlapping circles that fall against each other at an angle. This creates the illusion of a coiled rope going around the cake.
Kisses

Tip: Medium or large piping tip. Open tips preferred. 4B or Ateco 869 (pictured) work well.
Technique: Holding the piping bag perpendicular and slightly above the cake, apply even pressure until the frosting begins to form a nice mound. Release pressure and pull up created a buttercream kiss. I sometimes call them plops!
Related Reading: Piping Tips for Beginners
Shell

Tip: Medium size open or closed star. 1M (pictured), 2D, or 4B work well.
Technique: Hold the piping bag at an angle and apply even pressure until the frosting begins to build up on itself. Release pressure and pull away at an angle, creating a tail. Repeat this process overlapping the tails with the next mound of buttercream until you make your way around the cake.
Swirls

Tip: Medium size open or closed star. 1M (pictured), 2D, or 4B work well.
Technique: Holding the piping bag perpendicular to the cake, pipe a swirl of buttercream (as tall as you’d like, but preferably around 2 levels high). Release the pressure and pull straight up. Create a circle of swirls around the top of the cake.

Drip Cake
Use a ganache to add a chocolate drip around the top edge of your cake. The ganache should be warm enough that it runs easily, but not so warm that it melts the buttercream or runs all the way down your cake.

With either a spoon or piping bag of ganache, create a test drip on the back of your cold cake. Give it a minute or so and observe how the drip looks. Satisfied? Work your way around the edge of the cake creating drips that are of differing sizes (more or less ganache). Fill in the top of your cake and smooth.
Sprinkles
Not happy with the sides or top of your cake? Sprinkles! Want a pop of color? Sprinkles! Think your cake looks unfinished? Sprinkles! Seriously. Sprinkles are my secret weapon.
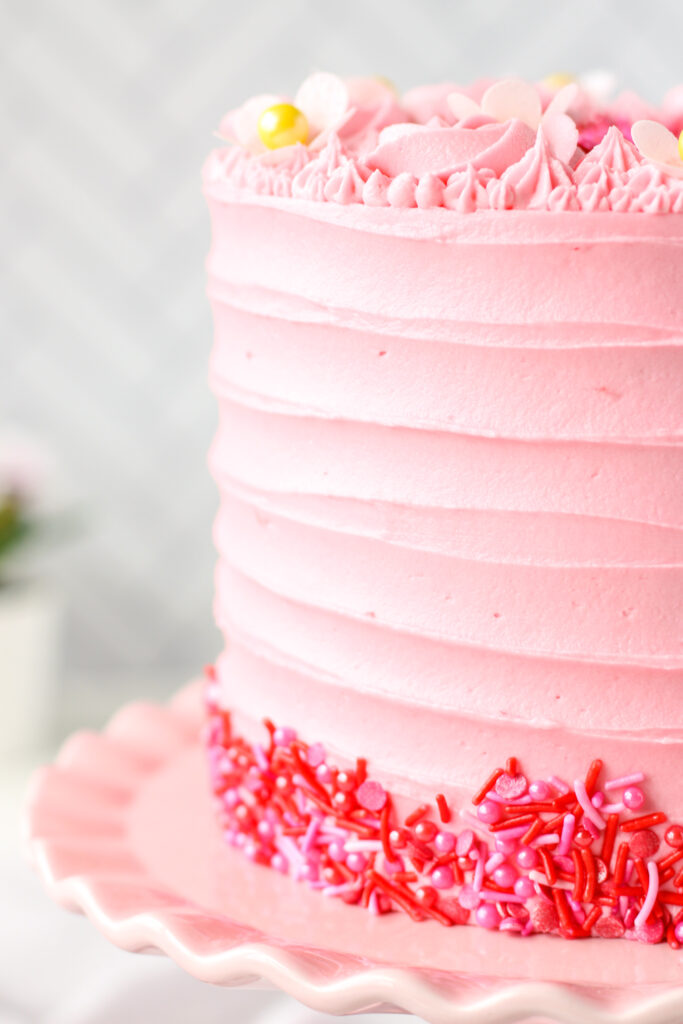
If you’ve piped a border around the top of your cake, fill in that area with sprinkles that contrast or compliment your cake’s color palette. Press sprinkles around the side of your cake when the buttercream is still soft. And it doesn’t have to be sprinkles! You could do shredded coconut, mini chocolate chips, crushed graham crackers, etc.
Swirl
For a rustic, but polished finish on a cake, I love creating a simple swirl. Before the buttercream has set, use the back of a spoon or an offset spatula. Start in either the center and work out, or the edge and work in. Turn the cake on the turntable and slowly move the utensil (in or out) to create a swirl.
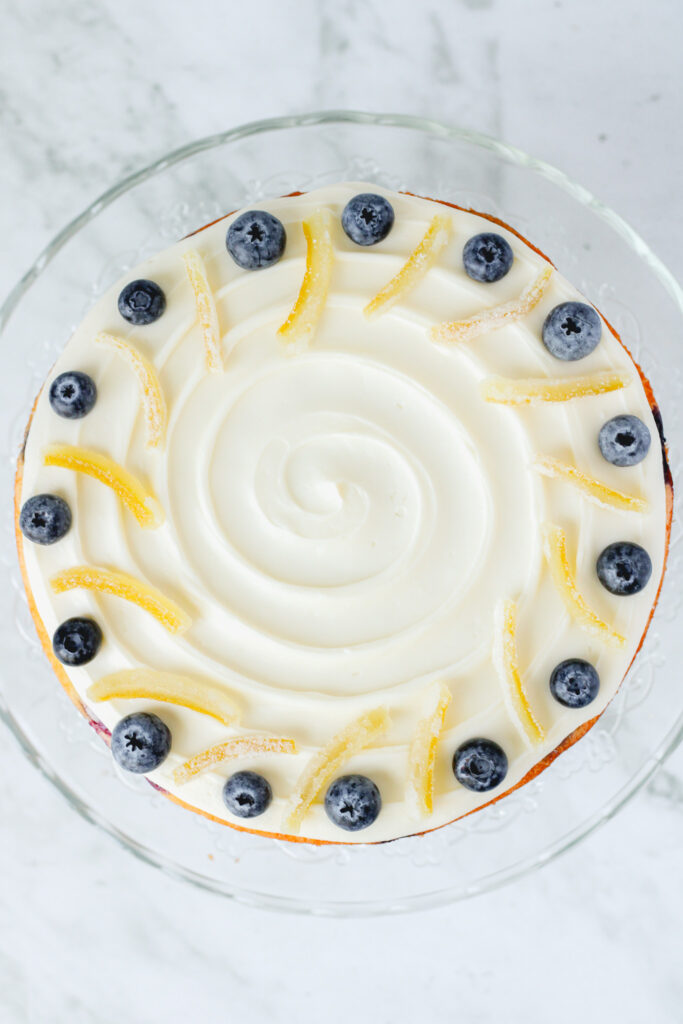
You can even do this on the side of the cake, like I did with my strawberry jello cake. Same principles apply. Start at the top or bottom, rotate the cake and move down or up until you reach the other end of the cake. Swirl!
Related Reading: FREE Buttercream Course for Beginners
How It’s Done
Describing basic cake decorating techniques is difficult with words alone. Let me show how I put all of these into practice in this video tutorial.
These techniques are to help you build your foundational cake decorating skills. Practice and tweak them until they feel right and natural for you.
Happy Caking!
Creativity is an essential part of the human experience and there are so many ways to express yourself. Cake decorating is one such form and it tastes pretty amazing too. With these basic cake decorating techniques, you’ll build up your skills and find new ways to set your imagination free.
What cake decorating technique do you want to learn next? Leave me a comment and let me know!

Colleen
Hi there! I’m Colleen, a novice baker with a passion for learning and improving my bakes… and blunders. On Bakes and Blunders, you can find all sorts of tasty recipes that range in difficulty, but most importantly, I’ll try to explain the reason behind important steps. If you know why a recipe works, you can tweak and adapt it to suit your unique tastes, and you’ll be able to reliably produce some very delicious treats. If you love baking and want to expand and grow your skills, or if you are a casual baker and just need some pointers, my blog is right up your alley! Join me on my baking journey and we’ll learn how to make more impressive recipes together.

Maple Orange Bread Pudding

You May Also Like

Mini Mint Chocolate Chip Cake

Create a Stunning Mini Opera Cake
