

Homemade Nutella Donuts & Donut Holes


Have you ever wanted to make homemade donuts that are deep fried to perfection and dipped in a silky Nutella glaze? Yeah, me too! This was my first time making yeasted donuts from scratch and I learned so much. Plus, they tasted fan-flippin-tastic. Let’s dive into the deets for these homemade Nutella donuts!
This page contains affiliate links which means I may earn a commission as an Amazon Associate (or other affiliate program) from qualifying purchases. I only recommend products that I use and trust.
Making Homemade Donuts
The dough for these Nutella donuts is a fairly straightforward enriched yeast dough. Add your liquids to the bowl, then dry ingredients, and mix until you have a ball. Dollop the softened butter into the dough while it mixes one chunk at a time. You may need to stop the mixer and scrape down every so often.

Once everything is incorporated, knead for a few minutes until you have a soft, smooth dough. After rising until doubled, roll the dough out and cut your donuts and donut holes. They’ll rise a bit longer while you bring the oil to temperature. Then it’s time to fry!
Size Matters
That’s the long and short of it, but we need to talk about size. First off, do your best to roll your dough out to ½” thick. If the donuts are too thick, they won’t cook evenly, plus they’ll explode a bit. And if they’re too thin, you just have a sad donut. Are you bad at eyeballing a measurement? More or less, this ended up being a 12″ circle on my pastry mat.

For the donuts and holes, I used a 3.25” circle cookie cutter (found this biscuit cutter that would work) and a 1.25” fondant cutter. Those worked perfectly for me. As long as your cutters are in a similar ballpark, you should be good. Be prepared to tweak your fry time slightly if the sizes are different.
Tips for Frying
The recipe for these donuts is based off of one I found in The New Best Recipe, however the biggest change I had to make was the oil temperature and fry time. It was supposed to be 375℉ for 1- 2 minutes per side. That gave me some super burnt donuts!!
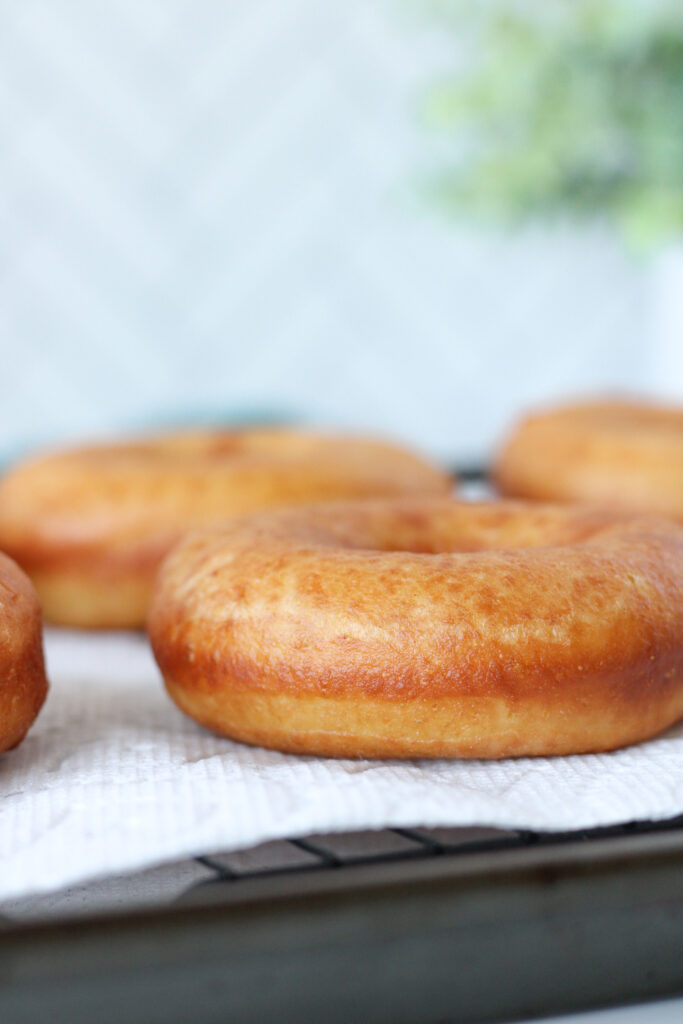
Instead, I found that 350℉ for 30- 45 seconds per side worked so much better. I suggest using your ugliest looking donuts to test the oil temp and fry time as you may need to make some tweaks based off of different variables. Shoot for a nice golden brown and you should be fine.
Top Tips for Fried Donuts
- Make sure your liquid is between 100℉- 115℉ before you add your yeast.
- Is your house cold? Preheat your oven to its lowest setting while you prep the dough, then turn it off. Let your dough rise (covered) in the warm oven.
- Start frying your ugliest donuts first to check that you have the right oil temperature and fry time.
- The glaze should be very thick, but runny enough to stick to the donut. If needed, thin with a tiny bit of water at a time. Thicken with a bit of powdered sugar.
- If the glaze starts to crust in the bowl, simply stir with a spatula until smooth. Try not to incorporate air.
Related Reading: Jumbo Cinnamon Rolls
Donut Holes
Making Nutella donuts from scratch naturally means that you will end up with donut holes! I love that they are a super small sweet bite that don’t require the commitment of a full sized donut. What I don’t love is frying these little boogers.
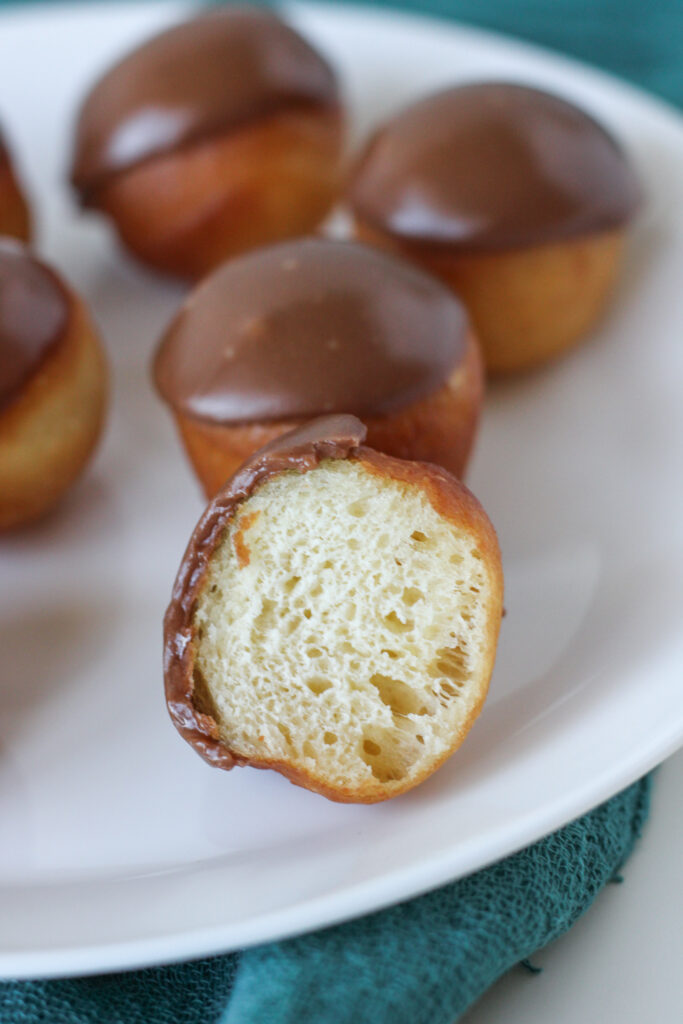
As these little balls of dough cook in the hot oil, sometimes air bubbles form and flip the hole over. Trying to keep them on one side, then the other, is like herding cats! But they are so yummy and my son thought they were the best.
Nutella Donuts
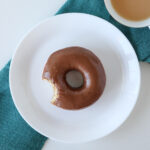
While I advocated for filling these donuts with Nutella, Ben declared that Nutella donuts should look like a “classic” donut. That meant all the flavor went into the glaze. And y’all, that glaze was scrumptious!
After you mix up all of your ingredients with a whisk, you may need to add water a tiny bit at a time to get the right consistency. To test, I suggest using your ugliest donut (they make for good guinea pigs) by dipping it in the glaze and seeing what happens.

If the glaze looks patchy or gloopy after you flip it over and let it sit for a few seconds, then you need to add a small splash of water. But if the glaze pours down the side, you’ll want to thicken it with powdered sugar, Nutella, or a bit of both.
Blunders
This was my first time ever making homemade fried donuts. I was so excited, but so nervous. It ended up being easy, but I definitely overcooked mine. The first few experimental donuts were way overdone, but the remaining 6 were only slightly darker than I’d like.

I didn’t think it was truly possible for a donut to cook through in less than a minute, so I erred on the side of deep golden brown when I should have been shooting for a slightly lighter color. Since I kept them in a hair too long, the donut was a bit more dense than I’d hoped. However, they were still soooo yummy!
Next Time
With my next batch of homemade donuts, I will do just a few things differently. The biggest change will be monitoring my oil temperature better. It should be right at the 350℉ mark, but I was working in a range of 350℉ – 375℉. (A thermometer you can leave in the pot is essential here.)
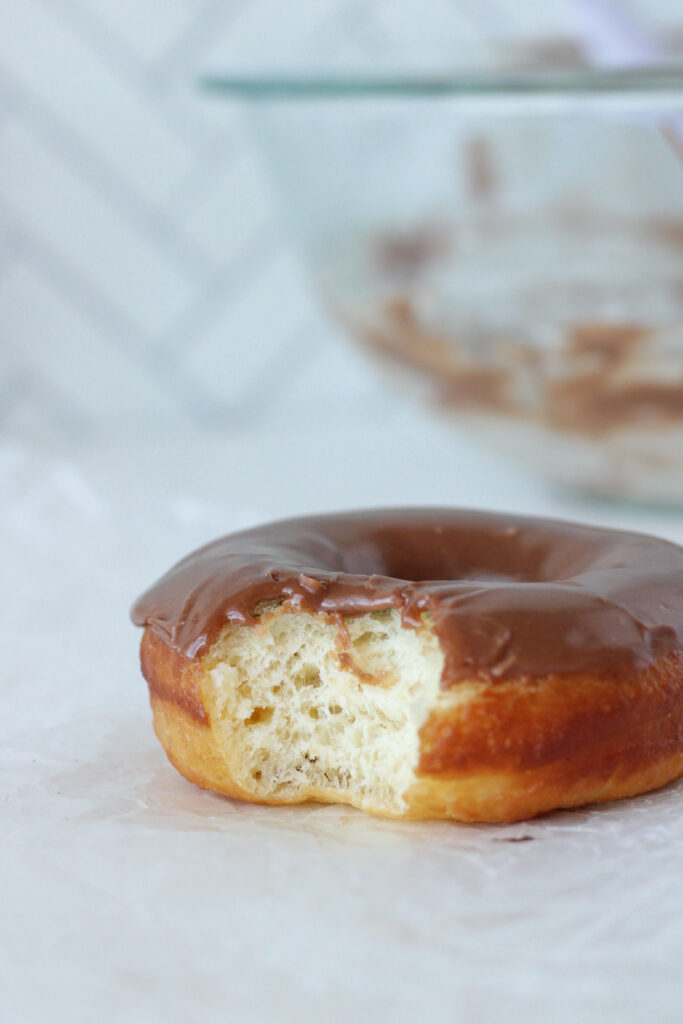
I will also monitor the color and use that as a judge instead of relying on my timer alone. While my Nutella donuts ended up a hair darker, this also meant they had a crisper exterior. I’d like it to be a bit softer with the next batch.
Enjoy!
If this is your first time making donuts from scratch, leave me a comment and let me know how they worked out. And if you have more tips and tricks, I’m all ears!

I hope you have a chance to whip up a batch of Nutella donuts soon. They aren’t nearly as scary as I expected, plus they taste incredible! The donuts are rich and slightly sweet, then that Nutella glaze hits you. Anywho, happy baking!
Homemade Nutella Donuts
Ingredients
Dough
- 15 oz all purpose flour
- 3 oz sugar
- 1 pkg instant yeast 2 ¼ tsp
- 1/2 tsp salt
- 5 fl oz whole milk
- 2 eggs room temperature
- 3 oz unsalted butter softened
- 40 fl oz peanut oil
Nutella Glaze
- 5 oz powdered sugar sifted
- 3 oz Nutella slightly warm
- 1 Tbsp corn syrup
- Pinch of salt
- 6- 8 tsps warm water
Instructions
Dough
- In a medium bowl, add the flour, sugar, yeast, and salt. Whisk to combine, then set aside.
- Heat the milk in a small saucepan over medium heat until small bubbles form around the edge. Do not boil. Add the hot milk to the bowl of a stand mixer and cool to 115℉ - 120℉.
- Add the eggs to the warm milk, then add the dry ingredients. Using the dough hook attachment, mix on a low speed until a ball of dough forms, about 3 minutes.
- With the mixer running on low, add about a tablespoon of butter at a time. Allow each addition to combine with the dough before adding the next. If the butter is not incorporating, stop the mixer and scrape the dough and butter down, then continue.
- After all the butter has been added, increase the speed to medium and knead for 3 more minutes. If the dough is too sticky, you can add more flour a tablespoon at a time. Try to avoid adding too much flour.
- The dough should form a soft ball. Add the dough to a lightly oiled bowl, cover, and allow to rise in a warm location until doubled, about 2- 2 ½ hours.
- Roll the dough out to ½" thickness. Use a 3.25" circle cutter to cut out the donut rounds, then a 1.25" circle cutter to cut out the centers. Gently transfer the donuts and donut holes to a lightly floured tray and cover loosely with lightly greased clingwrap.
- Gently press the dough together to form a ball. Cover and rest 10 minutes before rolling the dough back out and cutting out more donuts. Allow the donuts to rest and rise for 30- 45 minutes.
- Meanwhile, add the peanut oil to a Dutch oven and bring to 350℉ - 355℉. Maintain the temperature until the donuts are done proofing.
- When the donuts and oil are ready, gently transfer 1- 2 donuts into the hot oil and fry 30- 45 seconds per side. I suggest starting with one donut to determine the exact oil temperature and fry time for you. Transfer finished donuts to a paper towel lined cooling rack.
- Ensure that the oil temperature is back to the right range before adding another round of donuts. Continue with this routine until all the donuts are cooked. Fry donut holes for 30 seconds per side.
- Allow the donuts to cool, then proceed with making the Nutella glaze.
Nutella Glaze
- In a small- medium bowl, add the powdered sugar, warm Nutella, corn syrup, salt, and 2 tablespoons (6 teaspoons) of warm water. Whisk until smooth. If the glaze is too thick, add water a ½ teaspoon at a time. If it is too thin, add a bit more powdered sugar (sifted) and/ or warm Nutella. Stir and taste. Adjust as needed.
- Carefully take a donut and dip the ugly side (if it has one) into the glaze. Press and wiggle gently. Lift up and allow the excess glaze to run off. Flip over and place on a plate or cooling rack to set up slightly. Continue with the rest of the donuts and donut holes.
Notes
- Depending on the size of your cutters and the thickness of your dough, you will get roughly 12 donuts and 12 donut holes.
- Donuts are best eaten the day they are made. You can store them in an air tight container on the counter for a few days, but the glaze will become sticky and runny.
- If the glaze in the bowl begins to crust over, just give it a stir with your spatula.

Colleen
Hi there! I’m Colleen, a novice baker with a passion for learning and improving my bakes… and blunders. On Bakes and Blunders, you can find all sorts of tasty recipes that range in difficulty, but most importantly, I’ll try to explain the reason behind important steps. If you know why a recipe works, you can tweak and adapt it to suit your unique tastes, and you’ll be able to reliably produce some very delicious treats. If you love baking and want to expand and grow your skills, or if you are a casual baker and just need some pointers, my blog is right up your alley! Join me on my baking journey and we’ll learn how to make more impressive recipes together.

Pecan Streusel Cookies

You May Also Like

Kolache: A Slovak Walnut Roll

Don’t Be Intimidated by Homemade Pizza Dough
