

Pigs In The Mud: Cute Pig Cupcakes


Barnyard themed parties are so adorable for little kids. And these cute pig cupcakes would be the perfect treat to serve at one of these parties! Pigs in the Mud are easy to make, super cute, and absolutely delish. Let’s get baking!
This page contains affiliate links which means I may earn a commission as an Amazon Associate (or other affiliate program) from qualifying purchases. I only recommend products that I use and trust.
Jump to Recipe
Story Time
My grandparents actually got me this adorable pig silicone mold. It’s supposed to be for pigs in a blanket. You fill the mold with pancake batter and add sausage or a hot dog for a quick snack. Super cute. Super adorable.
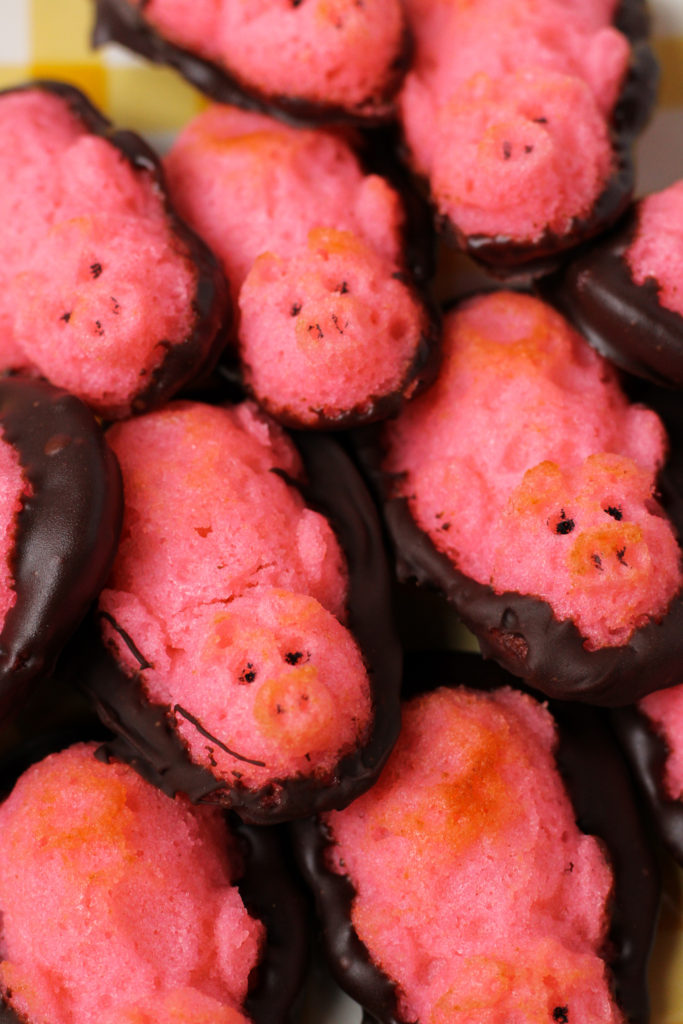
But I like to be extra or different, so I immediately thought… pig cupcakes! Right now, we’re in lock down mode while we ride out this COVID-19 pandemic. So it seemed like the right time to whip out my molds and make some Pigs in the Mud.
Taking a Shortcut
You know I am all about baking from scratch, because it almost always tastes better and you can control the ingredients. But I also love easy and I hate to waste anything. Well, I had a white cake mix getting dusty in my baking drawer and figured that would be perfect. Plus, this was just a small batch of cake mix. The perfect amount!
Related Reading: How I Find Time to Bake Every Week
White cake mix was perfect for adding a bit of pink and magenta food gel to create the perfect color for my pig cupcakes. And, since I had it, I threw in a dash of raspberry extract. It’s not necessary, but I figured pink pigs should taste, well, pink. Ya know? You could skip it or add strawberry extract, or any other flavor you want.
Print Recipe
Baking the Pig Cupcakes
Each little pig took a small cookie scoop of batter, about one tablespoon. However, after they came out of the molds, I noticed they were pretty pockmarked. It might be a better idea to use a piping bag to fill the little nooks and crannies of the pig cupcakes. Aim to fill the mold about ½- ¾ of the way full.
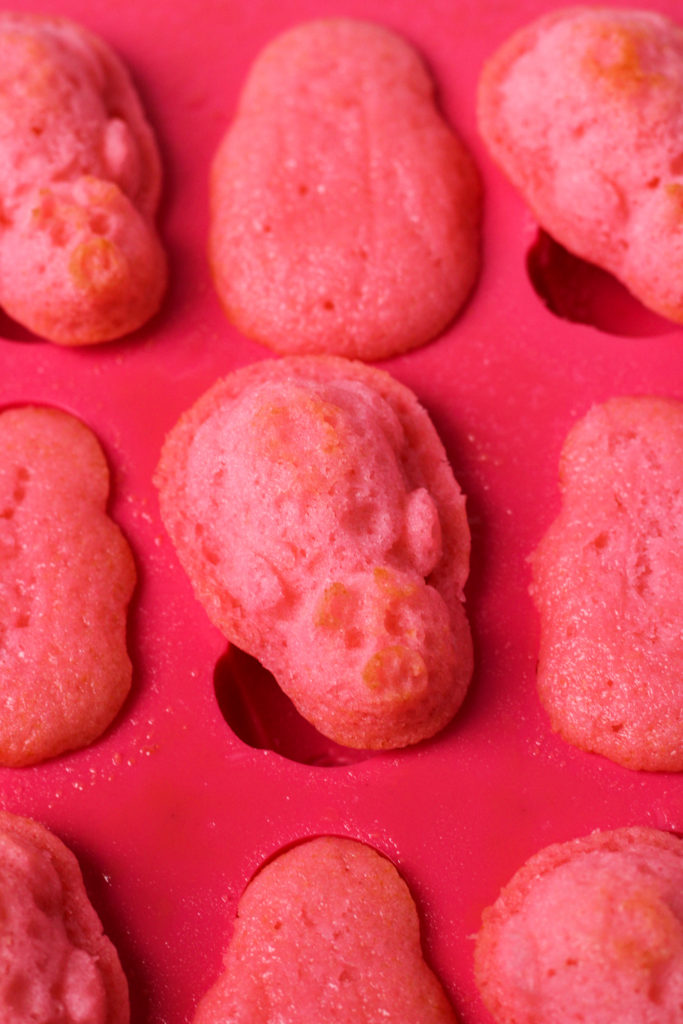
Don’t be upset about any overflow though! After a chocolate bath, that will just look like a nice little mud hole with a piggy in it.
Extra Batter
Obviously, this cake mix made more than enough cake batter. I decided to whip out my little 4 inch cake pans to make a mini cake to go with the Pigs in the Mud. There was just the right amount of batter to make two 4 inch cake layers, but you could also make regular or mini cupcakes with the extra.

Keeping with my “waste not, want not” attitude, I frosted my mini cake with leftover chocolate and honey frosting. If that sounds tasty to you, check out my Chocolate and Honey Cupcakes. It’s important to save your leftovers so that you can get more out of your bakes!
Related Reading: Snickers Cupcakes with Nougat Frosting
Making the Mud
At first, I went with just melted chocolate. This was a bit thick, so I ended up adding some milk throughout the dipping process. One at a time, I placed the pig cupcakes in the melted chocolate and carefully brushed or smoothed the chocolate up to the edge of the pig. Then I used a fork to lift the pig out and brushed any excess off with a knife.
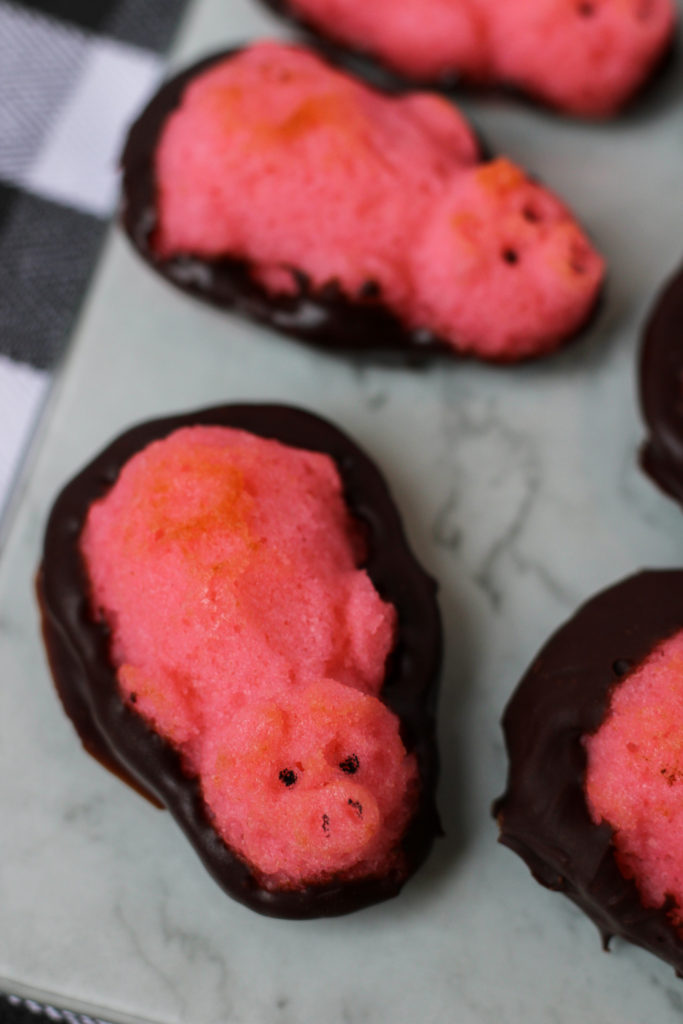
Just chocolate set the firmest, but it wasn’t very pretty or smooth. With more milk, the chocolate had a lovely shine and was nice and smooth. But it stuck to the wax paper horribly and was very sticky. You can do whatever sounds best to you. Next time, I’m going to add a bit of coconut oil to plain chocolate. That should thin it out nicely.
Jump to Recipe
Pigs in the Mud
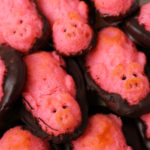
Aren’t these just the most adorable pigs? I used an edible pen to highlight their eyes and snout. You could either pipe melted chocolate to fill the eyes or just skip this step altogether. Up close, you can see the details much clearer.
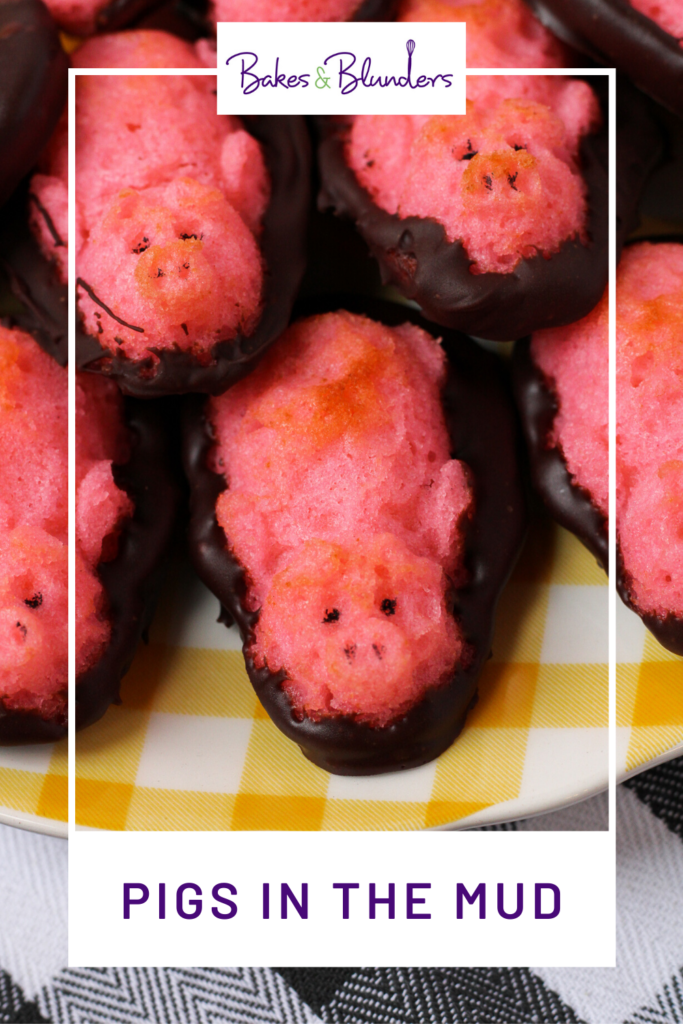
These pig cupcakes were absolutely perfect on their own, but they also made an adorable edible cake topper for my mini cake. They would be the perfect treat for any animal themed party and they are the perfect size for kids.
Enjoy!
Pigs in the Mud have never sounded so appealing! Little pig cupcakes dipped in a pool of melted chocolate are easy to make and taste delicious. What event will you make them for? Leave me a comment or head on over to my Facebook page and tell me all about it.
Pigs in the Mud
Ingredients
Pig Cupcakes
- 12 oz white cake mix
- 2/3 cup milk room temperature
- 1 egg room temperature
- 1/3 cup vegetable oil
- 1/4 tsp raspberry extract (optional)
- Pink food gel
Chocolate "Mud"
- 4 oz chocolate chopped
- Splash of milk or cream
Instructions
Pig Cupcakes
- Preheat the oven to 350°F. Spray the silicone pig mold with baking spray. Set aside.
- Place the cake mix, milk, egg, oil, raspberry extract, and food gel in a bowl. Beat until well combined, about 2 minutes.
- Use a small cookie scoop, tablespoon, or a piping bag to fill the pigs about 1/2 - 3/4 of the way full. Place the silicone tray on a baking tray and bake for 12- 15 minutes, or until they spring back when poked.
- Cool on the tray for 5- 10 minutes before gently removing them and transferring to a cooling rack.
Chocolate "Mud"
- Combine the chocolate and a splash of milk or cream in a heat proof bowl. Heat gently over a double boiler or in the microwave, stirring constantly.
- Once the chocolate is smooth and melted, take a pig one at a time and dip their bottoms in the chocolate. Gently spoon or brush the chocolate up to the sides of the pigs.
- Place on a wax paper lined tray and chill for 15 minutes for the chocolate to set.
Notes
- I only made one tray (12) of the pigs. With the remaining batter I baked a two layer 4 inch cake (25- 30 minutes). There should be enough batter for 24 pigs.
- It helps for the pigs to be chilled when you dip them in the chocolate.
My Favorite Products for this Recipe

Colleen
Hi there! I’m Colleen, a novice baker with a passion for learning and improving my bakes… and blunders. On Bakes and Blunders, you can find all sorts of tasty recipes that range in difficulty, but most importantly, I’ll try to explain the reason behind important steps. If you know why a recipe works, you can tweak and adapt it to suit your unique tastes, and you’ll be able to reliably produce some very delicious treats. If you love baking and want to expand and grow your skills, or if you are a casual baker and just need some pointers, my blog is right up your alley! Join me on my baking journey and we’ll learn how to make more impressive recipes together.


You May Also Like

5 of the Best Baking Books for Home Bakers

Wonderful Wednesday Blog Hop 335
