

Creamy Chocolate Coffee Pie


Chocolate and coffee. Is there a more perfect combination? Together, they are the perfect balance of sweet and bitter. But more than that, they enhance each other making them a magical flavor combination. This dynamic duo inspired me to create my Chocolate Coffee Pie. Chocolate pie crust, coffee custard, and a chocolate- coffee glaze make this one amazing dessert.
This page contains affiliate links which means I may earn a commission as an Amazon Associate (or other affiliate program) from qualifying purchases. I only recommend products that I use and trust.
This recipe was originally published on January 16, 2020. It was republished on December 19, 2024 with updates.
Jump to Recipe
Chocolate & Coffee
I’m obsessed with all things chocolate. Because of this passion, I learned that coffee helps bring out the natural depth of flavor in chocolate. In fact, you’ll find this in my 11 Baking Tips and Tricks. Most of my chocolate cake recipes include coffee for this very reason.

Coffee has got to be one of the coziest aromas and has such a rich flavor. Unfortunately, my body hates coffee. Luckily, I’ve figured out that decaf is okay for me, so I can still enjoy a latte every now and then. Anywho, I love coffee and chocolate and put them together to make my Chocolate Coffee Pie.
Chocolate Pie Crust
Now, I couldn’t very well put a Chocolate Coffee Pie into my family’s pie crust recipe. It’s amazing and all, but this recipe needed a chocolate pie crust. So I looked around and settled on this one from Wild Wild Whisk. If you’d like to make this into a tart, try using the chocolate pastry dough from my Custard Tart.
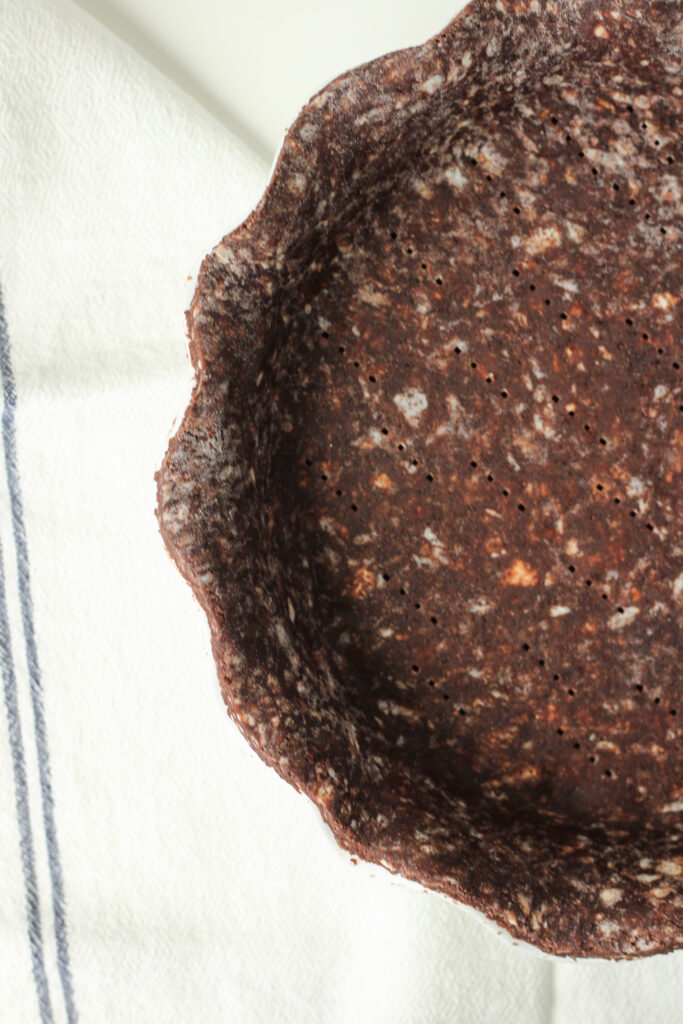
Personally, I feel like pie crust is always a pain in the tuckus. This one is actually pretty easy to work with though. If you need some help with your pie crust game, check out my pie crust tutorial on YouTube.
Print Recipe
Pie Crust Notes
You may have heard that using a bit of vodka in pie crust makes them extra tender. Well, I’ve tried this trick before and I’m not sure if it made a huge difference, but the crust did have a wonderful texture. If you’ve got a bit of vodka hangin’ around, I say go for it! Otherwise, just water is fine.
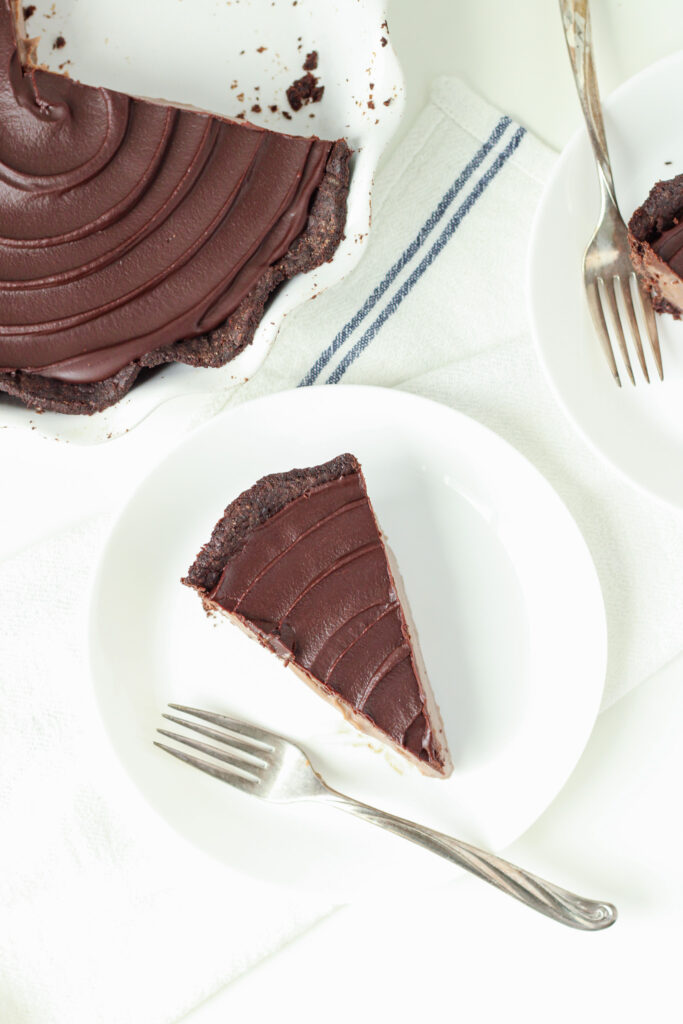
Making delicious desserts can be tricky because it’s hard to find the time to bake. If you find yourself facing this issue, try making the pie crust in advance. You can even line your pie plate, chill and freeze it! I left mine in the freezer overnight because I simply ran out of time (as one does…).
Coffee Custard
I only used a tablespoon of instant coffee in my coffee custard. This added a mellow, cozy coffee flavor that paired nicely with all the chocolate. If you’re looking for a bigger punch of coffee, simply add more.

This is basically the custard I used in my Cream Puffs and Cherry Almond Tart. I did not add any whipped cream to it, but if you want to lighten up the texture of the Chocolate Coffee Pie, I think that would be a great idea.
Related Reading: Chocolate Earl Grey Tart
Custard Notes
The cocoa powder in the custard is 95% for color and not for flavor. It just felt weird to end up with a cream colored custard that was supposed to taste like coffee. The cocoa powder fixes this while tying together the flavor combo. Use dark cocoa in the crust (if you’ve got it) for intense flavor and regular cocoa in the custard for a nice color.

Just like the chocolate pie crust, you can make this coffee custard in advance. You could make it a day or two before you need it, just keep cling wrap pressed onto the surface to prevent a film. While it will be firm, you’ll find that, with the help of an offset spatula, it will spread nicely.
Chocolate Glaze
Last time I made this pie, I used the chocolate glaze from my Mini Opera Cake. It set firm, and I kind of like the added crunch, but this time I decided to do a chocolate ganache. I still wanted the topping to be on the firm side though. Ultimately, I liked both options. Next time I would probably use less chocolate just to create a softer glaze.
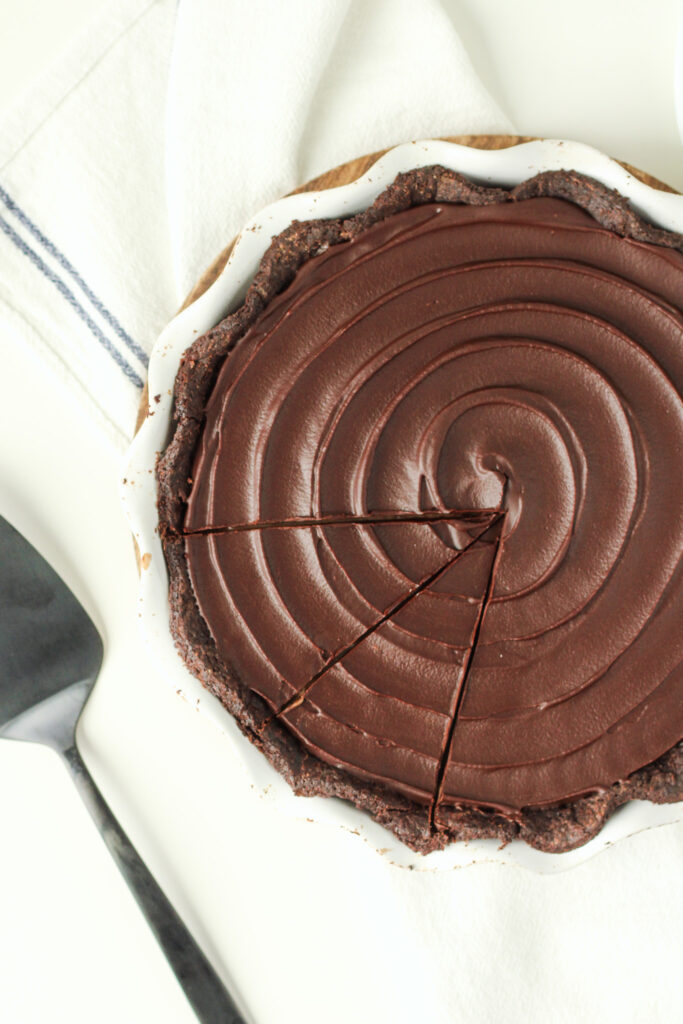
Since the crust was chocolate and the custard was mostly coffee, I decided to incorporate both flavors into the ganache. I only used a teaspoon of instant coffee. This gave just a hint of coffee, while still letting the chocolate shine through.


Possible Tweaks to the Chocolate Coffee Pie
To be completely honest, I love how this Chocolate Coffee Pie turned out. The flavor of the crust, custard and glaze are amazing on their own and pure harmony when combined in one bite. That being said, every recipe has room for tweaks and adjustments for personal taste.
This pie could go several ways, so here are my suggestions:
- Lightened Up Custard: The coffee custard filling is quite thick. If you’d prefer a lighter texture, fold in some whipped cream before filling the pie crust.
- Try a Mousse: You could also try filling the pie with a coffee flavored mousse.
- Creamier Ganache: The ganache sets firm, so for a softer bite, just use less chocolate (no less than 2 oz).
Enjoy!
There’s no wrong way to enjoy the dynamic duo that is chocolate and coffee. But this is certainly one delicious, rich, creamy recipe if those flavors are your jam! You won’t be able to resist the chocolate pie crust, coffee custard, and chocolate glaze that make this Chocolate Coffee Pie.
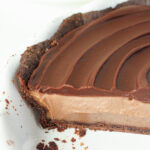
Chocolate Coffee Pie
Ingredients
Chocolate Pie Crust
- 5.5 oz all- purpose flour
- 0.75 oz dark cocoa powder
- 2 oz sugar
- ¼ tsp salt
- 5 oz unsalted butter cold and cubed
- 1 Tbsp vodka (optional)
- 4- 6 Tbsps cold water
Coffee Custard
- 1 egg
- 4 egg yolks
- 24 fl oz whole milk
- 5 oz sugar
- 3 oz all- purpose flour sifted
- 1 Tbsp cocoa powder sifted
- 1 Tbsp espresso powder
- ¼ tsp salt
- 3 Tbsps unsalted butter
- 1 tsp vanilla
Chocolate Glaze
- 4 oz dark chocolate chopped
- 2 oz heavy cream
- 1 Tbsp espresso powder
- 2 Tbsps unsalted butter
- 1 Tbsp corn syrup
Instructions
Chocolate Pie Crust
- Add flour, cocoa powder, sugar, and salt to a food processor. Pulse to combine.
- Scatter cold chunks of butter over the dry ingredients. Pulse until the butter is no smaller than pea or bean sized chunks.
- With the processor on low, drizzle in the vodka and water 1 tablespoon at a time until the mixture still looks dry, but clumps together when squeezed. Scrape the bowl down as necessary.
- Dump the pie dough onto a large piece of cling wrap. Using the cling wrap, press the dough together and form a flat disc. Wrap and chill for 1 hour.
- Once chilled, roll the pie crust into a 12 inch circle on a lightly floured surface. Remember to move the crust every now and then to prevent it from sticking.
- Transfer the dough into a pie plate. Gently press into the corners of the pan. Trim the excess, leaving about a half inch of overhang. Gently fold the extra underneath the crust and crimp to make a pretty edge.
- Cover and chill in the fridge for 40 minutes. Transfer to the freezer and chill for an additional 20 minutes. Begin preheating the oven to 375°F.
- Once the pie is firm, prick with a fork several times. Press two sheets of foil over the pie crust, making sure to cover the edges. Fill with pie weights. Bake for 25 minutes. Remove the weights and foil carefully. Bake for an additional 12 minutes.
- Allow the pie crust to cool while you begin the custard.
Coffee Custard
- Whisk the egg and yolks in a heatproof bowl and set aside.
- In a saucepan, whisk together the milk, sugar, flour, cocoa powder, espresso powder, and salt until combined. Place over medium- low heat. Heat, stirring regularly, until bubbles just begin to form around the edge of the pan and the mixture is hot.
- Temper the eggs by ladling a spoonful of the hot milk mixture into the bowl. Stir constantly. Continue whisking as you add all of the milk mixture one ladle at a time. Once combined, return the mixture to the saucepan.
- Place the pan over medium- low heat and heat until thick and bubbles begin to slowly burst to the surface. Stir constantly with a silicone whisk.
- Remove from the heat and add the butter and vanilla. Stir until combined and the butter is completely melted. Strain the custard into a clean bowl. Immediately press cling wrap onto the surface to prevent a film.
- Let the custard cool to room temperature for 30 minutes, before placing in the fridge to chill for about an hour. Then fill the pie crust with the custard. Press cling wrap onto the surface of the custard again and chill for an hour.
Chocolate Glaze
- Once the pie is chilled, you can begin making the glaze. Place the chopped chocolate in a heat proof bowl. Microwave for 30 seconds on 50% power and set aside.
- Heat the cream until hot, but not boiling, then mix in the espresso powder. Pour the mixture over the warm chocolate and stir until smooth and combined. If any lumps persist, microwave in 5- 10 second intervals, being careful not to over heat the mixture.
- Add the unsalted butter and corn syrup to the glaze and stir to combine. An optional, but recommended, step is to use an immersion blender to emulsify the glaze for a perfectly smooth finish.
- Pour the glaze onto the chilled pie in an even layer. You will NOT use all of the glaze. Aim for a thin, even layer that just covers the custard. If necessary, pick up the pie and gently tilt to spread the glaze, or use a small offset spatula. Chill for 5 minutes to set the chocolate, then serve.
Notes
- If you chill the glazed pie for more than 30 minutes before serving, the chocolate will become quite hard. It's still delicious, just hard to cut.

Colleen
Hi there! I’m Colleen, a novice baker with a passion for learning and improving my bakes… and blunders. On Bakes and Blunders, you can find all sorts of tasty recipes that range in difficulty, but most importantly, I’ll try to explain the reason behind important steps. If you know why a recipe works, you can tweak and adapt it to suit your unique tastes, and you’ll be able to reliably produce some very delicious treats. If you love baking and want to expand and grow your skills, or if you are a casual baker and just need some pointers, my blog is right up your alley! Join me on my baking journey and we’ll learn how to make more impressive recipes together.


You May Also Like

Strawberry, Champagne, and Rose Macarons
Fall Seasonal Food Guide
