

Great Grandmother’s Pie Crust


Pie crust is a finicky beast. I’ve talked to people who amaze me with their food that still have trouble with their pie crust. The thing is, pie crust should be simple, right? You’ve got flour, fat, and water and that’s all you need. However, you have to worry about your dough tearing and becoming tough and chewy. That’s why I stick with my Great Grandmother’s Pie Crust. You can never go wrong with an old family recipe!
This page contains affiliate links which means I may earn a commission as an Amazon Associate (or other affiliate program) from qualifying purchases. I only recommend products that I use and trust.
This recipe was originally published on October 25, 2018. It was republished on June 2, 2022 with updates.
Jump to Recipe
Back in Time…
My family is passionate about food. Our gatherings are always centered around food and we spend hours cooking, eating, and drinking. My Grandmom is a fountain of knowledge and the keeper of our family recipes. Her father was from Spain, so chorizo, paella, and manchego are commonly featured. But her mother was American, so we also have the classics like apple pie!
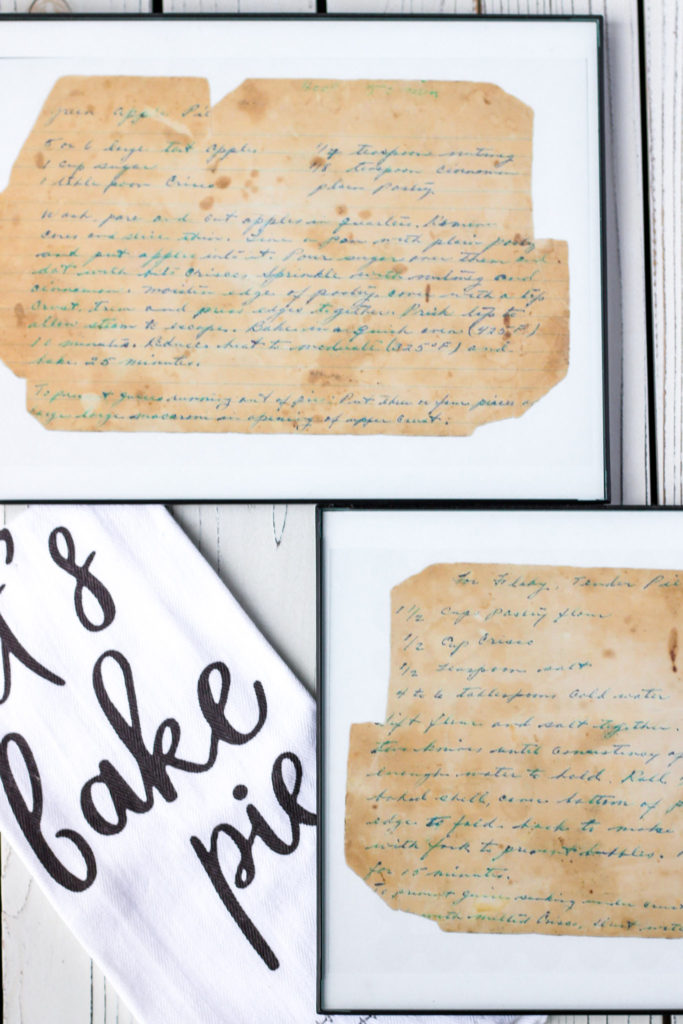 For our wedding (almost 10 years ago!), my aunt gave us a picnic basket with pie baking essentials. The touching gift included a pie plate, pie shield, pie weights, and enlarged photographs of my Great Grandmother’s handwritten recipe. I loved this gift so much! Food and family, it doesn’t get any better.

Here for the Pie Crust…
I’m getting better every day with my baking, but the finer aspects of pastry are still skills I need to master. My pie crust may not look the most beautiful, but if I can make a decent looking pie with it, I know you can too! The key to the pie dough is to keep it cold.Just like when you make biscuits, when the fat melts during baking, that’s where you get those beautiful flaky layers. If the fat melts while you make the dough, you end up with a more bread- like texture. Not what you want with pie.
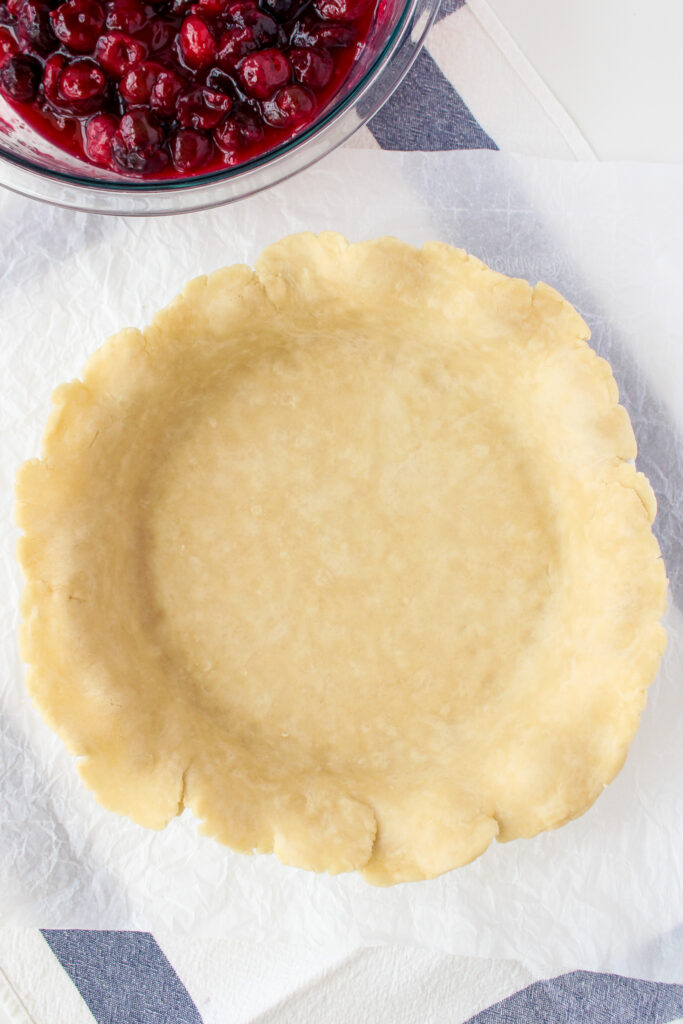
Work quickly and keep your ingredients cold by placing them in the freezer. I like to cover my diced shortening with cling wrap and throw it in there for about 15 minutes. For the water, I fill a coffee mug and place that in the freezer too. When I need the water, I measure it out of the mug.
3 Ways to Make Pie Crust
Making pie crust from scratch is actually pretty easy, plus there are different ways to get the job done. The three methods I use are my food processor, a hybrid method, and doing it completely by hand. Watch this video for more information on each. You’ll also learn my best tip for rolling out pie dough and how to make a lattice top on a cherry pie!
Food Processor
Just like the drop biscuits, you can pulse your ingredients in the food processor. Be sure not to go crazy though. Different sized chunks of shortening are fine. If the mixture becomes too fine, you won’t have a very flaky pie crust.
Pros: Quickest method
Cons: Easy to overmix
Hybrid Method
With this method, I combine my dry ingredients in the food processor, then pulse in my shortening. Instead of continuing in the food processor, I finish the pie dough in a bowl by hand.
Pros: Quick, but more control over the mixing process
Cons: Maximum amount of dirty dishes

By Hand
A pastry blender is also a great option. Use this cheap little tool to cut the shortening into your dry ingredients. When I add the water, I like to use a dough whisk to incorporate the ingredients.
Pros: Maximum control with minimal risk of overmixing
Cons: Takes the most time and can be hard if you have wrist or hand issues (Holla to the inflamed tendons in my wrists!)
Related Reading: Perfect Cheesecake Without a Water Bath
Flour Choices
Most home bakers are bound to have all- purpose flour in their pantry, but maybe not cake flour and pastry flour. I used to be guilty of only having AP flour, but I highly recommend adding cake flour to your repertoire. This recipe calls for pastry flour, but cake flour is a great substitute and very useful for making cakes (duh) and biscuits.
 So what’s the difference? The difference in the flour choices comes down to protein content. A flour with a high protein content, like bread flour, will develop a lot of gluten, but flours on the low end, cake and pastry, will develop much less gluten. Cake and pastry flour are very close in their protein content (7- 8.5% and 8.5- 9.5%, respectively) so you can use them interchangeably a lot of the time.
You should definitely consider adding cake flour to your pantry, and using it in this recipe is a fine choice. If you’re not baking much, all- purpose flour will work as well. Just make sure to be extra gentle with the dough. You don’t want to develop gluten when making pastry. That will produce a bread- like texture instead of a flaky crust.
Blunders?
Well, I wouldn’t be touting this as an amazing family recipe if there were any! Buuutt… be patient and be careful. Even a great pie dough recipe needs to be treated with respect. If your crust tears while rolling it out, it’s okay. Just press it back together! Also, pay attention to how much water you add. Depending on the weather, you may need to add a different amount each time.
Another pointer… I’m always sooo concerned about over working the dough, that it ends up being too delicate! Once you bring the dough together, knead it 3 or 4 times to bring it all together. Then you can shape your disk and chill.
Enjoy!
Now you have a flaky, tender pie crust that you can use with your sweet or savory creations. This recipe is very versatile and will be a great tool to keep in your recipe repertoire. What are your favorite uses for pie crust? Mini pies? Pumpkin pies? Quiche? I’d love to hear all about it in the comments below. Head on over to the Bakes & Blunders Facebook page so we can connect!
Great Grandmother's Pie Crust
Ingredients
Ingredients for One 9 Inch Pie Crust
- 4 oz pastry or cake flour
- 2.5 oz all purpose flour
- 3.35 oz Crisco cold and cubed
- 1/2 tsp salt
- 4-6 Tbsps cold water
Instructions
- In the bowl of a food processor, add flour and salt and pulse to combine. Dot the cubed shortening onto the dry ingredients. Pulse until the flour mixture until it is the consistency of small peas, about 5 pulses. Do not over process. Some larger pieces are fine. You can also do this by hand with a pastry blender.
- Add water a tablespoon or two at a time, just until the dough holds together. Turn the dough onto a pastry mat and knead 3 or 4 times to bring it together. Flatten into a 4- 6 inch disc, cover in cling wrap, and chill in the fridge for one hour, or even overnight. The dough can now be used in any recipe that calls for pie crust.
Notes
- All- purpose or cake flour work well too. If using AP flour, be extra gentle to prevent a tough, chewy texture.
- You can also make this recipe with a pastry blender or two knives to work the shortening and water into the dry ingredients.
- For a double crust, simply double the ingredients, then split the dough into 2 disks, wrap, and chill.

Colleen
Hi there! I’m Colleen, a novice baker with a passion for learning and improving my bakes… and blunders. On Bakes and Blunders, you can find all sorts of tasty recipes that range in difficulty, but most importantly, I’ll try to explain the reason behind important steps. If you know why a recipe works, you can tweak and adapt it to suit your unique tastes, and you’ll be able to reliably produce some very delicious treats. If you love baking and want to expand and grow your skills, or if you are a casual baker and just need some pointers, my blog is right up your alley! Join me on my baking journey and we’ll learn how to make more impressive recipes together.


4 Comments
Brenda Broadway
Thanks for sharing your grands recipe. The tried and true ones are the best and pie crust is one of the hardest to master. Great post!
Colleen
Thanks 🙂 I love having copies of the original recipe up in my kitchen.
Caroline @ Love Cake Create
Thank you for sharing your great grandmother’s recipe Colleen! I’ve never been game enough to make it from scratch, so I look forward to trying this recipe 🙂
Colleen
Let me know how it turns out! I’m no pastry pro and even I can pull this off 😉