

Easy No Knead Dutch Oven Bread


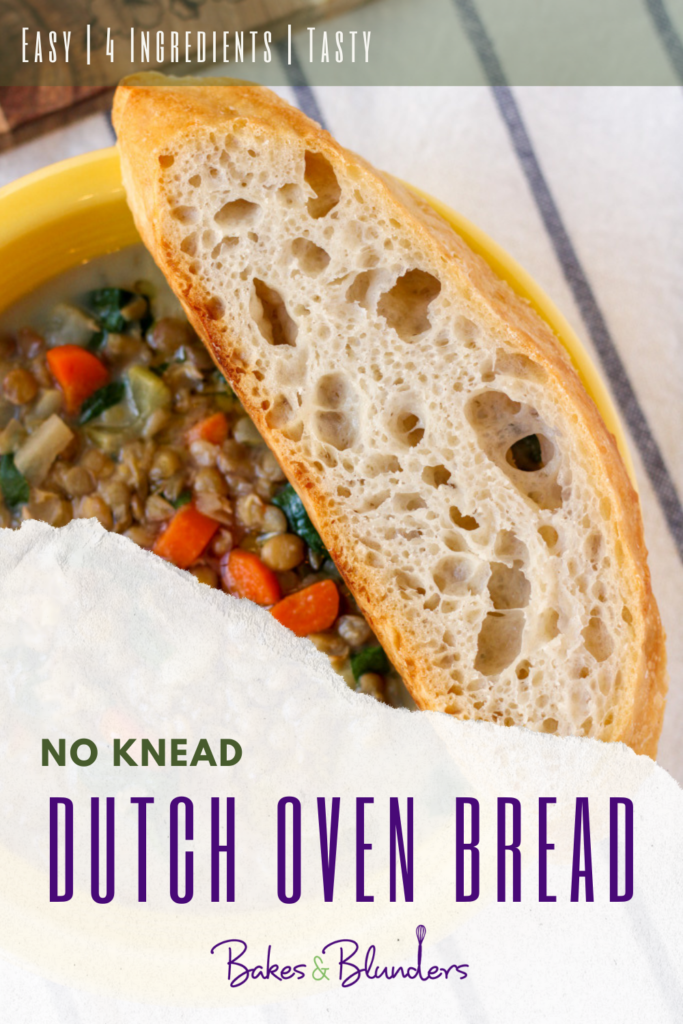
Chewy, crusty bread is the BEST side to a big bowl of delicious soup. But who has the time and energy to make fresh, crusty bread at home? You will never guess how easy it is to make no knead Dutch oven bread at home, and with only 4 ingredients! Prep your dough the night before and you can enjoy flavorful, crusty, chewy bread the very next day.
This page contains affiliate links which means I may earn a commission as an Amazon Associate (or other affiliate program) from qualifying purchases. I only recommend products that I use and trust.
Jump to Recipe
I Love Bread
Bread is one of my favorite things to eat. You can find all sorts of different flavored loaves from sweet to savory. But one of the best ways to enjoy bread is having a nice crusty loaf sitting right next to a big bowl of soup. I like the kind of bread that you just rip huge chunks off of. No knife needed.
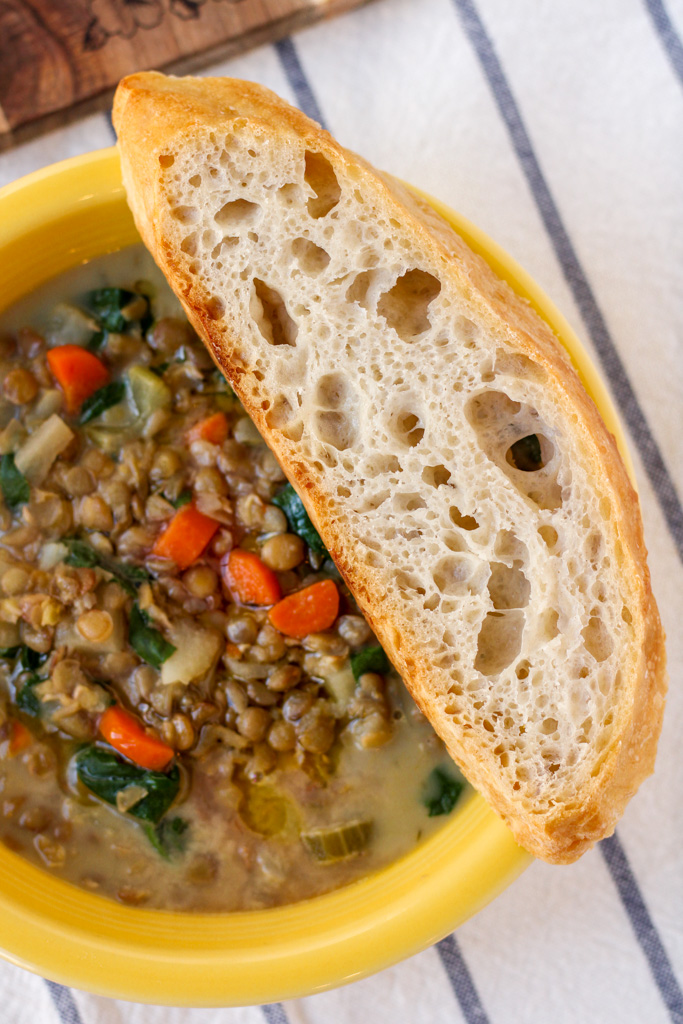
I really love bread and I even enjoy making it. Problem is, I don’t always feel like I have the time to make a loaf. Now that I’ve discovered Dutch oven bread, I plan on making fresh, crusty bread on the reg! It’s got a ton of flavor and I can’t wait to experiment with adding my own flavors to this simple loaf.
Dutch Oven Bread
Bread recipes can be super complex and take all day to make (I’m looking at you Cinnamon Swirl Bread), but bread can also be crazy simple. This recipe just uses flour, salt, yeast, and water to make a very basic, very rustic loaf of bread. The ingredients are super simple, but allowing the dough to ferment overnight is what creates a ton of flavor!
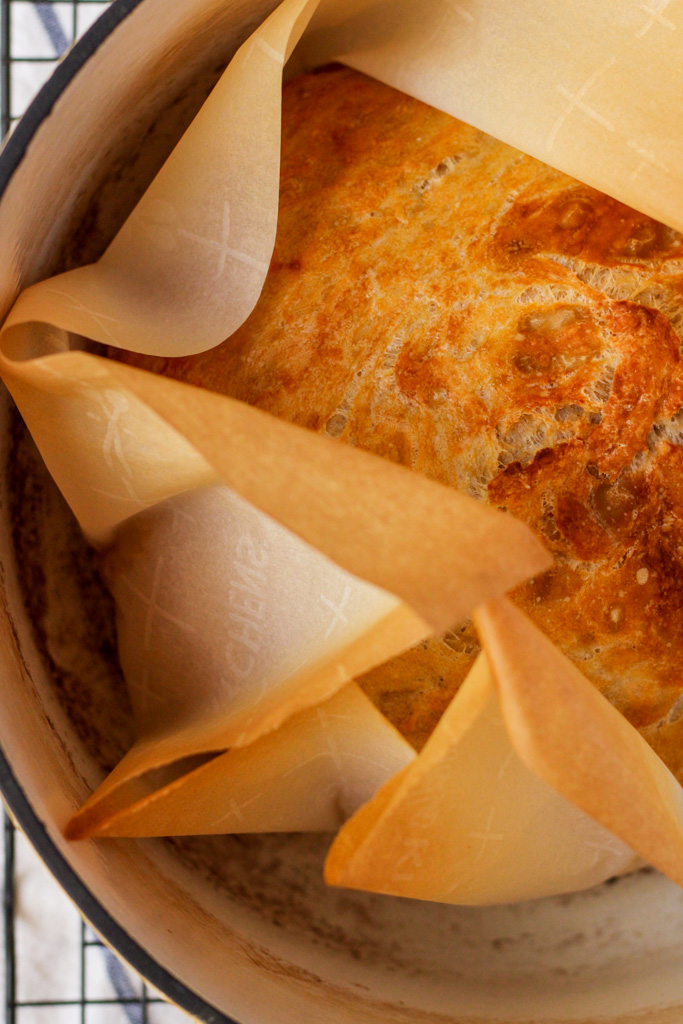
When you cook the bread in a Dutch oven, you’re trapping in all that steam which is the key for a good crust. And since that Dutch oven is thoroughly preheated, the crust starts forming the moment you place the dough into the pot. At the end, we take the lid off to give the top a beautiful brown color.
Print Recipe
Recipe Details
Dutch oven bread is crazy easy to make, but I’ve still got to pass on some tips and tricks. This dough is SUPER wet. It’s so sticky, you couldn’t even knead that dough if you wanted too! But, you do need to “shape” it, so it’s not 100% hands free.
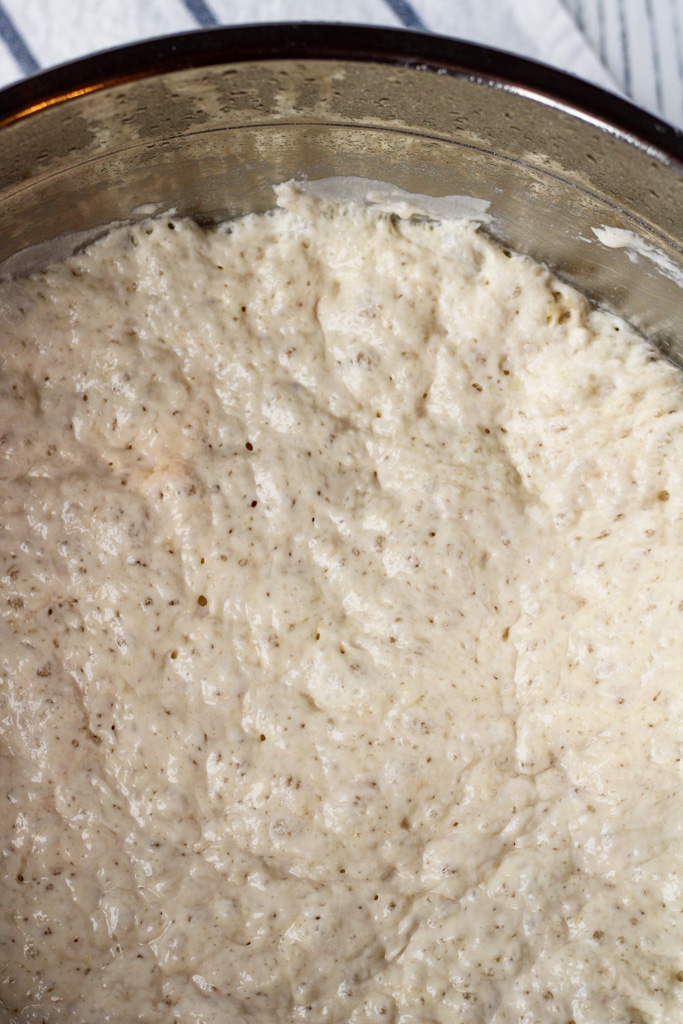
After the dough has fermented, dump it out onto a well floured counter. Use your bench scraper to “fold” the dough onto itself as you make a smaller round loaf. Then use one or two scrapers to lift the soggy mess onto some parchment paper to rest. I’ve seen that some people like to shape the dough on the parchment paper. That didn’t work for me because it stuck too well to the paper that I couldn’t shape it well at all.
The loaf won’t be super tall, more flattish. If you’ve got a smaller one, this is the perfect time to pull it out. Bread needs a narrow pot or bowl so that it can climb up, instead of out. But, a flat loaf still tastes amazing, so don’t go out and buy a new pot just for this recipe.
Keep in Mind…
Don’t forget, salt kills yeast. So when you’re mixing up your dry ingredients, be sure to place the salt on one side and the yeast on the other. When you mix them up, the flour should act as a bit of a buffer to protect the yeast.
And while we’re chatting about yeast, make sure yours is fresh. The fresher your yeast is, the better the rise will be. I’ve only made this recipe with active dry yeast, but I’m fairly confident that instant yeast would work just as well. If you try it with instant, leave me a comment and tell me how it went!
Jump to Recipe
Baking the Bread
It might seem excessive, but you really want to give your Dutch oven the full 30 minutes to preheat. Having a piping hot pot and oven will give your Dutch oven bread the best crust. After the initial bake, take the lid off to get a golden top. If you want a darker crust, just give it a bit more time. This is really personal preference.
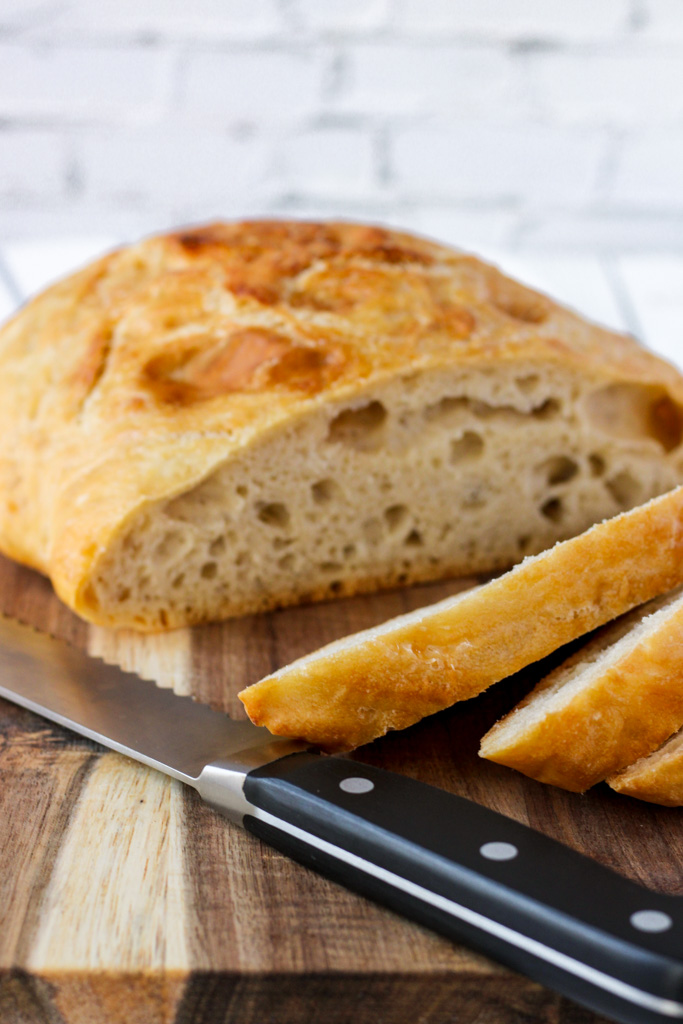
If you’re like me, you have a thing, okay a problem, about knowing if your bread is done. Once the bread is cool enough to touch, it should sound hollow when you knock on the bottom. I’ve also checked them temperature while the loaf is fresh out of the oven. It’s been between 205℉- 210℉ every time, which is definitely in the “well cooked” range.
The Great American Baking Show
I made this recipe for the first time while I was going through the casting process for The Great American Baking Show. That was such an incredible experience and you can read all about how I applied to the show. One of the final rounds of casting is to prepare several recipes for a professional tasting. They also give you a list of these ingredients and ask you to bring bread. After some research, this is the recipe I ended up with.
If you are a talented home baker, you should really consider looking into this show! While I was not cast, it was a great experience and has really amped up my baking skills.
Enjoy!
What will you be eating your Dutch oven bread with? I love mine with a bowl of soup, but it’s also a great side with your morning eggs, a cup of coffee, or just by itself. In fact, you may find yourself pulling off a chunk of bread every time you walk past it. I won’t judge you, I promise. This easy, no knead Dutch oven bread is sure to become a regular in your home!
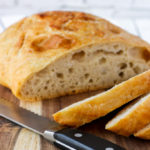
Dutch Oven Bread
Ingredients
- 3 cups all- purpose flour 14 oz
- 3/4 tsp active dry yeast
- 1 1/4 tsp salt
- 1 1/2 cups warm water 12 fl oz (100°F- 110°F)
Instructions
- In a medium bowl, add the flour. On one side of the bowl, add the yeast. On the other side, add the salt. With a wooden spoon, stir to combine.
- Add the warm water and gently stir to combine. The dough will be shaggy and messy, just make sure to have the flour completely combined.
- Cover the bowl tightly with plastic wrap and foil. Let the dough ferment for 12- 24 hours, but no longer than that.
- When the dough is ready, turn it out onto a floured counter. Use a a bench scraper to "fold" the dough into a round mound. Use two bench scrapers to lift the very wet dough onto a large piece of parchment paper. Spray a piece of cling wrap with oil and cover (oil side down) the dough. Let the dough rest for 30 minutes.
- While the dough rests, place your Dutch oven into the oven and preheat it to 450°F. It's very important that your oven and pot be VERY hot, so let them heat for the full 30 minutes.
- When the 30 minutes is up, take out the Dutch oven and transfer your parchment paper of dough into the pot and cover. Bake for 20 minutes.
- Remove the lid and bake for an additional 30 minutes to brown the top.
- Transfer the loaf to a cooling rack. Once it is cool enough to handle easily, you can begin tearing into it. If you want to cut the bread, wait until it has finished cooling.
Notes
- Experiment by adding herbs, spices, and oil into the dough. This will inhibit the yeast though, so add more time to the fermenting stage.
My Favorite Products for this Recipe
Amazon

Colleen
Hi there! I’m Colleen, a novice baker with a passion for learning and improving my bakes… and blunders. On Bakes and Blunders, you can find all sorts of tasty recipes that range in difficulty, but most importantly, I’ll try to explain the reason behind important steps. If you know why a recipe works, you can tweak and adapt it to suit your unique tastes, and you’ll be able to reliably produce some very delicious treats. If you love baking and want to expand and grow your skills, or if you are a casual baker and just need some pointers, my blog is right up your alley! Join me on my baking journey and we’ll learn how to make more impressive recipes together.


10 Comments
Bob
I’d like to make this using sourdough starter. What adjustments should I make in the ingredients?
Colleen
I’ve actually never worked with sourdough, so I don’t know how to adapt this recipe to utilize sourdough starter. If you do find a way, I’d love to hear about it!
Angela Greven | Mean Green Chef
This looks so tasty and I love the simplicity of bringing it all together! Going to try this for sure, I have a several sized Dutch Ovens will be fun to see how it turns out in a smaller sized oven. Tearing bread is the best 🙂
Colleen
I just made another loaf last night and threw in maybe a cup of shredded cheese (Italian blend) and a heaping tablespoon of a random herb blend I found in my pantry (seemed Italian). This one got nice and tall and was just amazing. Let me know how a smaller Dutch oven works out!
Tamara J.
I never thought of cooking bread in a Dutch oven. It looks so moist, perfect completion to any meal.
Colleen
This bread has the best crust and the softest inside. And it takes almost no effort!
Beth
I enjoyed all the explanations of what you do, and when. I can almost imagine making this, even though I publish gluten-free recipes …. just to put butter on. But my question is, I avoid putting food in contact with plastic when I can. Is there an alternative to covering with cling wrap for the rise step? Would waxed or parchment paper do?
Colleen
Either wax or parchment paper would work just fine. The idea is simply to prevent the dough from drying out. I’d be curious how this recipe would work with a gluten free flour substitute. If you ever felt like experimenting with this recipe, I’d love to hear how it goes.
Erika
This looks so yummy, and I love how simplistic it is.
Colleen
You can’t beat a recipe this easy and tasty.