
Easy Sourdough Bread with Whole Wheat Flour


Sourdough bread is so hot right now. You’ll find even people who rarely bake are whipping out sourdough loaves left and right. But if you look into the process, it can seem a bit daunting. Don’t worry, it’s actually pretty easy to make your own sourdough bread with whole wheat flour.
This page contains affiliate links which means I may earn a commission as an Amazon Associate (or other affiliate program) from qualifying purchases. I only recommend products that I use and trust.
Somehow, I managed to miss out on this craze when it became all the rage in 2020. I thought about it, but sourdough just seemed like way too much work, and I like baking! However, my friend recently got me hooked and I’m excited to share what I’ve learned with you.
What Is Special About Sourdough Bread?
Unlike most yeast breads, sourdough bread is leavened with natural yeast from your very own starter. Yeast is a single cell organism (a fungus actually!) that occurs naturally in the environment.
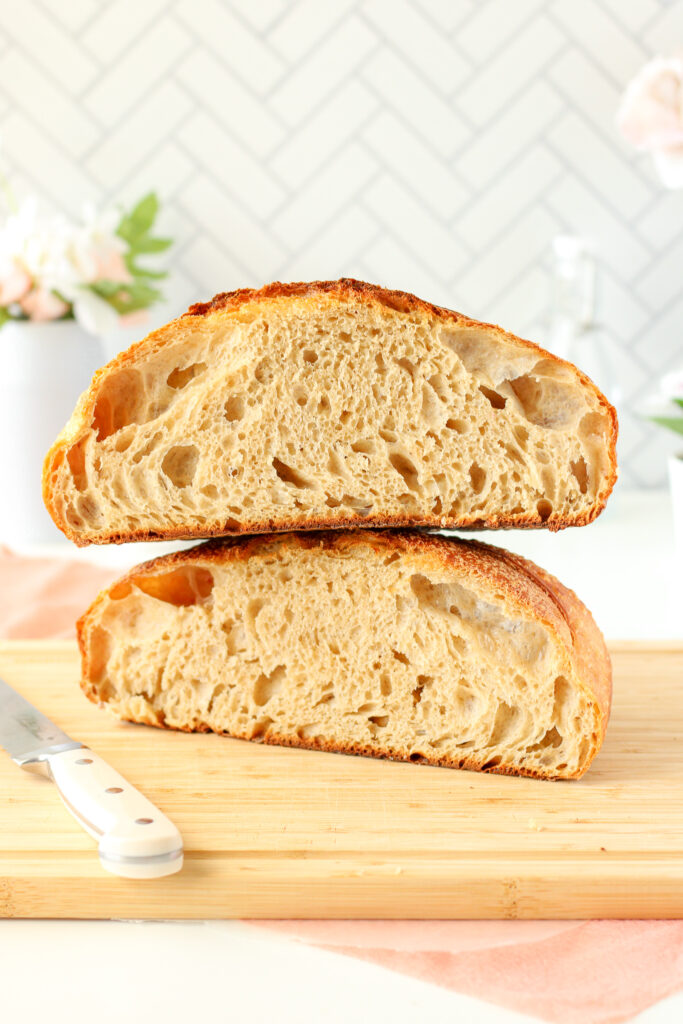
To make your own sourdough starter, you are basically combining flour and water to create a cozy environment where natural yeast can grow. This starter is not as potent as the packaged yeast you normally see in baking. That means the process for making sourdough bread just takes more time. Luckily, it’s mostly hands off.

Feeding & Maintaining Sourdough Starter
I am no expert on creating your own sourdough starter completely from scratch. Check out The Clever Carrot or Sugar Geek Show for more deets. If you’re lucky, find someone who will give you about 100g – 150g of their sourdough discard. You’ll have to feed and maintain your new starter.

Keep your sourdough starter on the counter, loosely covered with a plastic baggie or lid. As the yeast feeds, it will expel gas that will need to be able to escape the container. Every day, discard roughly half of the starter (in the trash, not down your sink). Then add 50g each of flour and water. Mix to combine and you have successfully fed your starter!
Chill Out
After awhile, discarding and feeding the sourdough starter every day can become a bit tedious. And if you’re not flying through your loaves, it can even seem wasteful. That’s okay, you can always store it in your fridge! The cold slows down the yeast so it doesn’t need constant care.
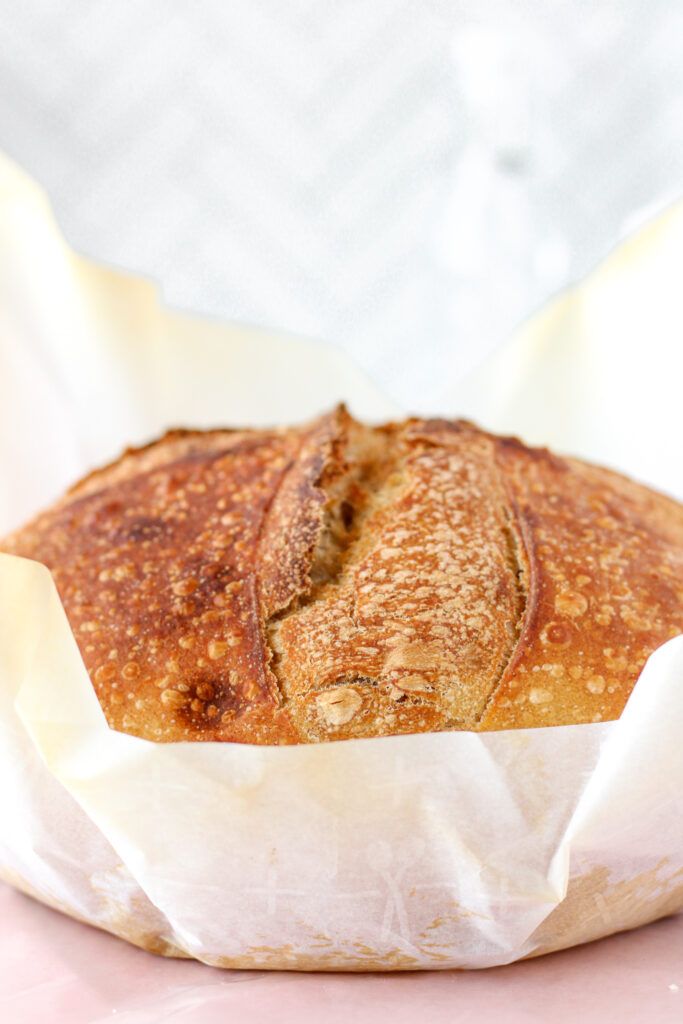
Place a lid loosely on your jar as the gas will still need to escape. You can keep the starter in the fridge for about a week before you need to feed it. I like to take it out and let it sit at room temperature for a few hours, then feed it. A few hours later, or the next morning, I’ll move it back to the fridge.
Please note, once you chill the starter, I’ve found it generally becomes more sluggish and less active. It still makes a fine loaf of sourdough bread, but just know it will change slightly.
Sourdough Starter Container
The container where you store your starter matters. I prefer something with a wide mouth so that I can easily remove, feed, and stir my starter. A wide mouth mason jar works great, but my favorite is now my small blender ball bottles.
How much starter you remove will also depend on the size of the container and how much sourdough starter you want to maintain. Pay attention and observe how tall it tends to grow.
I like to remove enough to get down to the 4 oz line on my bottle before feeding it. It then grows with enough room remaining in the bottle to never overflow.
Related Reading: 4 Yolk Challah Recipe
Hydration
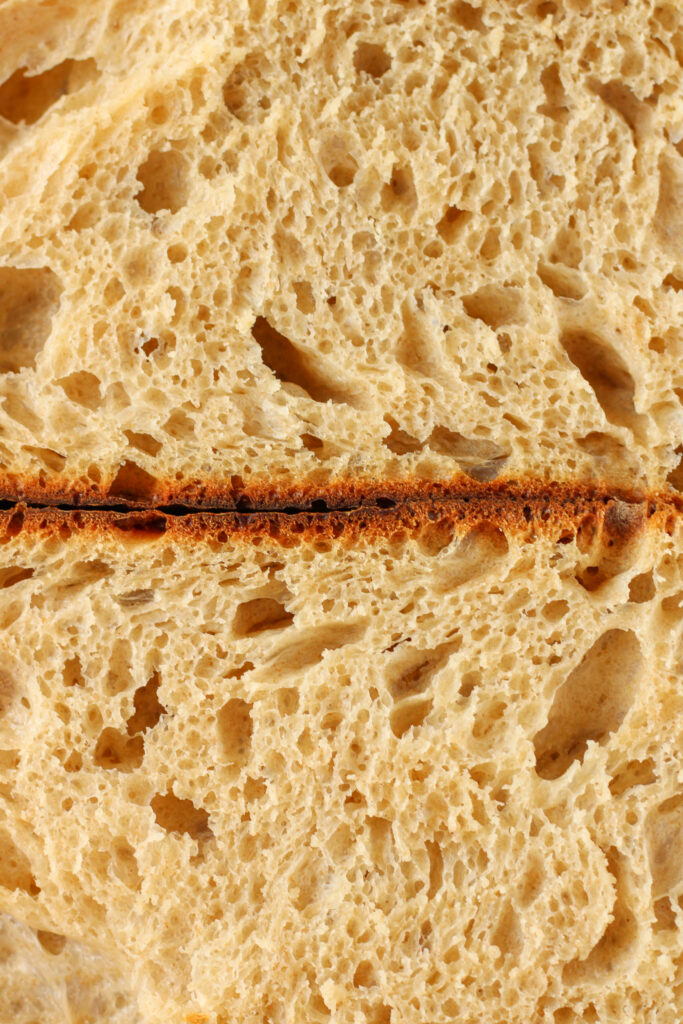
This recipe for sourdough bread with whole wheat flour is so very easy to tweak and customize. It’s based off of the King Arthur Baking Pain de Campagne recipe. However, that dough was too wet for my preference and produced a very holey loaf.
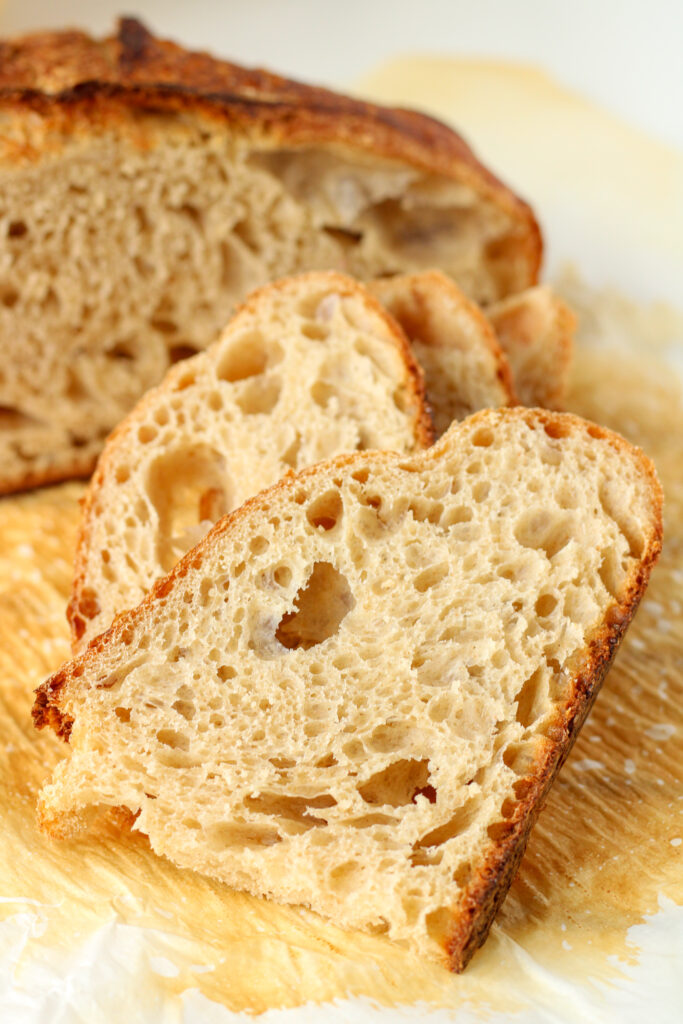
I added more whole wheat flour to have a more solid loaf (still with those air bubbles in it) and a dough that was more sturdy. If you prefer a denser sourdough bread, add 25g more flour each time you make it until you are happy with the consistency. Conversely, you could remove some flour for a wetter dough.
Homemade Banneton
Every recipe for sourdough bread calls for a banneton. But I’m cheap, so I have not bought one. Instead, I line a mixing bowl completely with cling wrap and lightly flour the whole thing. You want to pick a bowl that’s going to give you the shape you want your boule to be. Think deep instead of wide.
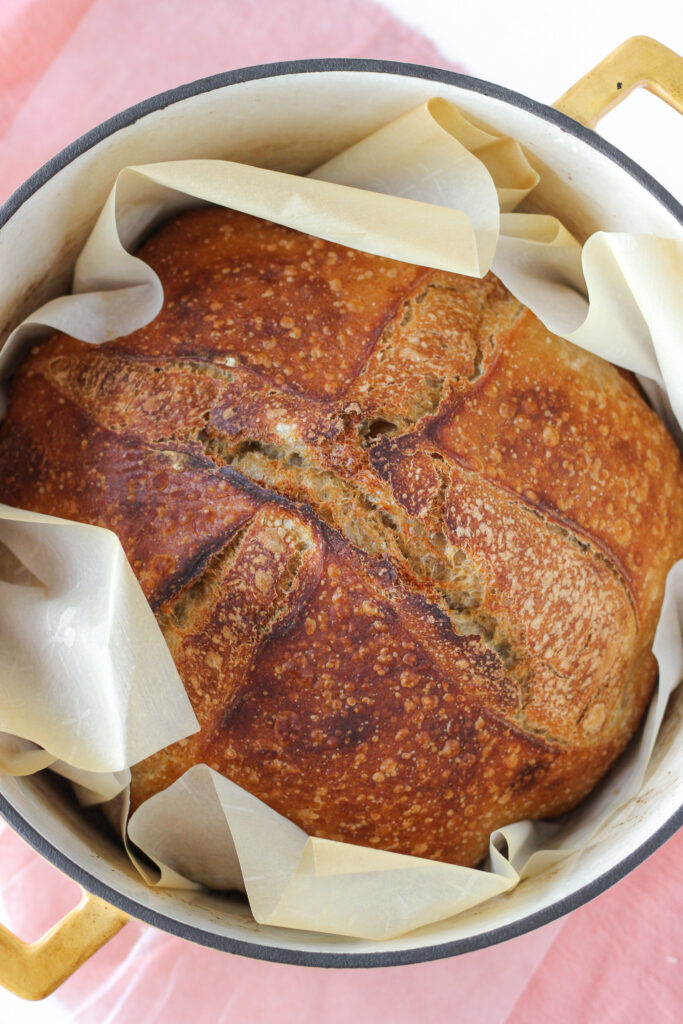
The one tool I did purchase specifically to make this sourdough bread with whole wheat flour was a lame. I bought my lame on Amazon for about $10 and it came with replacement blades. This is essential for scoring the loaf. My paring knives just don’t work well for this.
How to Make Sourdough Bread with Whole Wheat Flour
Making sourdough bread with whole wheat flour takes about two days, though if I’m taking my starter out of the fridge, I tack on a third day. However, you won’t spend much time actually working on it.
Watch the video tutorial to understand each step of this process. The following is my own schedule for making sourdough with whole wheat flour, but you can make the times work for your schedule.
Before You Begin
Remove the starter from the fridge in the morning at least one day before making your sourdough. At lunch, I’ll discard and feed the starter. If it doesn’t look very active, I may give it a few days on the counter with regular feedings to perk it back up. If your starter is kept on the counter, you are already good to go.
Day 1
7am – I mix the ingredients together with a dough whisk, then use my hands and/or a bowl scraper to mix in any dry bits that haven’t incorporated yet. Cover the bowl and wait 15 minutes. Then I lightly wet my hands and fold the dough onto itself four times, working my way around the bowl.
Rest another 15 minutes and repeat the folds. You’ll do this another time for a total of three sets of folds. Cover the bowl of dough tightly and let it sit on the counter for about 12 hours.
8pm – Prepare the banneton, or line a mixing bowl with cling wrap and lightly flour. Turn the dough onto the counter and shape into a round boule. Place the dough seam side up in the banneton. Cover and place in the fridge for 8- 12 hours overnight.
Day 2
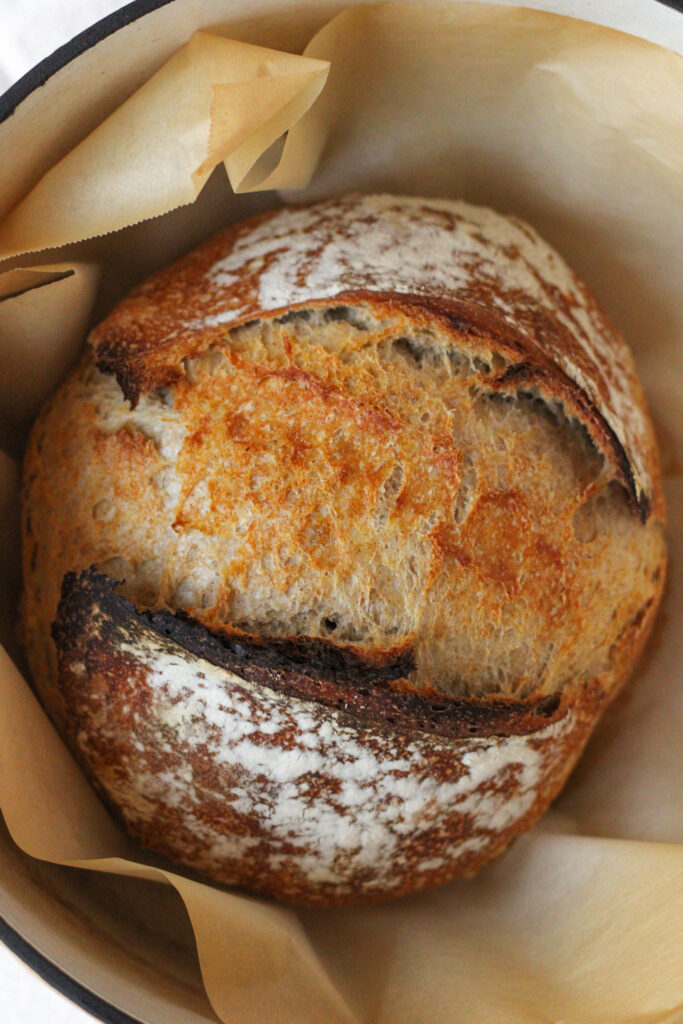
6am – Place your Dutch oven in the oven and preheat it to 500℉ for 45 minutes. Then you can take the cold dough and turn it out onto a large piece of parchment paper. Use a lame to score the loaf (a line down the center or an x both work great). The cuts should be about ¼” – ½” deep.
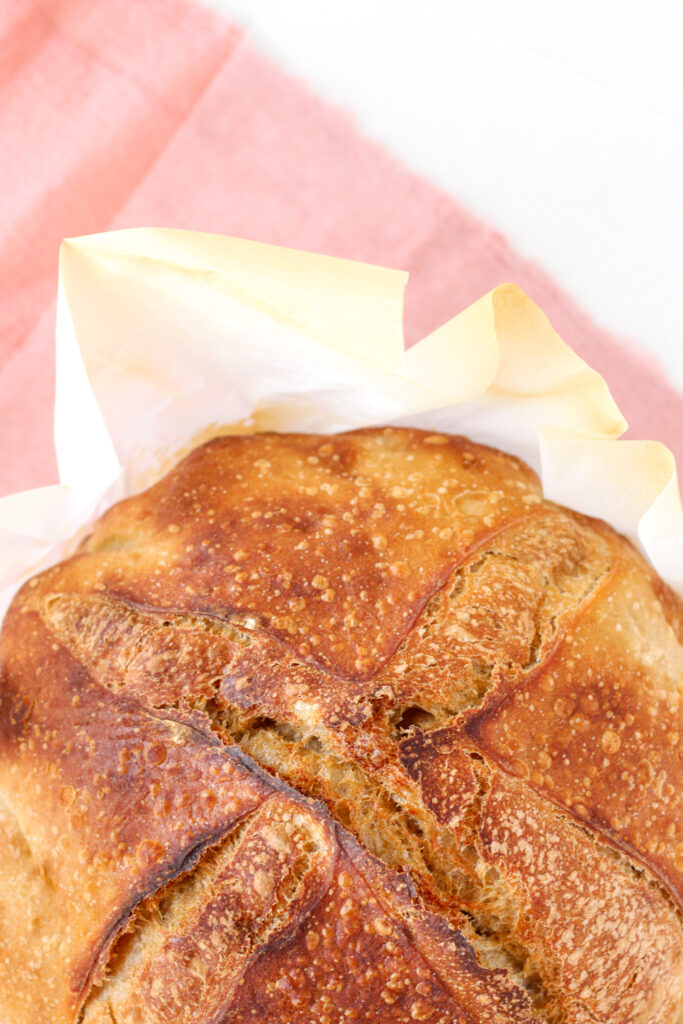
Carefully remove the hot Dutch oven and place the parchment paper with the loaf into the pot. Cover and place it back in the oven. Turn the temperature down to 450℉ and bake for 20 minutes. Then remove the lid and bake for another 20 minutes, or until the internal temperature hits 205℉ – 210℉. Cool on a rack before slicing.
Related Reading: Irish Soda Bread in a Cast Iron Skillet
Storing Sourdough Bread
Once my bread is completely cool, I like to cut it in half because it is just one massive loaf. With one half, I double wrap it in cling wrap, then place it in a gallon freezer bag. I keep this portion in the freezer and it stays nice and fresh.
The other half goes in another gallon bag, but I leave it out on the counter. It’ll keep for a few days, or you can place it in the fridge. The bread will begin to dry out after a few days, and it dries out quicker in the fridge.

Enjoy!
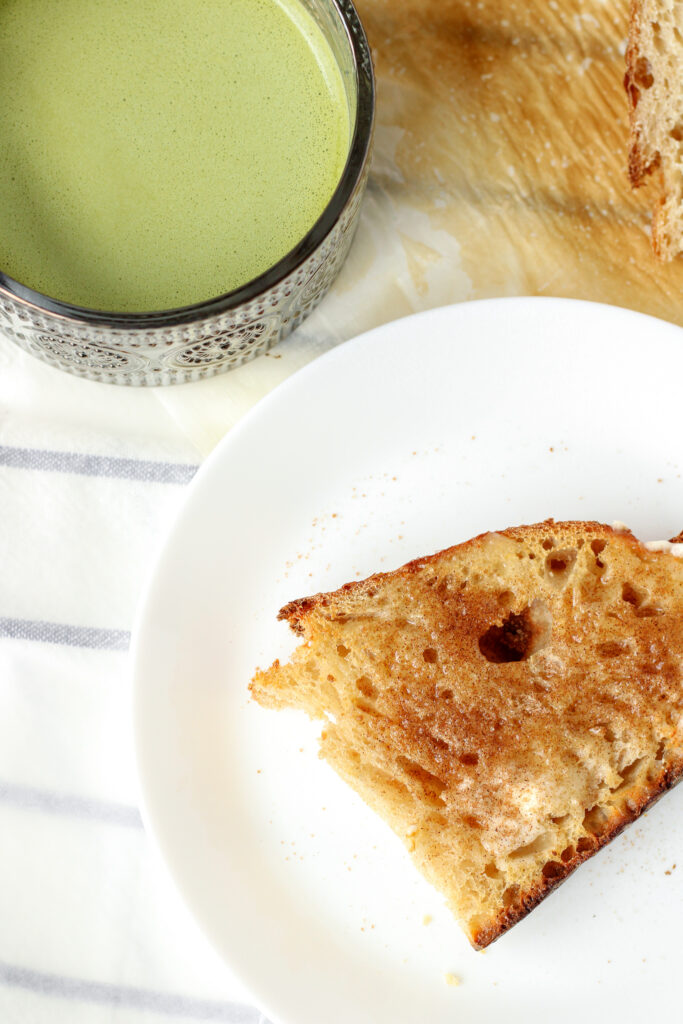
I love taking a toasted slice of this whole wheat sourdough and smearing it with butter and honey or cinnamon sugar. It makes a delicious snack when paired with a hot mug of chai. But this bread also makes a killer sandwich. Fill it with ham, Swiss cheese, mayo on one side, dijon mustard on the other and give it a grill in a skillet. Perfection.

This sourdough bread with whole wheat flour is hearty, delicious, and pretty dang easy to make from scratch. I hope you get a chance to try this recipe soon! Don’t forget to pin it for later so you can always come back to it.

Sourdough Bread with Whole Wheat Flour
Ingredients
- 400 g lukewarm water
- 20 g sourdough discard
- 20 g honey
- 450 g bread flour
- 75 g whole wheat flour
- 10 g salt
Instructions
- Mix the ingredients (in the order listed) together with a dough whisk. Use your hands and/or a bowl scraper to mix in any dry bits that haven’t incorporated yet. Cover the bowl and wait 15 minutes.
- Lightly wet your hands and fold the dough onto itself four times, working your way around the bowl. Grab a portion of the dough and lift up, then press it into the center of the dough. Give the bowl a quarter turn and repeat for each of the folds. Cover and rest another 15 minutes and repeat the folds. You’ll do this another time for a total of three sets of folds. Cover the bowl of dough tightly and let it sit on the counter for about 12 hours.
- Prepare the banneton, or line a mixing bowl with cling wrap and lightly flour. Turn the dough onto the counter and shape into a round boule. Place the dough seam side up in the banneton. Cover and place in the fridge for 8- 12 hours overnight.
- Place your Dutch oven (lid on) in the oven and preheat it to 500℉ for 45 minutes. Then take the cold dough and turn it out onto a large piece of parchment paper. Use a lame to score the loaf (a line down the center or an x both work great). The cuts should be about ¼” - ½” deep.
- Carefully remove the hot Dutch oven and place the parchment paper with the loaf into the pot. Cover and place it back in the oven. Turn the temperature down to 450℉ and bake for 20 minutes. Then remove the lid and bake for another 20 minutes, or until the internal temperature hits 205℉ - 210℉. Cool on a rack before slicing.
Notes
- Makes one loaf with a total of 1,996 calories.
- This recipe uses a small amount of unfed starter. It's perfectly fine if you accidentally add up to 30g of starter.
My Favorite Products For This Recipe

Colleen
Hi there! I’m Colleen, a novice baker with a passion for learning and improving my bakes… and blunders. On Bakes and Blunders, you can find all sorts of tasty recipes that range in difficulty, but most importantly, I’ll try to explain the reason behind important steps. If you know why a recipe works, you can tweak and adapt it to suit your unique tastes, and you’ll be able to reliably produce some very delicious treats. If you love baking and want to expand and grow your skills, or if you are a casual baker and just need some pointers, my blog is right up your alley! Join me on my baking journey and we’ll learn how to make more impressive recipes together.


You May Also Like

Almond Pecan Spice Muffins

How to Make Homemade Pretzels
