

4 Yolk Challah Recipe


Rich, soft bread with a glossy shine and a touch of sweetness is one of my weaknesses. Toast up a slice, slather it in butter, and drizzle with golden honey and you’ve got yourself one heck of a snack. Today we’re making a simple braided 4 yolk challah!
This page contains affiliate links which means I may earn a commission as an Amazon Associate (or other affiliate program) from qualifying purchases. I only recommend products that I use and trust.
Finding a Solution
I’ve been making macarons for a few years now. There are so many problems that come with tackling this iconic French cookie. One such problem is wasted egg yolks. I hate tossing perfectly good egg yolks, so I decided to find a solution.

After some research and a bit of trial and error, I fell in love with this 4 yolk challah recipe. Most of my macaron recipes use 3 or 4 eggs, so it’s a delicious way to use those leftover egg yolks.
Challah vs. Brioche
Before posting about this 4 yolk challah recipe, I did a little fact checking to make sure I wasn’t about to share blatantly erroneous information. Both challah and brioche are enriched yeasted breads, but they are not the same thing.
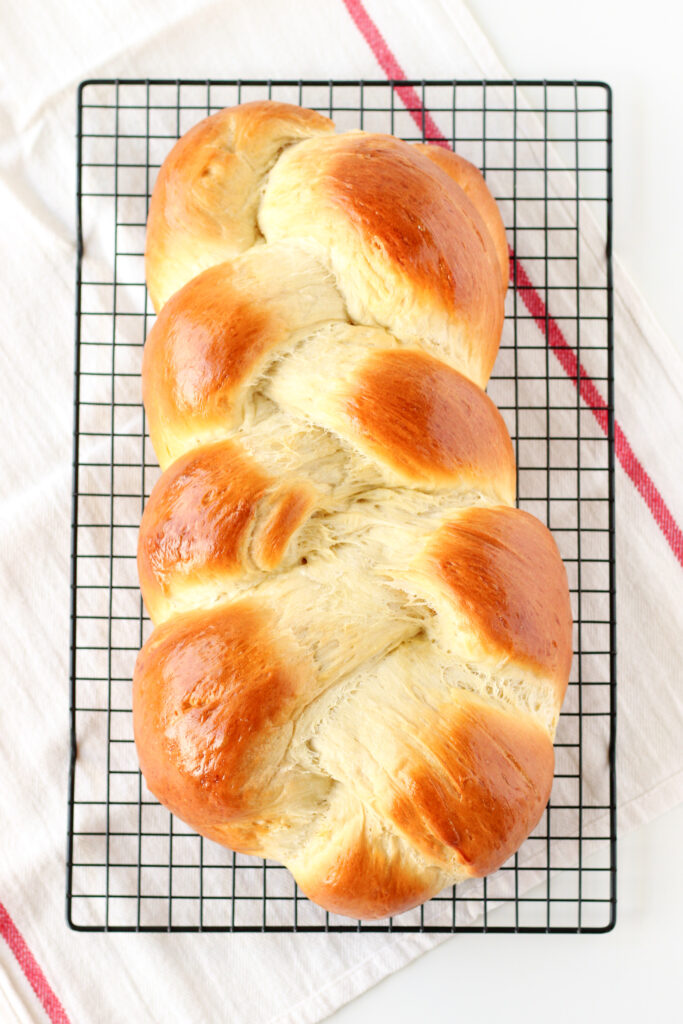
Challah is a dairy free bread. The eggs, oil, and sweetener (honey or sugar here) create the rich, soft, lightly sweet dough. Brioche is not dairy free and generally uses milk and butter (as well as sugar).
How to Make 4 Yolk Challah
This 4 yolk challah uses the straight dough method. Which basically means it’s supes easy. Add your wet ingredients to the bowl, then add your dry ingredients. Mix on low to combine everything, then bump the speed up to knead the dough.
It has two rises, then you’ll shape and brush the braided loaf with an egg wash. Let the dough rise one last time before brushing it again with the egg wash and baking your beautiful loaf. It’s a simple recipe, but I made a video tutorial to show you every little step.
Top Tips for Yeast Breads
- Make sure your liquid is between 100℉- 115℉ before you add your yeast.
- Knead the dough until it passes the window pane test. You should be able to gently stretch a small bit of dough until you can see light through it.
- Is your house cold? Preheat your oven to its lowest setting while you prep the dough, then turn it off. Let your dough rise (covered) in the warm oven.
Related Reading: Cardamom Coffee Braid
Making the Dough By Hand
If you don’t have a stand mixer, no worries. I highly recommend using a Danish dough whisk to bring the dough together. After that, just knead the dough by hand. If you’d like more help, check out my video tutorial for this molasses brown bread that I made without a mixer.
Make Time with Chilling and Freezing
This recipe is easy and mostly hands off, but it does require a decent chunk of time. If you can’t finish the dough in one day, cover the bowl and let the dough rise in the fridge overnight. Remove the dough and let it sit for 2 hours before shaping and continuing with the recipe.

Another option for making time with this recipe is freezing the dough. Freeze the shaped loaf on a baking sheet, then double wrap the challah and store in the freezer. Take the frozen loaf out of the freezer 5 hours before applying the egg wash and baking.

You’ve Got Challah, Now What?
There are so many ways to enjoy this bread! One of the easiest (and one of my faves) is to simply toast a slice and top with whatever you like such as butter, honey, jam, etc. My family also loves having a slice with dinner without the toasting and toppings.
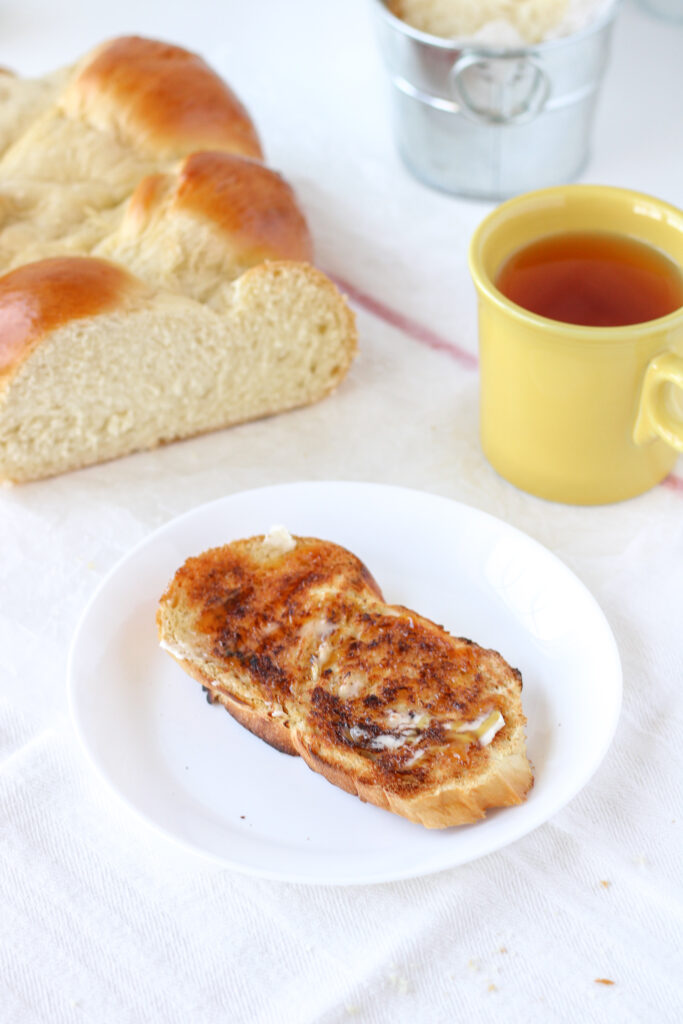
Or you could put in a tiny bit more work and use it to make some bangin’ French toast. This is my mom’s French toast recipe and it is phenomenal. The kahlua whipped cream is optional, but oh so yummy.
Storing the Bread
I keep mine double wrapped on the counter for a few days. Since the loaf is a generous size, I usually divide it into a couple of portions. One or two portions gets double wrapped, placed in a freezer bag, and put in the freezer.
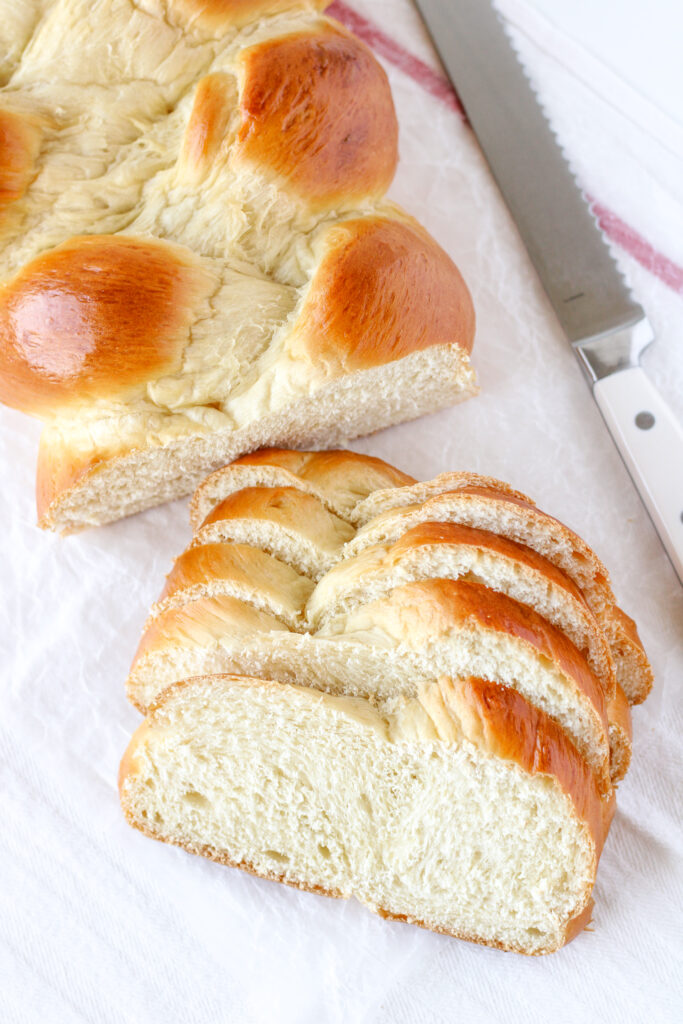
When you need more bread, take a portion of frozen bread out and let it thaw, while wrapped, on the counter overnight.
Enjoy!
No need to waste those leftover egg yolks now! This 4 yolk challah recipe is so easy and delicious, you may have to start looking for ways to use up your egg whites. Don’t forget, you can watch plenty of baking tutorials on the Bakes & Blunders YouTube channel.
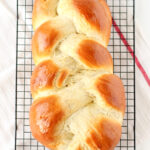
4 Yolk Challah
Ingredients
- 10 fl oz warm water
- 4 egg yolks
- 2 1/2 Tbsps canola oil
- 3 Tbsps honey or sugar
- 1 pkg instant yeast 2 1/4 tsp
- 20 oz bread flour
- 1 1/4 tsp salt
- Egg wash: 1 egg whisked together with 2 Tbsps water
Instructions
- Add all of the ingredients, except the egg wash, to the bowl of a stand mixer in the order listed. The salt must be added last, on the side of the bowl and should not be in direct contact with the yeast.
- Mix on a low speed with the dough hook until combined, about 1- 2 minutes. Increase the speed to medium and continue to knead for an additional 4- 7 minutes.
- Turn the dough out onto a lightly floured surface and finish kneading by hand. The dough is done once it is smooth and passes the window pane test.
- Lightly oil a clean bowl and add the ball of dough. Flip the dough so that the ball is lightly coated. Cover the bowl and set aside in a warm, draft free location to rise until doubled in size, about an hour.
- Punch the dough down to expel gas. Cover the bowl of dough again and let it rise until doubled again, about 30- 45 minutes.
- Turn the dough out onto a clean work surface and press the gas out. Divide the dough into three equal portions and shape into balls. Roll each ball into a long rope, about 12- 18 inches. Pinch the ends together and braid the three strands. Tuck the ends under and transfer the loaf to a baking sheet lined with a silicone mat or parchment paper.
- Lightly cover the braid with cling wrap. Let the loaf rise for about 30- 45 minutes. Meanwhile, set the oven to 350°F.
- Brush the braid with the egg wash, then bake for 35- 40 minutes, rotating the pan halfway through baking.
- Cool on the pan for about 15 minutes before transferring to a cooling rack.
Notes
- This recipe can be doubled. Divide the dough in half after kneading.
- Check out the blog post for instructions on freezing the unbaked dough.
- Number of servings depends completely on how you cut the loaf. This recipe makes one large loaf.
My Favorite Products For This Recipe

Colleen
Hi there! I’m Colleen, a novice baker with a passion for learning and improving my bakes… and blunders. On Bakes and Blunders, you can find all sorts of tasty recipes that range in difficulty, but most importantly, I’ll try to explain the reason behind important steps. If you know why a recipe works, you can tweak and adapt it to suit your unique tastes, and you’ll be able to reliably produce some very delicious treats. If you love baking and want to expand and grow your skills, or if you are a casual baker and just need some pointers, my blog is right up your alley! Join me on my baking journey and we’ll learn how to make more impressive recipes together.

Fiery Cinnamon Crunch Cookies


12 Comments
Karen
I need the nutritional info, particularly the carb count.
Colleen
The only nutritional information I provide is the calorie count, and even that is just an estimate. You can use your preferred nutritional app to calculate the information that you need.
Dee
Sure thing–It’s on my list! I definitely will report back once I get around to it! Thank you for this beautiful recipe
Colleen
I look forward to it <3
(And thank you for your kind words!)
Rita
I’ve made this bread twice, and it comes out beautifully and very impressive! So far, I haven’t tasted it. I keep giving it as gifts because it’s so pretty! I’m going to make it for us for Christmas! Thanks for sharing. It made good use of my 4 egg yolks left over from making biscotti!
Colleen
I’m so, so happy that you enjoy this recipe! It really is a gorgeous loaf. I hope you get to taste your next one 😉
Brinley Briggs
Im not the most expirienced of bakers but I love doing it for fun and i had 5 extra egg yolks left over and this was perfect! This bread turned out abslutly beautiful and it tastes amazing with some salty butter and jam. I left mine to rise outside and I live in a super tropical environment and it rose amazzing! 10/10 would make it agian soon.
Colleen
Yay! I’m so glad you enjoyed it! I hate waste, so using extra egg yolks to make this yummy bread always makes me happy.
Dee
Hi! In the notes on freezing you say to freeze after the first egg wash, but in the recipe there is only one egg wash. Are we to freeze the challah after it’s braided and egg washed?
Colleen
I used to do two egg washes, but now I do one and just forgot to update that in the blog post. Freeze after braiding and you can apply the egg wash after thawing, before baking. You could also do the egg wash before freezing, but it’s not necessary.
Dee
Amazing! Thank you🙏🙏
ps this is one of the best challahs I’ve ever made hands down. How you do you think it would change if I put whole eggs in instead of just the yolks? Sometimes I’m not baking pavlovas (how I got here in the first place)
Colleen
I love that you enjoy this recipe!! I’ve never made it with whole eggs instead of yolks, but I imagine it would work out basically fine. Instead of 4 yolks, I’d use 3 whole eggs. If you try this, would you let me know how it turns out?