

How to Make Isomalt Agate Slices


Geode Cakes. So hot right now. Okay, they’ve been popular for awhile, but this trend is still beautiful and easy to make. But you know what takes a geode cake to the next level? Isomalt agate slices. They are actually pretty easy to make. Let me show you how!
This page contains affiliate links which means I may earn a commission if you use them. I only recommend tools that I use and trust.
Isomalt Agate Slices vs. Geode Cake
When I say geode cake, I’m talking about the cakes that have a chunk cut out and that’s filled in with rock candy to create the raw geode look. Agate refers to polished slices of geodes. They typically have pretty colors and are given a decorative gold trim.

Isomalt agate slices are great for decorating cakes and cupcakes with this geode theme. In fact, you don’t even have to carve out a geode in your cake to make these bad boys. Another great thing about these agate slices is they are mimicking nature, which means perfection is not necessary!
Supplies
You don’t need a ton of special equipment to make isomalt agate slices, but there are a few items that are a bit of a necessity.
- Isomalt nibs – I used Cake Craft for these, but CakePlay for my isomalt sail. Both worked great.
- Wafer or sugar paper
- Food gel and/ or color dust
- High proof alcohol – I used a small bottle of 100 proof moonshine.
- Silicone baking mat
- Edible gold paint
- Food safe gloves
- Paintbrushes
- Silicone bowls
- Sparkling sugar
- Toothpicks
- Craft knife
Safety First!
Molten isomalt is VERY dangerous. Let me stress this point! If it gets on your skin it will cause serious burns. I suggest wearing a double layer of nitrile gloves or cloth gloves and keep a bowl of ice water nearby. Do not mess with this stuff without proper precautions.
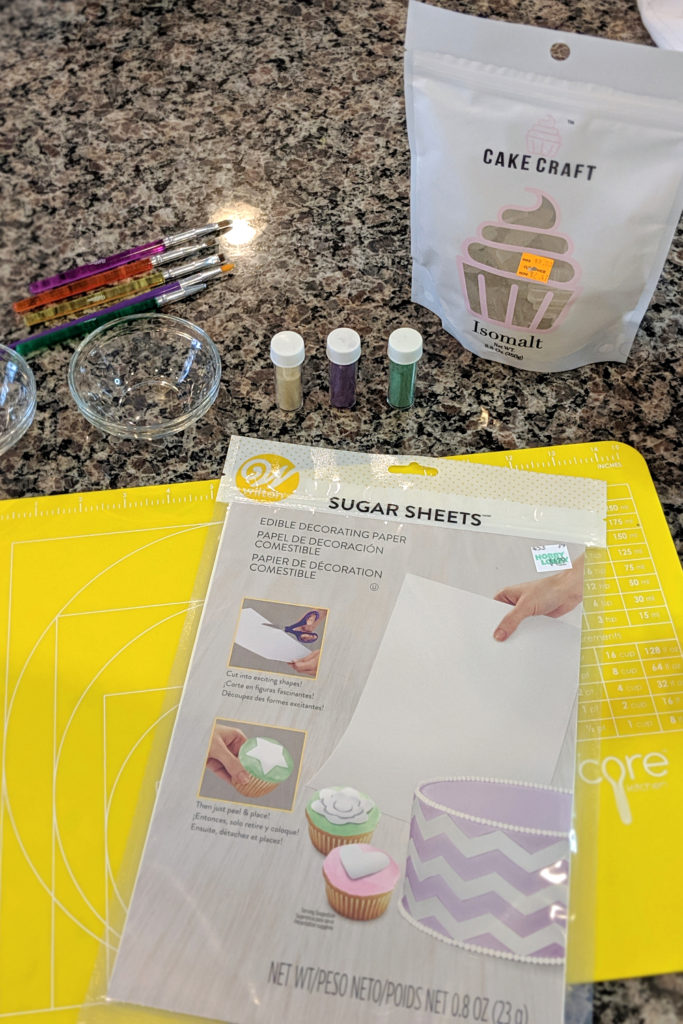
I also suggest working on a silicone baking mat. This will help protect your counter and make clean up so much easier. The silicone mat can handle the heat. In fact, I used mine to create an isomalt sail on my Tequila Sunrise Cake.
Isomalt Agate Slices: Step by Step
I’ve seen several tutorials for isomalt agate slices, but this one is mostly inspired by a geode cake video by Man About Cake. You can watch the full video here for further instructions in case you need it.
1. Mix up any colors you would like to use for your isomalt agate slices. Combine food gel or color dust with a bit of high proof alcohol in a small bowl. You can also tap some color dust into a dry bowl to use as a more “watercolor” effect.
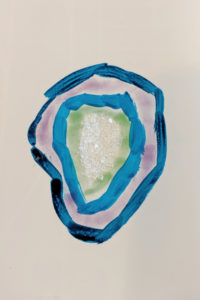
2. Place your wafer or sugar paper on the silicone baking mat. Paint irregular ovals on the paper. You can use the thinned out food gel, hydrated dust, or dry dust. Each option will create a different effect. Paint concentric rings in multiple shades. You can make the slices solid, or place a small mound of sparkling sugar in the center to create a hollow agate. Let the “paint” dry completely before continuing.
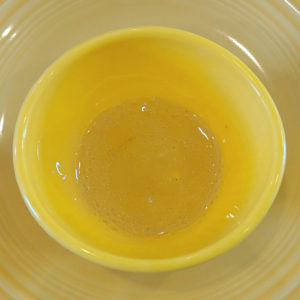
3. Place a few nibs (I did 2-3) in a small silicone bowl. Microwave for 30 seconds, check on it. Microwave for an additional 30 seconds. Swirl around. If it is mostly melted, you can add a bit of color dust and stir with a toothpick. Then microwave for an additional 10- 15 seconds. I added a bit of gold luster dust. The isomalt should be liquid and bubbling.
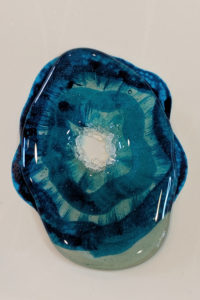
4. Once the bubbles have subsided, slowly and carefully pour the molten isomalt onto the agate stencil you painted. Begin in the center, swirling around the sugar (if using) and working your way out. If you used the sparkling sugar, use the end of your paint brush to gently push the sugar into the isomalt to create the textured geode look.
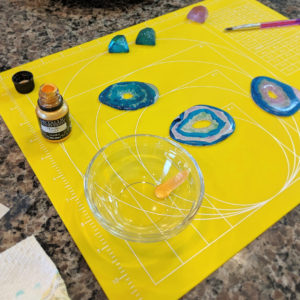
5. Let the isomalt agate slices dry and harden completely. Now cut the agate out one at a time. If you’re using sugar paper, you will need a craft knife to cut the center out. Paint the edges of the slices with a bit of gold for a classy look.
Wafer Paper vs. Sugar Paper
They used wafer paper on Man About Cake. I totes thought sugar paper and wafer paper were the same thing. Well, they aren’t. Oops! But it still worked out, more or less. I would not go out of my way to get wafer paper next time. Just use whatever is easiest to get your hands on.
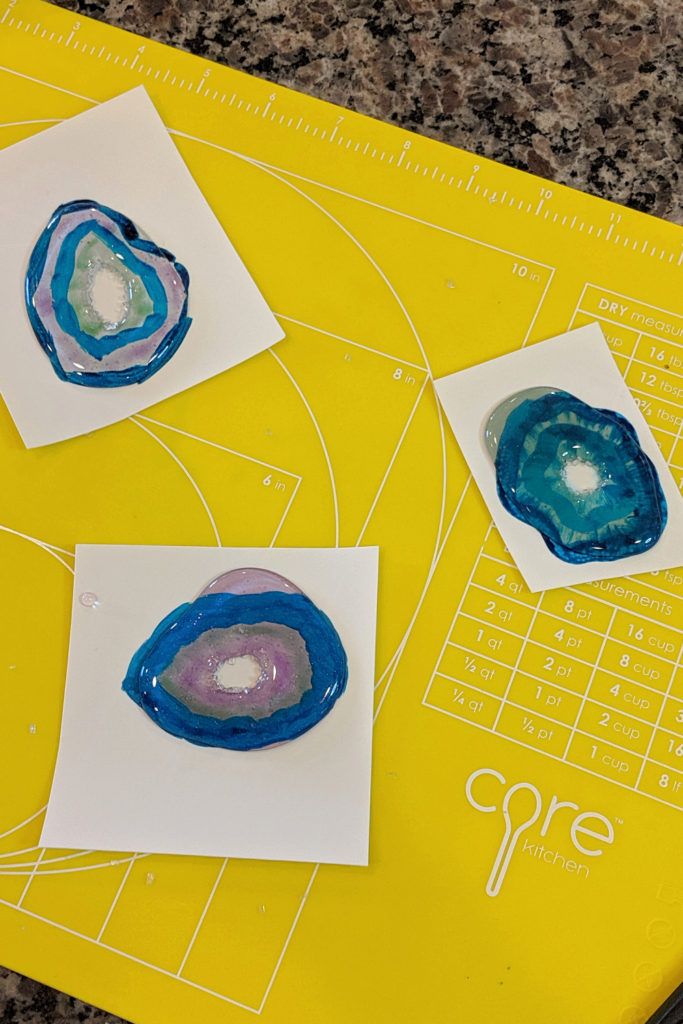
Wafer paper will break apart and you won’t need to use scissors or a craft knife to get the agate out. However, you will need to smear some shortening on your baking mat to prevent it from curling up when you paint. Sugar paper worked, but cutting it out was a tad tricky and I ended up knocking away a lot of the sugar when I cut out the middle.
Tips & Tricks
I used 5 drops of food gel and 1- 3 ml of moonshine to create my “paint”. That was a bit too much. Really, 1 drop of food gel is all you need, unless you want a very dark color. Heck, you could probably even use regular food coloring.
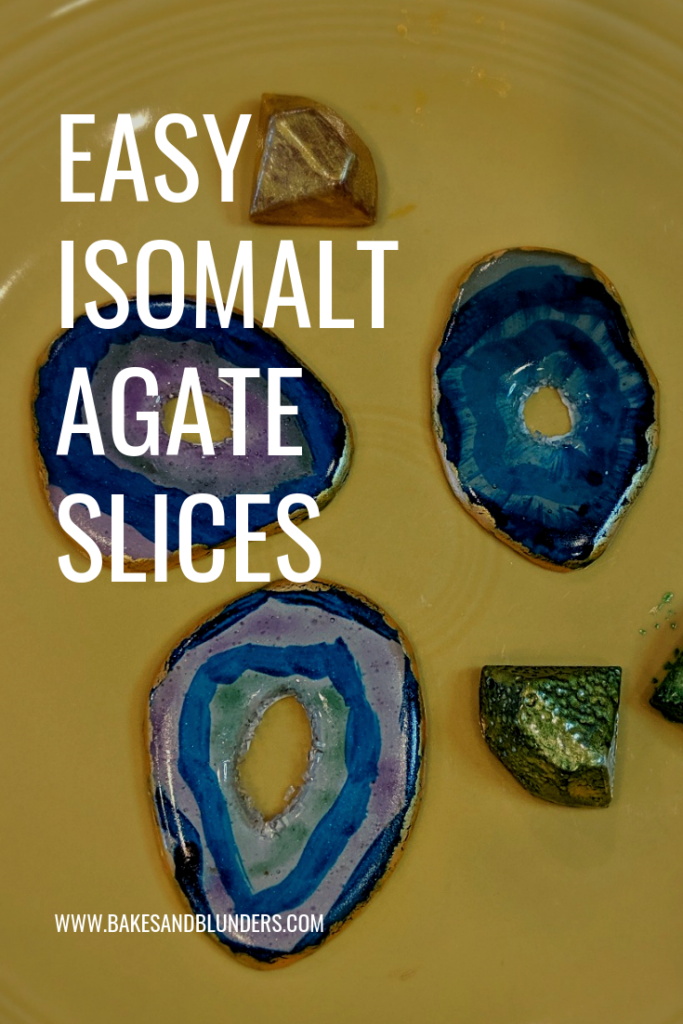
You want the isomalt to be the right consistency when you pour. When it is freshly melted, you’ll notice it swishes around really easily and is kind of thin. As it cools, it will thicken and become sluggish as you swirl. You want it to move easily, but not be too thin or it will be harder to control. I suggest working on isomalt agate slices one at a time. The isomalt will cool down quickly and you don’t want to rush yourself. That could cause mistakes, or even injury. Plus, you’ll figure out your own personal technique with each agate and you may decide to dry something new.
Using the Agate Slices
You can place your isomalt agate slices on cakes, cupcakes, or just admire them. I made these for my son’s 5th birthday party to go with his geode cake. Read all about that one HERE! It’s a great cake decorating technique for beginner’s and the August project for the Sweet Arts Guild.

How will you use your agate? I’d love to hear all about it!
My Favorite Products for this Tutorial
Amazon
Target


Colleen
Hi there! I’m Colleen, a novice baker with a passion for learning and improving my bakes… and blunders. On Bakes and Blunders, you can find all sorts of tasty recipes that range in difficulty, but most importantly, I’ll try to explain the reason behind important steps. If you know why a recipe works, you can tweak and adapt it to suit your unique tastes, and you’ll be able to reliably produce some very delicious treats. If you love baking and want to expand and grow your skills, or if you are a casual baker and just need some pointers, my blog is right up your alley! Join me on my baking journey and we’ll learn how to make more impressive recipes together.




4 Comments
Morgan
Wow! These are so cool! Your tutorial is super helpful too! Thanks for sharing.
Colleen
I love how unique they look. And that gold trim is so pretty!
Beth
This looks spectacular and adventurous! I enjoy reading your posts always, but this one takes the cake (sorry, couldn’t resist) because I’ve never even heard of isomalt! What a great cake for a 5-year-old’s birthday, too. I think you are going to have to change the term “novice” pretty soon. And for some reason it won’t let me leave a star rating, so sorry.
Colleen
Thanks Beth! I always love reading your own posts/ recipes and your comments 😀 Before I joined the Sweet Arts Guild, I had no idea what isomalt was either. Hmmm… I’m not sure why the star rating won’t work on this. I’ll look into it!