

Chocolate Peppermint Biscotti


Rich, mellow chocolate and bright, bold peppermint are a perfect flavor match, especially during the chilly months of winter. Now slap these flavors together in a twice baked cookie, specially engineered for dunking in hot coffee and you’ve got yourself a moment of bliss. Let’s talk about how to make these chocolate peppermint biscotti.
This page contains affiliate links which means I may earn a commission as an Amazon Associate (or other affiliate program) from qualifying purchases. I only recommend products that I use and trust.
Swapping in Cocoa Powder
I love, love, love, biscotti. They’re pretty dang easy to make, plus they taste incredible dipped in a hot tea latte when I’m cozied up with a good book. I have a ton of recipes, but I’ve never made a batch of chocolate biscotti before.
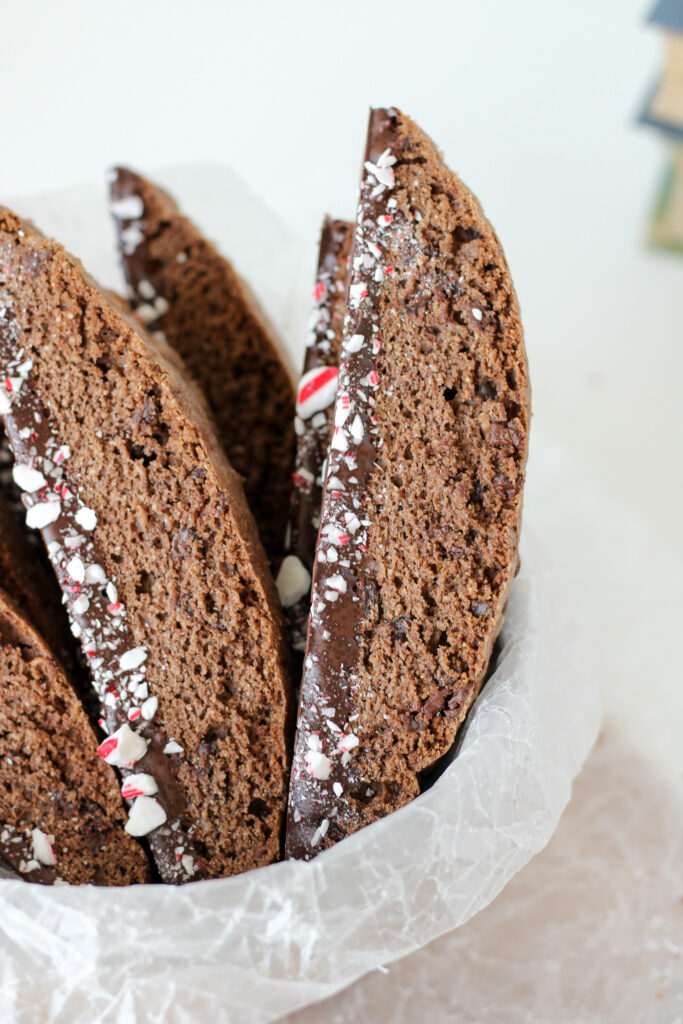
Cocoa powder behaves very differently than flour and can drastically affect the texture of a bake, so you can’t just swap out flour for cocoa powder and call it a day. Since cocoa powder absorbs more liquid, I removed some of the flour and added less cocoa powder back in.

Chocolate Biscotti Experiment
Y’all, I had no idea if this was going to work, but the dough looked great, so I was hopeful. If this batch failed, I’d tweak it and try again. No biggie. Luckily though, it was perfect!! Texture wise, this chocolate biscotti came out perfectly.
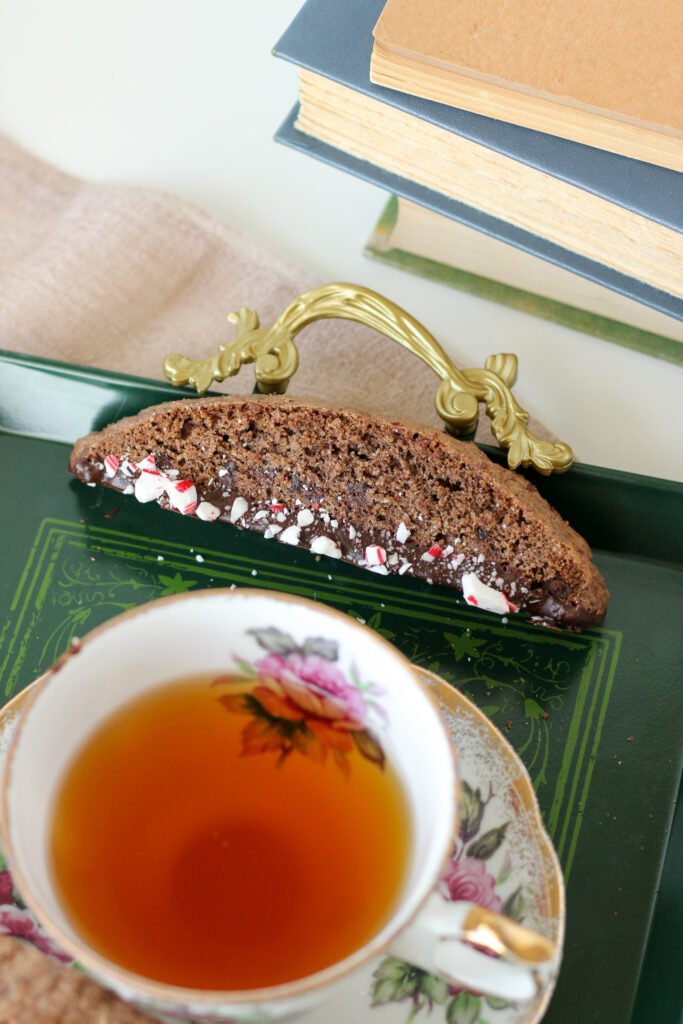
The chocolate flavor is definitely there, but this is not an in your face chocolate explosion. For some people, that’s perfect. In the future, I’ll experiment with making a more chocolate intense variety.
You can increase the chocolate experience here by adding a few more mini chocolate chips, or dipping the biscotti in chocolate like I did with the s’mores biscotti. However, in my humble opinion, these chocolate peppermint biscotti are a delicious balance of chocolate and peppermint.
Peppermint Oil vs Peppermint Extract
The chocolate situation was a shot in the dark, but so was my peppermint flavoring. I got peppermint oil when I went on a King Arthur Baking shopping spree for my birthday (check out the haul), but haven’t used it until just recently. It’s strong.

Peppermint oil is far more concentrated than peppermint extract. If you have peppermint extract, you can use the same amount, but I would expect it to be a less intense experience. Use your nose though. As you’re stirring the batter, add a tiny bit more if you feel like it is lacking.
Keep in mind, we’re adding crushed candy canes to the bottom of these chocolate peppermint biscotti, so there will be more peppermint coming at you!
Peppermint Balance
Although the chocolate peppermint biscotti was looking great in the oven, I was feeling a bit panicked when I opened it up. My eyes about burned straight outta their sockets when the peppermint wave hit me. I though for sure the peppermint oil was excessive and these cookies would be inedible.
But, I also knew I needed to give them a chance and see what I needed to change, so I carried on and finished baking them. And boy was I surprised.

Yes, my eyes burned every time I opened the oven, but the final product was actually balanced in flavor! The chocolate biscotti provided a deliciously mellow base for the bold peppermint. It was not overpowering and not at all a background flavor. Chef’s kiss.
Related Reading: Brown Butter Pistachio Biscotti
Top Tips for Biscotti
- Use bowl scrapers to shape the dough into a log. Wearing gloves can help minimize the mess too. Or skip the gloves and lightly coat your hands in canola oil.
- Make sure the biscotti loaf is FULLY baked after the first go in the oven. If the center feels soft, pop it back in until completely cooked through.
- Let the loaf cool completely before slicing for the best texture.
- Prevent the sliced biscotti from burning by insulating the bottoms with a silicone mat and adding a second baking tray.
- Store cooled biscotti layered between wax paper in an airtight container on the counter for 1- 2 weeks
Candy Cane Lane
There are many ways to dip and decorate biscotti. Check out my other biscotti recipes if you want to try something different. Gently melt some chocolate and place it on a warmed up plate that is large enough to fit the length of a biscotti.

Take cooled biscotti one by one and dip the bottoms in the melted chocolate. Wiggle back and forth to create a rim of chocolate, then scrape the excess off the bottom. Now you can sprinkle crushed candy canes onto the biscotti! Set them on a piece of wax paper until the chocolate is firm.
Crushing Candy Canes
Getting perfectly crushed candy canes is a surprisingly difficult task. You want chunks that are about the size of a grain of rice. Basically, big enough to provide some crunch, but small enough to stick to the chocolate.
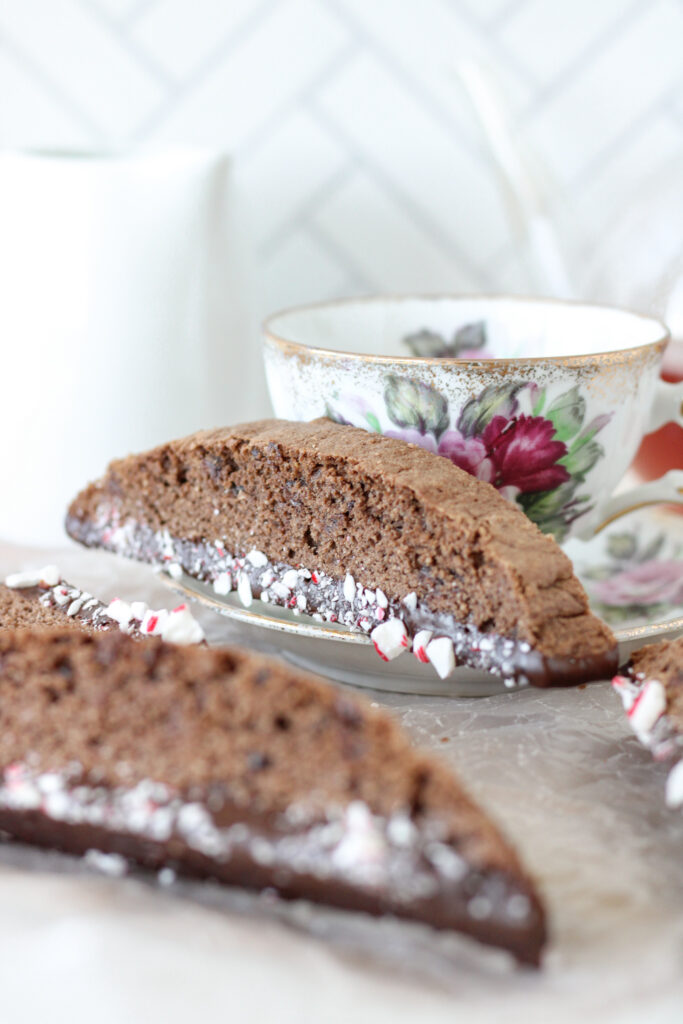
In the end, I put 2 or 3 full sized candy canes in my mini food processor and briefly gave them a whirl. Any large pieces went back into the processor. It wasn’t perfect, but it worked well enough.
Some Tools I Used For This Recipe
Related Reading: Chocolate Mayonnaise Bundt Cake
Enjoy!
Now grab a piece of your chocolate peppermint biscotti, whip up a hot coffee, and curl up with either a good book or entertaining show. Enjoy a few moments of peace and relaxation during the stressful, dreary winter.

I hope you enjoy this recipe and have a wonderful day. Happy baking 😀

Chocolate Peppermint Biscotti
Ingredients
- 160 g cake flour
- 50 g almond flour
- 20 g cocoa powder
- 1 tsp baking powder
- ¼ tsp salt
- 2 eggs room temperature
- 160 g sugar
- 1/2 tsp peppermint oil
- 80 g unsalted butter melted
- 100 g mini chocolate chips
- 113 g semisweet chocolate finely chopped
- Candy canes crushed
Instructions
- Sift the cake flour, almond flour, cocoa powder, baking powder, and salt into a bowl and whisk to combine.
- In a large bowl, beat eggs, sugar, and peppermint oil with a hand mixer on a medium speed until it has at least doubled in size, about 3 minutes. Add the melted butter and stir to combine.
- Add the dry ingredients and gently fold until just about combined. Add the mini chocolate chips and fold gently to combine. Cover the bowl and chill until cold, about 1- 3 hours.
- About 15 minutes before you are ready to take the dough out of the fridge, preheat the oven to 350°F and line a baking sheet with a silicone mat.
- Turn the biscotti dough out onto the prepared baking sheet and shape into a 10- 12 inch log. The dough will be sticky. It helps to wear food safe gloves, use cake scrapers, or lightly oil your hands.
- Bake the log for 35 - 40 minutes, or until light golden brown. The biscotti is completely baked when the top does not dent when poked and a skewer comes out clean (though you may see melted chocolate). Cool on the baking sheet for 15 minutes before carefully transferring to a cooling rack. Cool for about an hour or so.
- When the log is cool, preheat the oven to 325°F. Slice into 1 inch cookies on a slight diagonal. Place the cookies upright on the lined baking sheet. Insulate the bottom of the baking sheet by placing it inside a second baking sheet of the same size. Bake for 40 minutes, rotating the pan halfway through. Place cookies on a cooling rack and cool completely.
- Melt the semisweet chocolate gently by using a double boiler or the microwave (50% power, stirring every 20 seconds or so). Once the chocolate is mostly melted, continue to stir away from the heat until smooth. Place a large plate in the microwave and heat for 30 seconds.
- Pour the chocolate onto the warmed plate in a rough rectangle shape. Dip the bottoms of the biscotti into the chocolate one at a time. Wiggle slightly to push a bit of chocolate up the sides. Use a small spatula to remove any excess chocolate from the bottom of the cookie.
- Over a separate bowl or plate, sprinkle crushed candy canes onto the melted chocolate (sides only). Set on wax paper until the chocolate is firm.
- To store, place in an air tight container on the counter for up to 2 weeks. Serve with your favorite hot beverage.
Notes
- Depending on how I slice the biscotti, I usually end up with 14- 16 cookies (including the rounded ends).
- If you don't have peppermint oil, peppermint extract should work as well.
- I used about 2 regular sized candy canes.

Colleen
Hi there! I’m Colleen, a novice baker with a passion for learning and improving my bakes… and blunders. On Bakes and Blunders, you can find all sorts of tasty recipes that range in difficulty, but most importantly, I’ll try to explain the reason behind important steps. If you know why a recipe works, you can tweak and adapt it to suit your unique tastes, and you’ll be able to reliably produce some very delicious treats. If you love baking and want to expand and grow your skills, or if you are a casual baker and just need some pointers, my blog is right up your alley! Join me on my baking journey and we’ll learn how to make more impressive recipes together.

Gingerbread Marshmallow Bites

Pecan Streusel Cookies
You May Also Like

Green Tea Macarons with Ginger Buttercream

Almond Joy Macarons with Coconut Ganache
