

S’mores Biscotti Recipe


S’mores are just sweet, sticky fun! If you love the flavor combo of graham crackers, marshmallows, and chocolate, but want something that won’t make a complete mess, check out these S’mores Biscotti. The twice baked cookies are loaded with dehydrated mini marshmallows, mini chocolate chips, and graham cracker pieces.
This page contains affiliate links which means I may earn a commission as an Amazon Associate (or other affiliate program) from qualifying purchases. I only recommend products that I use and trust.
Creating S’mores Biscotti
Obviously, s’mores biscotti will have a different texture profile from the OG dessert, but the flavors are all represented. You’ll end up with delightfully crisp cookies just begging to be dipped in your favorite hot beverage.
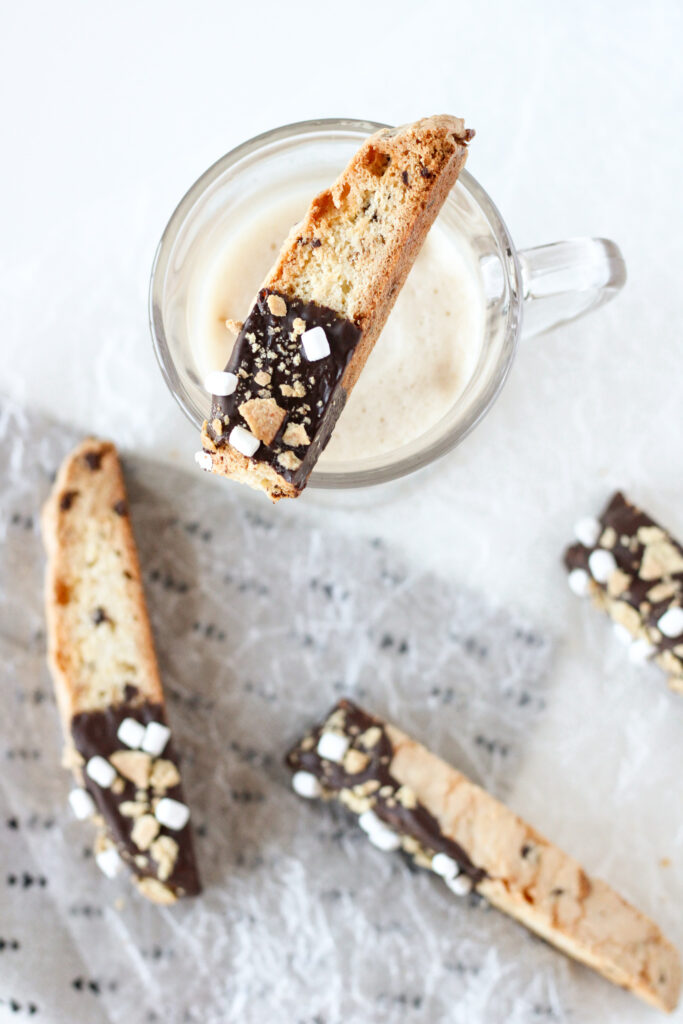
The basic biscotti dough gets stuffed with dehydrated marshmallows, mini chocolate chips, and crushed graham crackers. After two bouts in the oven, the crisp cookies get dunked in more chocolate and topped with another dose of the marshmallows and graham crackers.
Mini Marshmallow Notes
Due to the amount of time biscotti spends in the oven, you just can’t create that ooey gooey marshmallow vibe. Dehydrated mini marshmallows (the bad boys you’ll find in packaged hot cocoa mix) will melt into the biscotti, but they still impart their flavor.

Surprisingly, finding dehydrated marshmallows was quite easy. My local grocery store had them with the other marshmallows. You may also be able to find them at Walmart or Target. I can’t imagine that regular marshmallows would work in this recipe.
Graham Cracker Bits
Similarly to the marshmallow situation, you won’t be able to see much of the graham cracker in the biscotti dough. They tend to blend into the rest of the cookie once baked. However, you can absolutely taste them!
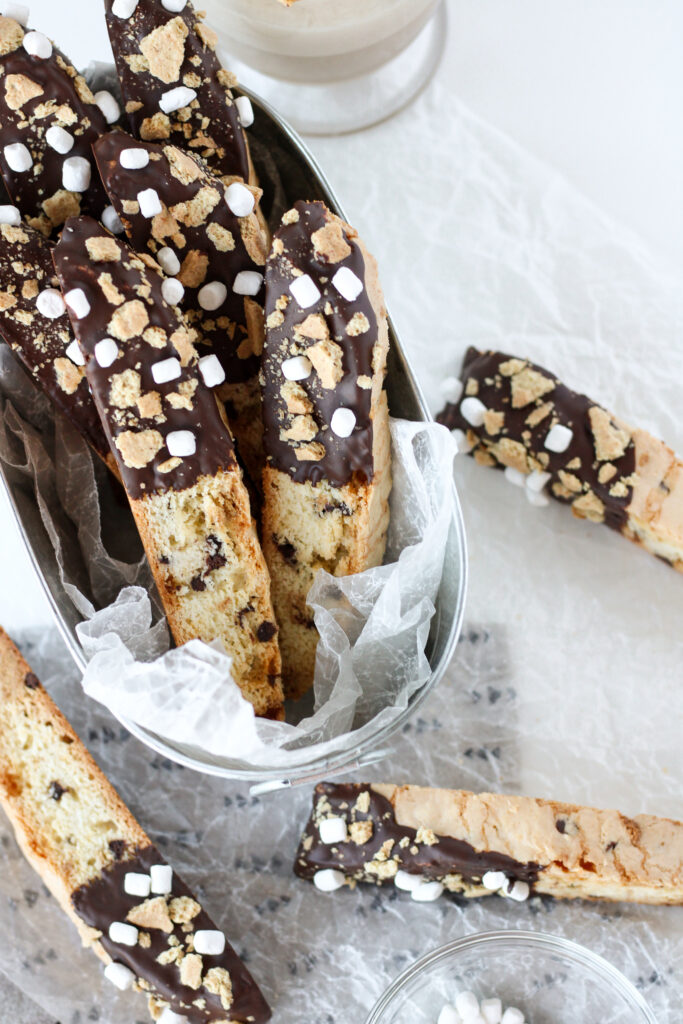
I used two full sheets of graham crackers in the s’mores biscotti dough. Then I had a third sheet set aside for topping the melted chocolate. You can choose how finely you crush up the crackers. I opted for a range from crumbs to chunks to create variety.
Chocolate Dunk
There are soooo many ways to finish off biscotti. Check out my biscotti recipes for more ideas. For these s’mores biscotti, I wanted to create the visual of chocolate, marshmallows, and graham crackers.
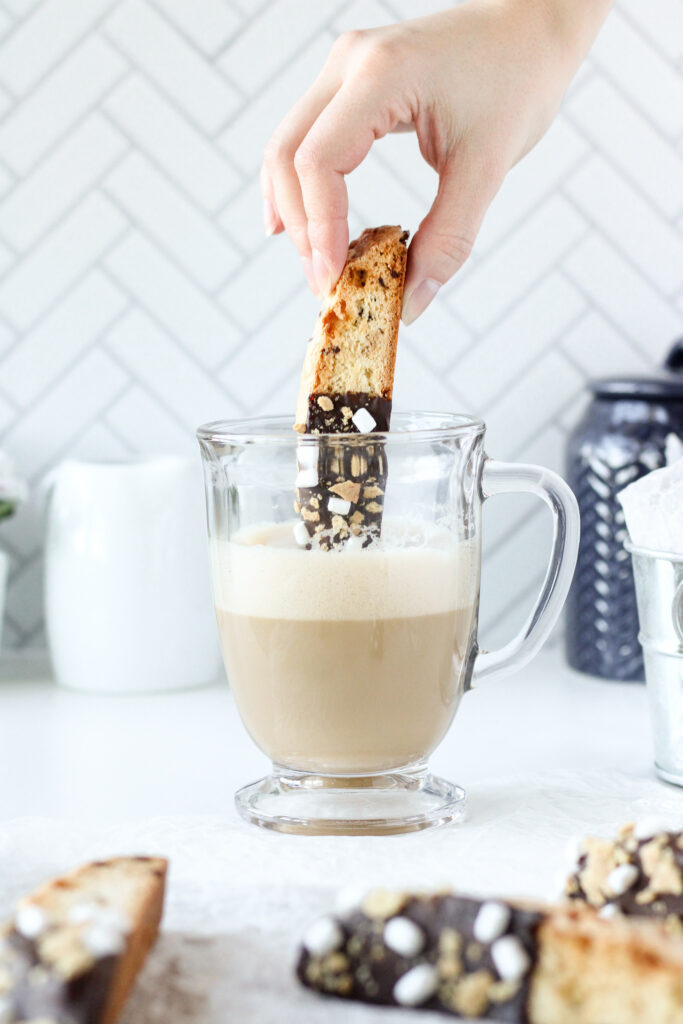
The bit that is dunked in chocolate will require more dunking time in your hot beverage, fyi. Obvis, the chocolate creates a barrier that the drink cannot penetrate. However, since the back is not covered, it can soak in there.
Related Reading: Hazelnut Mocha Biscotti
Top Tips for Biscotti
- Use bowl scrapers to shape the dough into a log. Wearing gloves can help minimize the mess too.
- Make sure the biscotti loaf is FULLY baked after the first go in the oven. If the center feels soft, pop it back in until completely cooked through. It should be a light golden brown.
- Let the loaf cool completely before slicing for the best texture.
- Prevent the sliced biscotti from burning by insulating the bottoms with a silicone mat and adding a second baking tray.
New to Homemade Biscotti?
Making biscotti from scratch is totes easy, but it’s not a very common bake. You can find step by step photos in my Coconut Cardamom Biscotti blog post. That might help you out.

And if you feel like you need more than just photos, check out the Bakes & Blunders YouTube channel. One of my favorite biscotti videos is my Brown Butter Pistachio Biscotti. That should help you out too!

Game Changing Biscotti
Once I started making biscotti, I immediately became obsessed. This stuff lasts for about 2 weeks in an airtight container on the counter and tastes like a spa day (which I realize makes no sense).
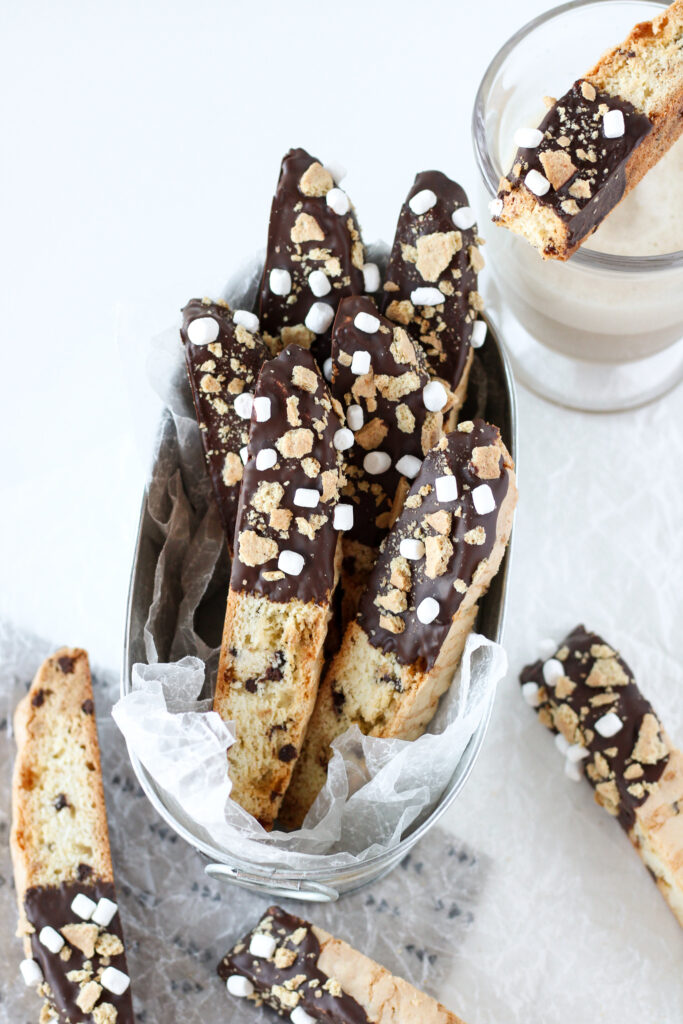
Relaxing with a hot mug of tea, a piece of biscotti, and a good book or show is one of my favorite ways to unwind and just take a much needed break. They also make great gifts and will be a fun addition at any brunch!
Enjoy!
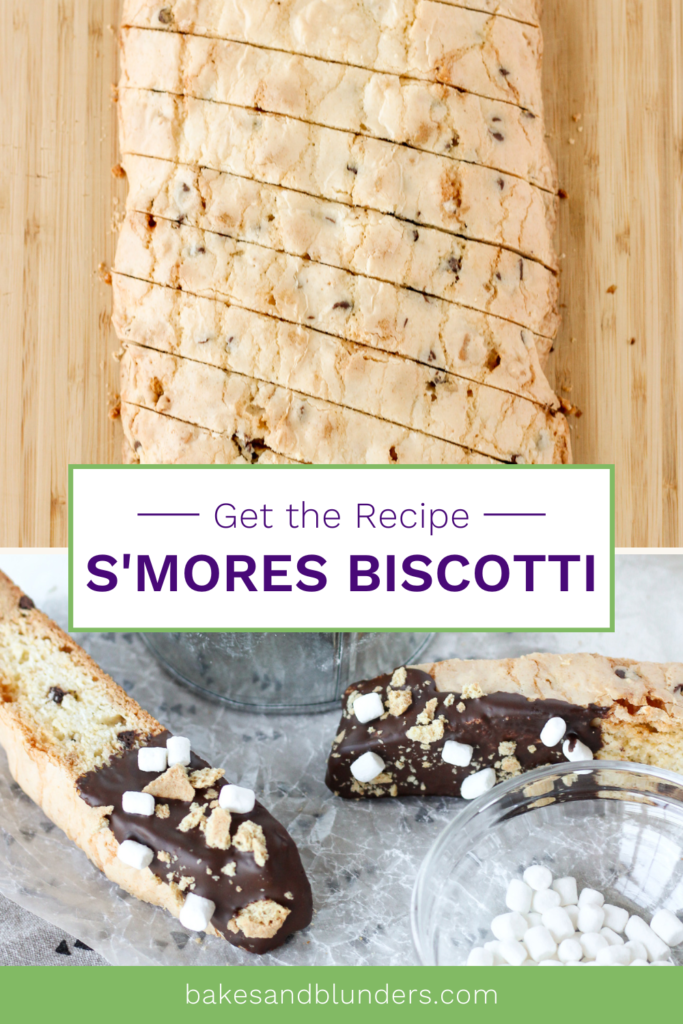
A childhood classic gets an upgrade with this recipe for s’mores biscotti. Crisp cookies loaded with marshmallows, graham crackers, and chocolate are sure to be a hit with any biscotti fan.
S'mores Biscotti
Ingredients
- 190 g cake flour
- 50 g almond flour
- 1 tsp baking powder
- ¼ tsp salt
- 2 eggs room temperature
- 160 g sugar
- 80 g unsalted butter melted
- 15 g dehydrated mini marshmallows plus more for topping
- 50 g mini chocolate chips
- 30 g graham crackers, broken into small- medium chunks plus more for topping
- 113 g semi-sweet chocolate
Instructions
- Sift the cake flour, almond flour, baking powder, and salt into a bowl and whisk to combine. Set aside.
- In a large bowl, beat eggs and sugar with a hand mixer on a medium speed until it has at least doubled in size, about 3 minutes. Add the melted butter and stir to combine.
- Add the dry ingredients and gently fold until just about combined. Add the marshmallows, chocolate chips, and crushed graham crackers to the bowl and fold gently to combine. Cover the bowl and chill until cold, about 1- 3 hours.
- About 15 minutes before you are ready to take the dough out of the fridge, preheat the oven to 350°F and line a baking sheet with a silicone mat.
- Turn the biscotti dough out onto the prepared baking sheet and shape into a 12 inch log. I suggest wearing food safe gloves as the dough may be quite sticky. It also helps to use two cake scrapers to shape the dough.
- Bake the log for 30- 40 minutes, or until light golden brown and fully baked. The top should spring back when gently poked and a skewer will come out clean. Cool on the baking sheet for 15 minutes before carefully transferring to a cooling rack. Cool completely, at least an hour or two.
- When the log is cool, preheat the oven to 325°F. Slice into 1 inch cookies on a slight diagonal. Place the cookies upright on the lined baking sheet. Insulate the bottom of the baking sheet by placing it inside a second baking sheet of the same size. Bake for 40 minutes, rotating the pan halfway through. Place cookies on a cooling rack and cool completely.
- Once the cookies are cool, chop your chocolate as finely as possible and place in a microwave safe bowl. Microwave on HALF power for 30 seconds, stir, then 20 seconds, stir, then 10 seconds, stir. The chocolate will still be quite chunky, but keep stirring and it should become smooth. If it doesn't, microwave on HALF power for 10 second intervals, stirring well between each.
- Dip one end of the biscotti into the melted chocolate. Do this at an angle so that the entire end is not completely covered in chocolate. Check out the photos in the post for more reference. Place the biscotti on a piece of wax paper and sprinkle with more graham cracker pieces and mini marshmallows. Let the biscotti rest until the chocolate is completely set.
- Store biscotti in an air tight container for up to two weeks at room temperature.
Notes
- Depending on how you slice the biscotti, you'll end up with 12- 16 pieces.
My Favorite Products For This Recipe

Colleen
Hi there! I’m Colleen, a novice baker with a passion for learning and improving my bakes… and blunders. On Bakes and Blunders, you can find all sorts of tasty recipes that range in difficulty, but most importantly, I’ll try to explain the reason behind important steps. If you know why a recipe works, you can tweak and adapt it to suit your unique tastes, and you’ll be able to reliably produce some very delicious treats. If you love baking and want to expand and grow your skills, or if you are a casual baker and just need some pointers, my blog is right up your alley! Join me on my baking journey and we’ll learn how to make more impressive recipes together.

4 Yolk Challah Recipe

You May Also Like

Green Tea Macarons with Ginger Buttercream

7 Boba Inspired Dessert Recipes
