

Brown Sugar Espresso Madeleines


Rich espresso and cozy brown sugar are a beautiful pair in each bite of these brown sugar espresso madeleines. The mini sponge cakes are simple to make, but full of flavor. Serve them with your afternoon coffee or tea for a special pick me up.
This page contains affiliate links which means I may earn a commission as an Amazon Associate (or other affiliate program) from qualifying purchases. I only recommend products that I use and trust.
Starbies Inspo
I love the brown sugar oatmilk shaken espresso at Starbucks, so I used that as my flavor inspiration for this batch of madeleines. In hindsight, I kinda wish I had tried subbing in some oat flour just to see what that did to the flavor. Maybe next time…
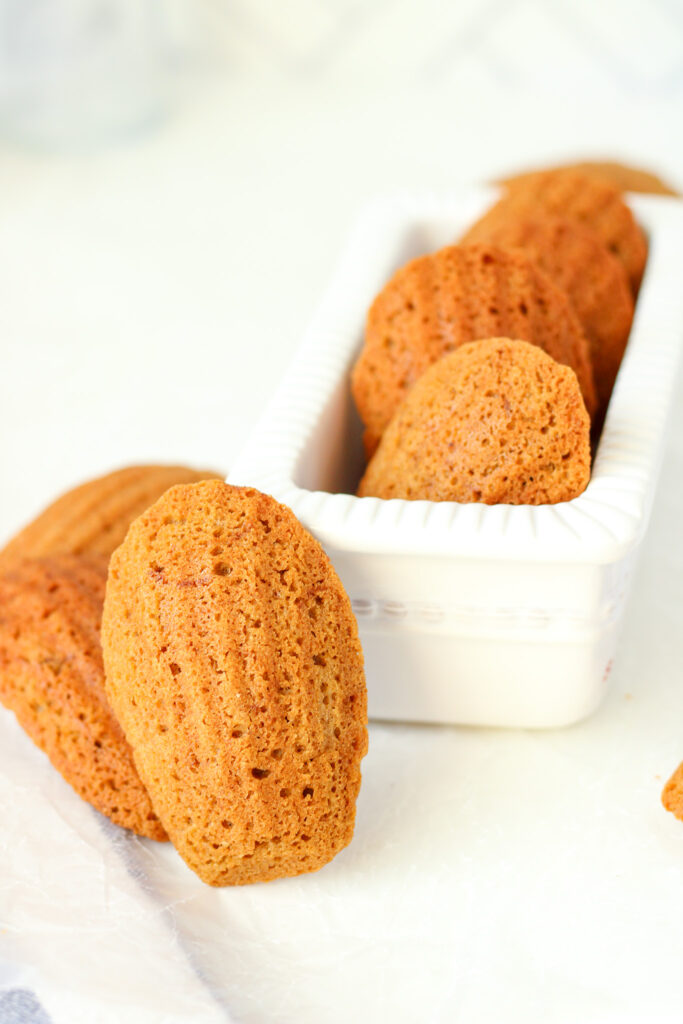
If you are ever in a creative rut with your baking, I highly recommend looking at the menus of your favorite places to eat. In the past, I have taken inspiration from boba tea shops, ice cream parlors, cafes, and more. Put your own twist on it and you might just create something amazing.
Butter + Batter
Just recently, I picked up the tip to mix a small amount of the madeleine batter with the butter before adding it into the rest of the batch. This makes it so much easier to incorporate and minimizes the risk of over mixing.
Try this trick and see how it works for you! Or you can just add all of the butter and fold gently as normal. I didn’t notice a huge difference, but I’ll continue testing it out. I do think it helps a tiny bit at least.
That’s That Me Espresso
Espresso powder is a dry ingredient, so I’d normally add it with the flour and such. However, I wanted the espresso to dissolve to avoid leaving large chunks and speckles in the batter. By adding the espresso to the eggs after they’ve whipped for a bit, the powder has time and the necessary moisture to combine evenly.
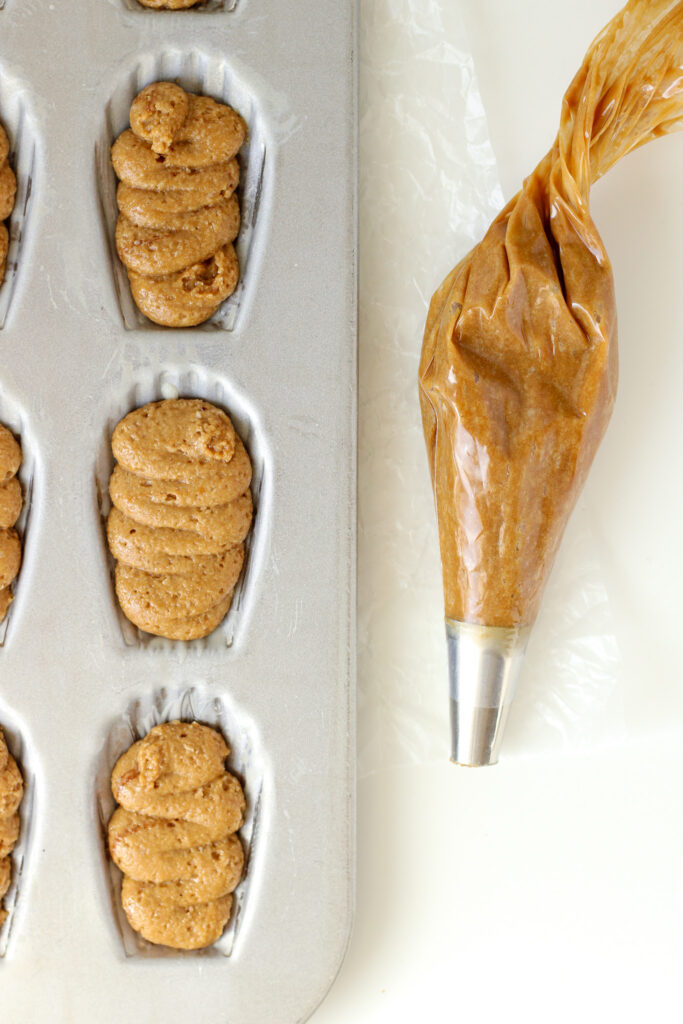
It’s actually surprising how long it does take for the espresso to dissolve. Even as I piped the batter into the madeleine pan, I could see a few streaks. Ultimately, if you do end up with spots, speckles, and streaks, this is such a minor cosmetic issue. Don’t sweat it.
The Experience
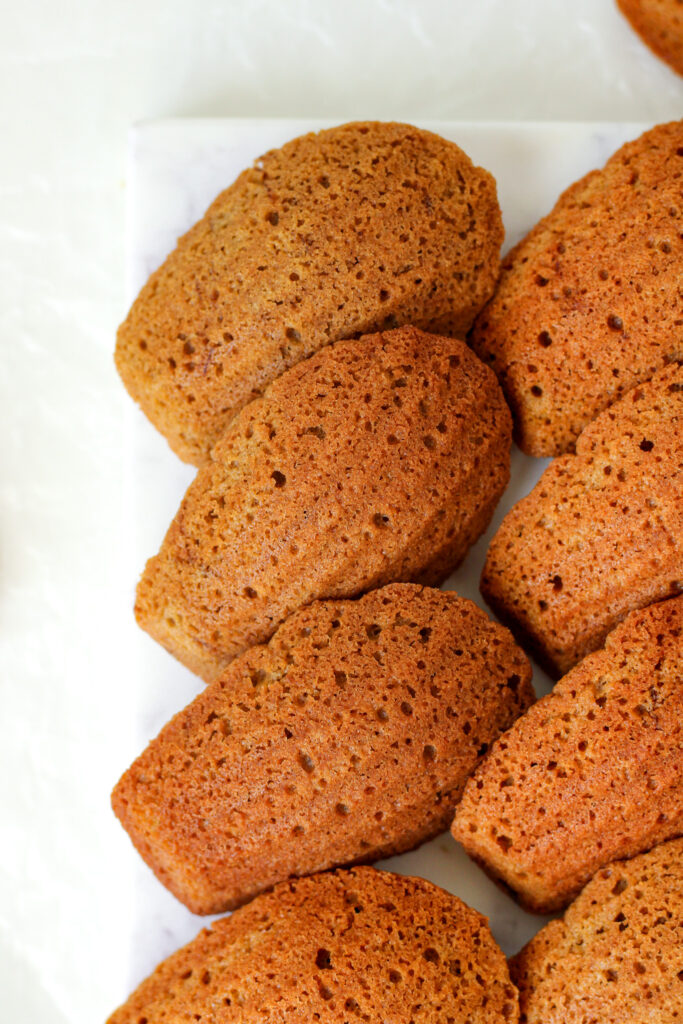
The texture of a perfectly baked madeleine is pure bliss! The soft sponge cakes have a bit of a crunchy or crisp exterior from baking in the buttered pan. This texture duo makes me so happy.

Espresso is the star in each bite of the madeleines. It’s rich, cozy, and perfectly offset by the subtle sticky sweetness of the brown sugar. While the espresso isn’t overpowering, I wouldn’t make these madeleines for someone who doesn’t like the taste of coffee.
Related Reading: Golden Chai Madeleines
Enjoy!
Biting into soft brown sugar espresso madeleines is like hitting pause on your day to just savor the moment. Robust espresso and sweet brown sugar are a dynamic flavor duo in these mini sponge cakes.
I hope you get to enjoy one of these madeleines some time soon. Don’t forget that sharing is caring. Invite a friend or family member over to bask in your baking awesomeness and help you gobble up the madeleines!

Brown Sugar Espresso Madeleines
Ingredients
- 2 eggs room temperature
- 3 oz sugar
- 1 oz dark brown sugar
- 1 Tbsp espresso powder
- 1 tsp vanilla
- 4 oz unsalted butter + 1-2 Tbsps for greasing
- 4.5 oz all purpose flour
- 3/4 tsp baking powder
- Pinch of salt
Instructions
- Place the eggs and sugars in the bowl of your stand mixer and whip on a medium- high speed. Whip until you hit the ribbon stage. The mixture should be pale, thick, and fall like ribbons before sinking into the rest of the mixture. This should take about 7 minutes. When the eggs are done, add the espresso powder and vanilla and whisk to combine.
- Meanwhile, melt the butter while the eggs whip. Set aside to cool slightly. In a separate bowl, sift together the flour, baking powder, and salt. Whisk to combine and set aside.
- When the egg mixture is done, add half of the dry mixture. Gently fold until just combined. Add the remaining dry ingredients and fold until just combined.
- Add the melted butter and fold until the mixture is just combined. It should be thick and glossy. Cover the bowl and chill for at least several hours, or even overnight.*You can mix a small amount of the batter into the melted butter before adding it to the rest of the bowl. This can help make folding in the butter easier.
- About 30 minutes before you are ready to bake, preheat the oven to 350°F. Melt a tablespoon or two of butter and brush your madeleine pan with it. Add a heaping tablespoon (or pipe a shallow layer) of batter to each cavity. Place the remaining batter in the fridge.
- Bake for 13- 15 minutes. The madeleines should be set and when you gently poke one, it should not leave an indent. Let them cool for a minute or two before removing them from the pan. Place the madeleines on a cooling rack to cool completely.
- Once the pan has cooled, you can grease a few madeleine cavities and bake the remaining batter just as we did in the previous step. You will not need to grease the entire pan, just enough for any remaining batter.
Notes

Colleen
Hi there! I’m Colleen, a novice baker with a passion for learning and improving my bakes… and blunders. On Bakes and Blunders, you can find all sorts of tasty recipes that range in difficulty, but most importantly, I’ll try to explain the reason behind important steps. If you know why a recipe works, you can tweak and adapt it to suit your unique tastes, and you’ll be able to reliably produce some very delicious treats. If you love baking and want to expand and grow your skills, or if you are a casual baker and just need some pointers, my blog is right up your alley! Join me on my baking journey and we’ll learn how to make more impressive recipes together.


Tiramisu Layer Cake
You May Also Like

Kryptonite Cake, Your New Favorite Green Velvet Cake

9 Cake Tools Every Home Baker Needs
