Classic Cherry Pie From Scratch


Cherry pie is an iconic dessert come summer. Ripe, juicy cherries are full of flavor and the best way to enjoy them might just be in this cherry pie recipe. But baking pie from scratch can be intimidating, so let me break it down for you.
This page contains affiliate links which means I may earn a commission as an Amazon Associate (or other affiliate program) from qualifying purchases. I only recommend products that I use and trust.
Cherry Pie Breakdown
And no, this isn’t where I tell you about being huddled in the corner of my kitchen sobbing because this cherry pie broke my soul. We’ve all come across that kind of recipe, but this one ain’t that. Basically, we need to make pie crust, cherry pie filling, put the thing together, then bake!
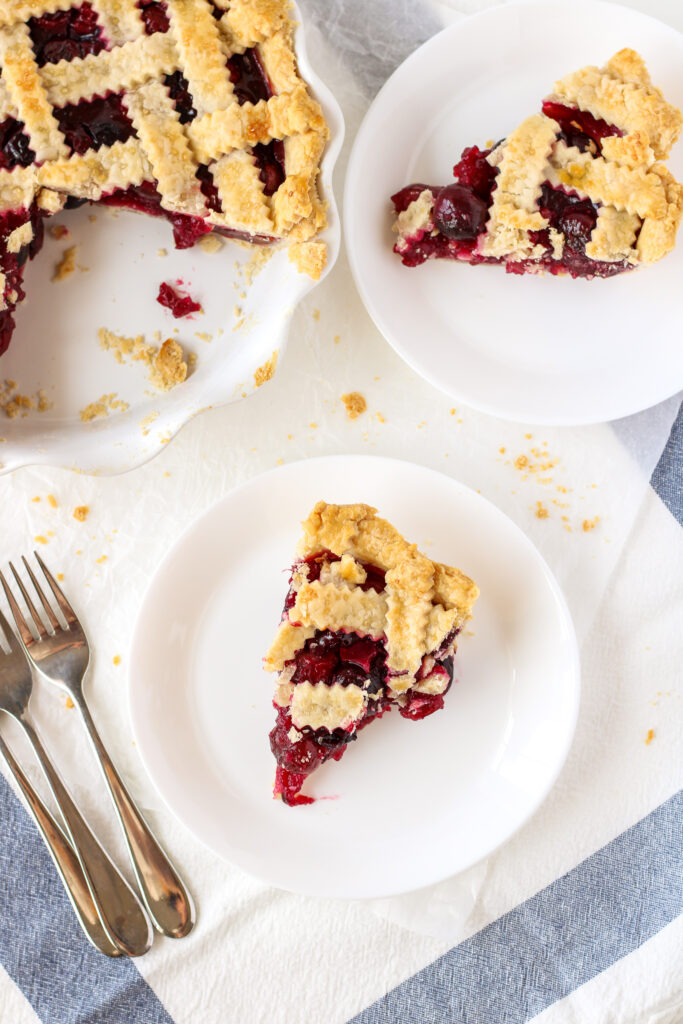
When you break it down like that, it really helps take the OMG factor out of scratch baking. I actually suggest doing the pie crust and filling one day, then assemble and bake on day two. That makes my life easy, but you do you boo.
Pie Crust
My great grandmother’s pie crust recipe has been serving my family for many, many years, so you know I had to stick with that. But this time, I needed a double batch for the lattice crust. If making your own pie crust is a horrifying thought, read my pie crust post for tips and tricks.

Making a lattice on top of the pie might also be a new skill for you. This was only my second lattice topped pie, and I think it came out pretty good! It doesn’t have to be complicated and it doesn’t have to look perfect. It just needs to taste good. At the end of my pie crust video tutorial, I show you exactly how I made this lattice top.
2 Things You Must Have
First thing you must have in order to make this cherry pie filling is a big ole cherry pitter. Mine can pit 6 cherries with one push and it will make your life sooooo much better. Okay, you actually could use a single pitter, or a knife, but this bugger is worth it.
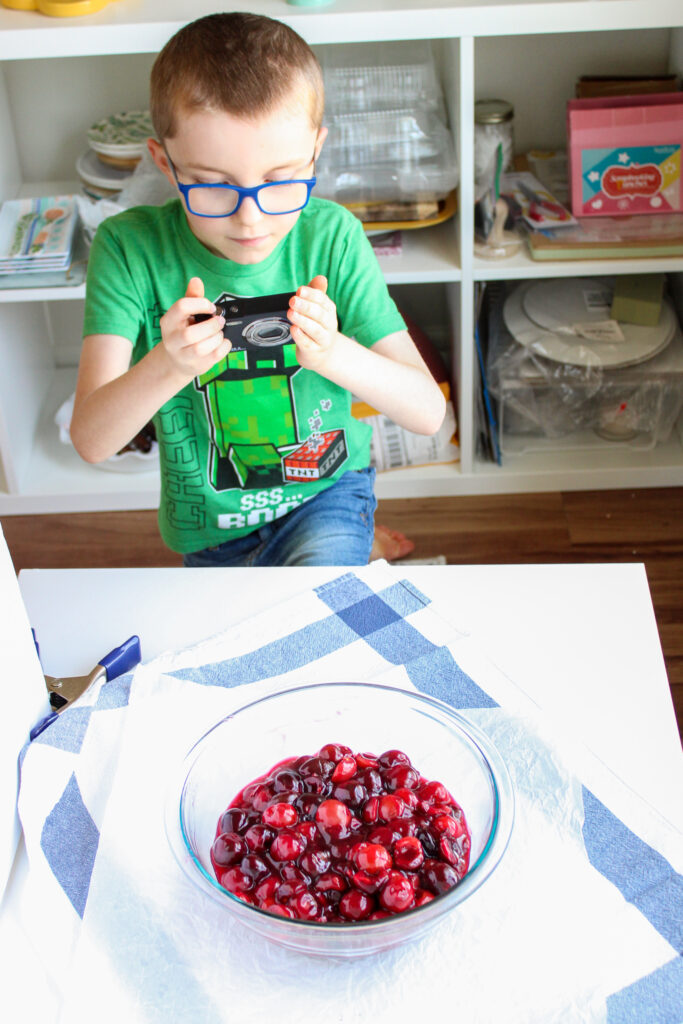
Second, you must have an adorable little helper that chats up a storm while you pit and slice cherries. Preferably a cutie who needs help using the pitter because, and I quote, he “hasn’t been to the gym recently”.
Okay, okay, you can actually make this recipe without either of these, but they sure do help out a lot.

Cherry Pie Filling
Y’all, it’s cherry season. These were the first cherries of the season, so they maybe weren’t the best cherries ever, they were pie worthy. When prepping the cherries, I like to slice some in half and leave the others whole. I feel this gives a nice chunky texture to the pie and delivers maximum cherry goodness.
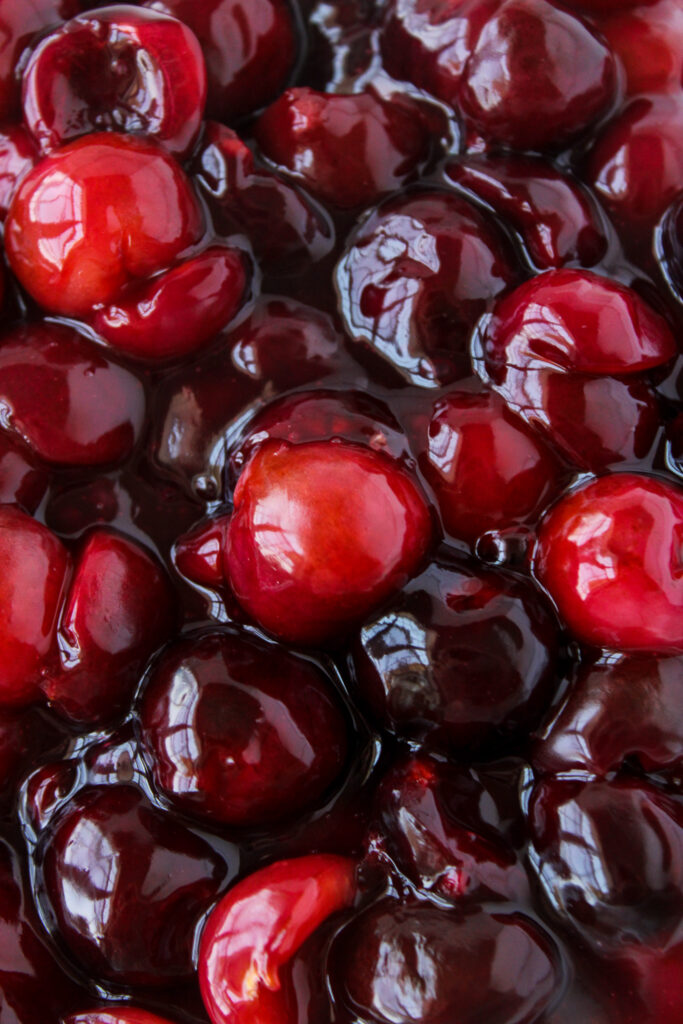
Some recipes do not cook the filling before baking. I like this extra step because it does not take long at all and it ensures a cherry pie that isn’t a runny, sloppy mess. No thank you!
Related Reading: Mini Cherry Pies
Can I Use Frozen Cherries To Make Cherry Pie?
You totes can! I suggest you read more about that in my cherry pie filling post. It’s basically the same process, but you will need to make a change or two. The texture comes out less chunky, but it is still an insane cherry flavor. Plus, no pitting!
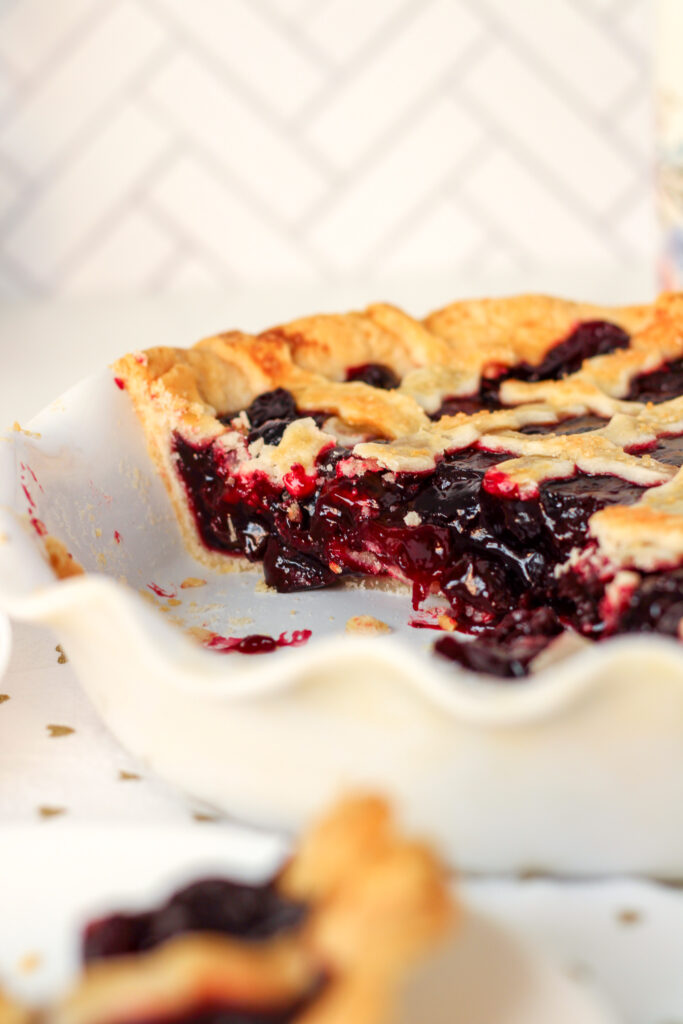
This pie right here was actually made with frozen cherries. It was amazing and I don’t think it looks much different than when I use fresh cherries. Make this pie work for you.
I Don’t Even Like Pie
No, that’s not entirely true. I like eating pie. I do not like making pie. My pies are always very “rustic” and not on purpose. But honestly, aren’t pies supposed to be rough and ready? Am I just making myself feel better?
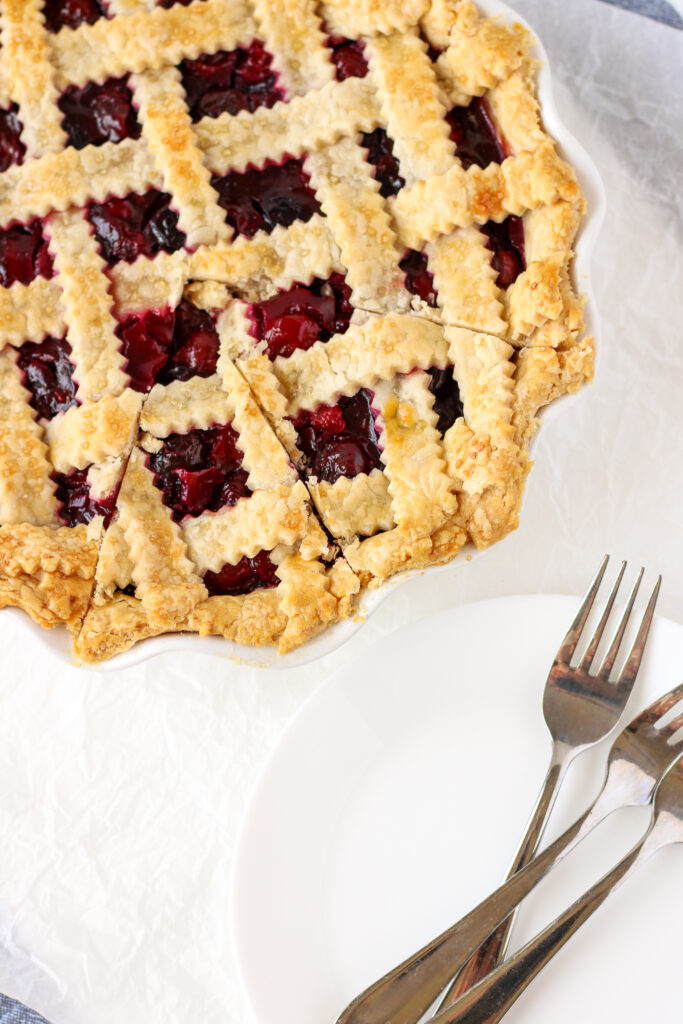
While making pies from scratch is not a favorite activity, I’m more than happy to do it when they taste this darn good. That pie is currently calling my name all the way from the fridge. Can’t tell if this is more of a Cask of Amontillado or a Tell-Tale Heart situation…
Enjoy!
Anywhozins, you really need to be making this cherry pie from scratch this summer. Trust me, it is worth the (minimal) effort. Flaky, crisp pie crust and juicy cherries are truly one of life’s simple pleasures. It’ll be a hit at any summer BBQ, party or picnic. Fourth of July, I’m lookin’ at you…
Don’t forget to pin this recipe for later and follow Bakes & Blunders on Pinterest for even more yummy recipes. Happy Baking!

Classic Cherry Pie
Ingredients
Pie Crust
- 8 oz cake flour
- 5 oz all- purpose flour
- 6.75 oz Crisco cold and cubed
- 1 tsp salt
- 8- 10 Tbsps cold water
Cherry Pie Filling
- 30- 32 oz pitted cherries
- 4 fl oz water
- 2 tbsp lemon juice
- 5 oz sugar
- pinch of salt
- 3 tbsp cornstarch
- 1 tsp vanilla extract
- 1 tsp almond extract
Egg Wash (Optional)
- 1 egg
- 1 Tbsp water
- 1-2 Tbsps turbinado sugar
Instructions
Pie Crust
- In the bowl of a food processor, add flour and salt and pulse to combine. Dot the cubed shortening onto the dry ingredients. Pulse until the flour mixture until it is the consistency of small peas, about 5 pulses. Do not over process. Some larger pieces are fine. You can also do this by hand with a pastry blender.
- Dump the flour mixture into a large bowl. Add 6 tablespoons of water and begin combining the dough with a fork or dough whisk. Add more water a tablespoon at a time, just until the dough holds together.
- Turn the dough onto a pastry mat and knead 3 or 4 times to bring it together. Divide the dough into two portions. One portion should be slightly larger than the other. Flatten each into a disc, cover in cling wrap, and chill in the fridge for at least one hour, but preferably overnight.
Cherry Pie Filling
- Combine cherries, water, lemon juice, sugar, salt, and cornstarch in a large saucepan over medium- high heat. Bring to a boil, stirring occassionally.
- Reduce the heat to low and simmer until thickened, stirring constantly. (This could take a few minutes or up to 15 minutes.)
- Remove from heat and mix in the vanilla and almond extracts. Set aside to cool slightly. If preparing the filling in advance, cool to room temperature, then cover and place in the fridge for up to 3 days.
Cherry Pie Assembly
- Preheat the oven to 375°F. Place the oven rack one rung below the middle setting.
- Remove the dough from the fridge and let it sit at room temperature for just 5- 10 minutes. Roll the larger portion out to a 12 inch circle. Transfer the pie dough to a 9 or 10 inch pie plate. Gently press the dough into the corners. Leave any extra dough hanging over the edge. Add the cherry pie filling and set aside.
- Take the smaller portion of dough and roll it out to a 10 inch circle. Use a pizza cutter or pastry wheel to cut the dough into strips. The width of the strips is completely up to you.
- Place strips across the cherry pie, leaving space between them. Then pull every other strip back halfway. Place a strip of dough perpendicular to the first set up strips, overlapping the strips that were left laying flat. Fold the pulled back strips back down. Now pull back the strips that lay flat last time. Add another strip of dough perpendicular to that first set of strips, overlapping the strips that are not pulled back. Repeat this process until the entire pie is covered with a lattice of pie dough.
- For nice browning and some shine, whisk together the egg and water to make an egg wash. Carefully apply the egg wash to any exposed pie crust. You do not want the egg to pool up, so a thin coating is best. Sprinkle with sugar to finish the pie off.
- Place the cherry pie on a baking sheet and bake for 60- 75 minutes, or until the pie is golden brown. Cool at room temperature for 2 hours before serving.
Notes
- Substitute more all- purpose flour if you don't have cake flour. If using just AP flour, be extra gentle to prevent a tough, chewy texture.
- For more pie crust tips and tricks, read more about my Great Grandmother's recipe.
- Leave some of the cherries whole and slice the others in half for a nice chunky texture. If you prefer fewer chunks, you can slice them all.
- You do not need to use a pie shield, but if you think the pie is browning too quickly, you can tent a piece of foil over top.
My Favorite Products For This Recipe

Colleen
Hi there! I’m Colleen, a novice baker with a passion for learning and improving my bakes… and blunders. On Bakes and Blunders, you can find all sorts of tasty recipes that range in difficulty, but most importantly, I’ll try to explain the reason behind important steps. If you know why a recipe works, you can tweak and adapt it to suit your unique tastes, and you’ll be able to reliably produce some very delicious treats. If you love baking and want to expand and grow your skills, or if you are a casual baker and just need some pointers, my blog is right up your alley! Join me on my baking journey and we’ll learn how to make more impressive recipes together.


You May Also Like

Ube Macarons with Ube Buttercream

Easy Watermelon Cake and Frosting