

Gluten Free Marshmallow Brownies


Brownies, marshmallows, and chocolate ganache. Is there anything more comforting, rich, and indulgent? I mean, maybe, but these Gluten Free Marshmallow Brownies are going to give any other treat a run for their money. And that homemade marshmallow layer is actually pretty darn easy to make, in case you were wondering.
This page contains affiliate links which means I may earn a commission as an Amazon Associate (or other affiliate program) from qualifying purchases. I only recommend products that I use and trust.
Jump to Recipe
Comfort in a Bite
Life in the days of social distancing can be pretty hard, especially for those that aren’t able to be locked up with their loved ones. I decided to spread some cheer and comfort to my gluten intolerant friends by whipping up a batch of gluten free marshmallow brownies.
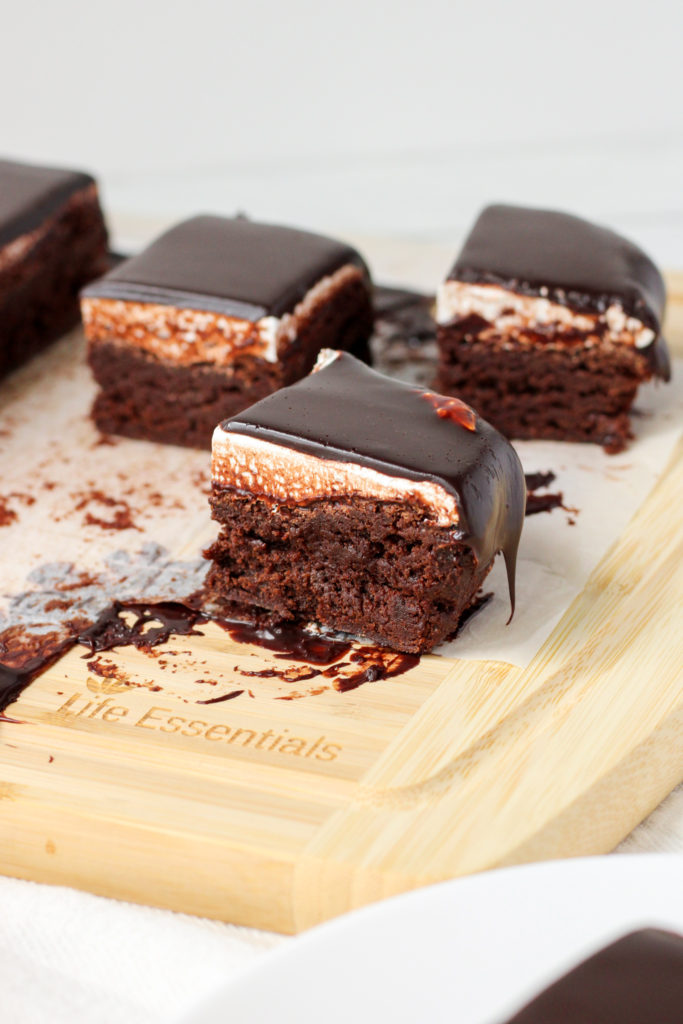
Everyone loves brownies. Sure, we can debate over the finer points of edge vs. center piece (center, obviously), but I’m pretty sure there are numbers to back me up when I say 100% of people love brownies. Okay, maybe not, but it’s a pretty safe bet when you want to whip up a crowd pleasing dessert.
Gluten Free Marshmallow Brownies
Now, why didn’t I just make some simple gluten free brownies and call it a day? Well, if you need to know just one thing about me, it’s that I can’t leave well enough alone and I have to be extra with everything.
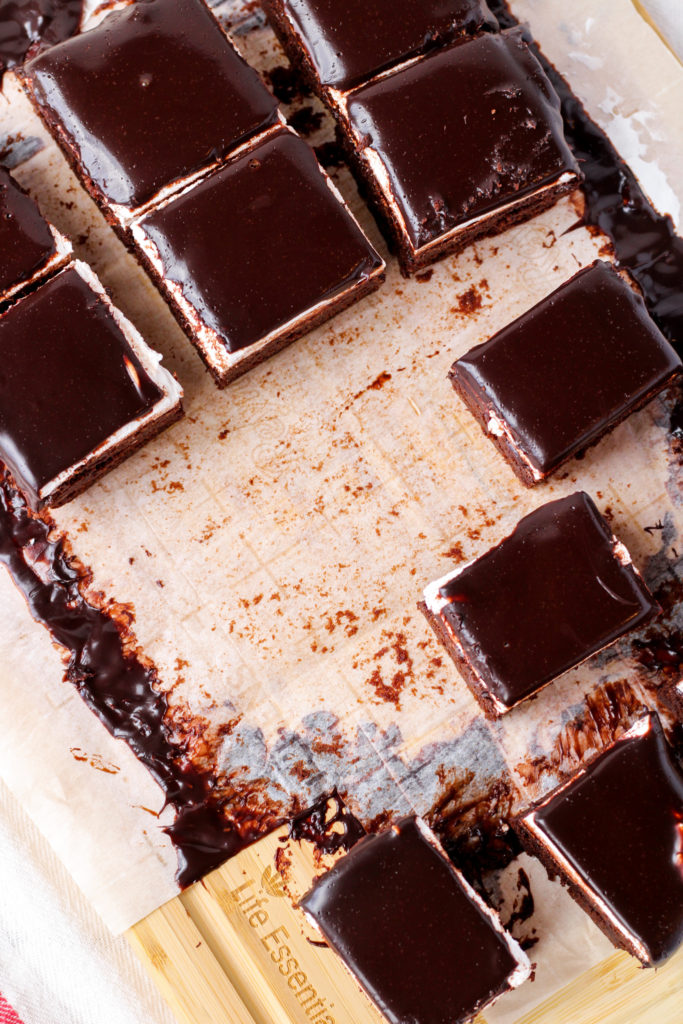
Okay, but also, marshmallows were the baking project in the Sweet Arts Guild and I wanted to try something new. I’ve made regular marshmallows before, so this time I decided to use them as a nice layer to the gluten free brownies. And since you can’t have a naked marshmallow on top, I added another layer of chocolate. Yum!
Print Recipe
Baking Set for Kids
About two years ago, I bought a Green Toys Baking Set so that Ben could learn how to bake with me. He never wanted to use it and I kept forgetting about it anyways. But in that set, there is a little booklet of 10 easy recipes. That’s where I found this recipe! I just swapped in my favorite gluten free flour instead of all- purpose flour.
Related Reading: Gluten Free Buttermilk Biscuits
I love this little set because the measuring cups and spoons are all a different shape. And in the recipes, the ingredients are listed with how many of each shape you need, as well as listing the standard volume measurements. It’s a great way to get kids involved with baking and learning some valuable math skills.

Gluten Free Brownies
Honestly, this recipe is a bit strange, but it worked, so I’m not going to change it. When you combine all of the liquids with the butter, it looks kinda awful. The butter cannot absorb that much liquid, so it gets clumpy and weird. But once you combine it with the dry ingredients, it all comes together.
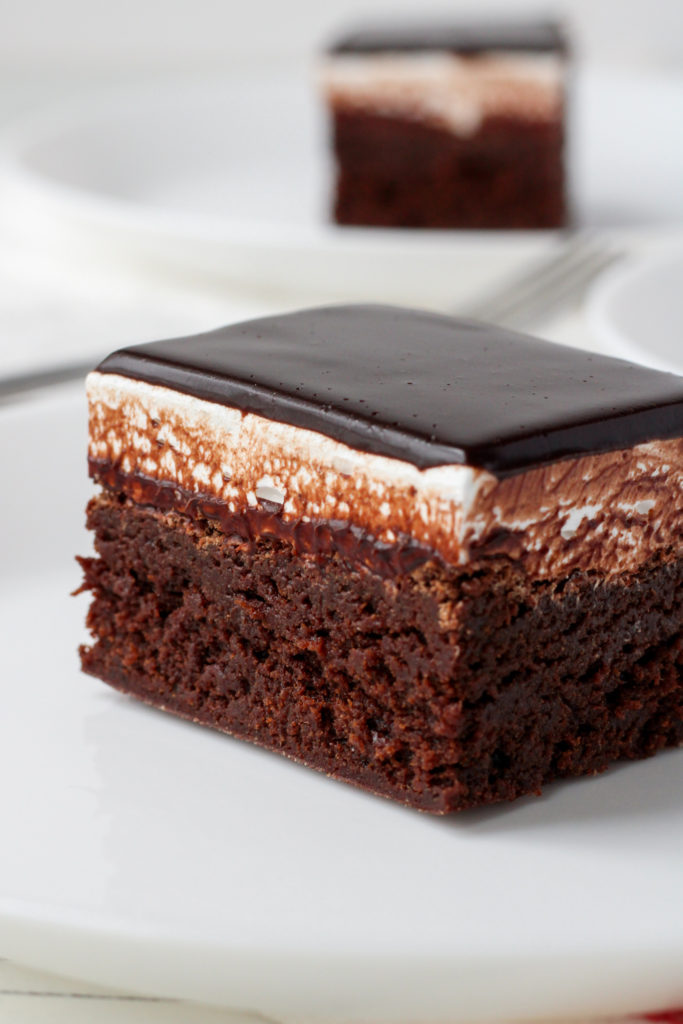
As much as I love eating brownies, I actually don’t care for baking them all that much. They’re easy, but the batter is sticky and I never know how long to bake them since a lot of people like under baked brownies. For these gluten free marshmallow brownies, you want a skewer to come out clean. They’ll still be super fudgy, I promise!
Related Reading: Gluten Free Marble Cake
Baking Pan Size
I made these gluten free marshmallow brownies in a 7×11 inch baking pan, but the recipe called for a 9×9 inch pan. Y’all these brownies were crazy thick! You could try a 9×9 pan, but be prepared to unhinge your jaw for a bite. And you will need to add some time.
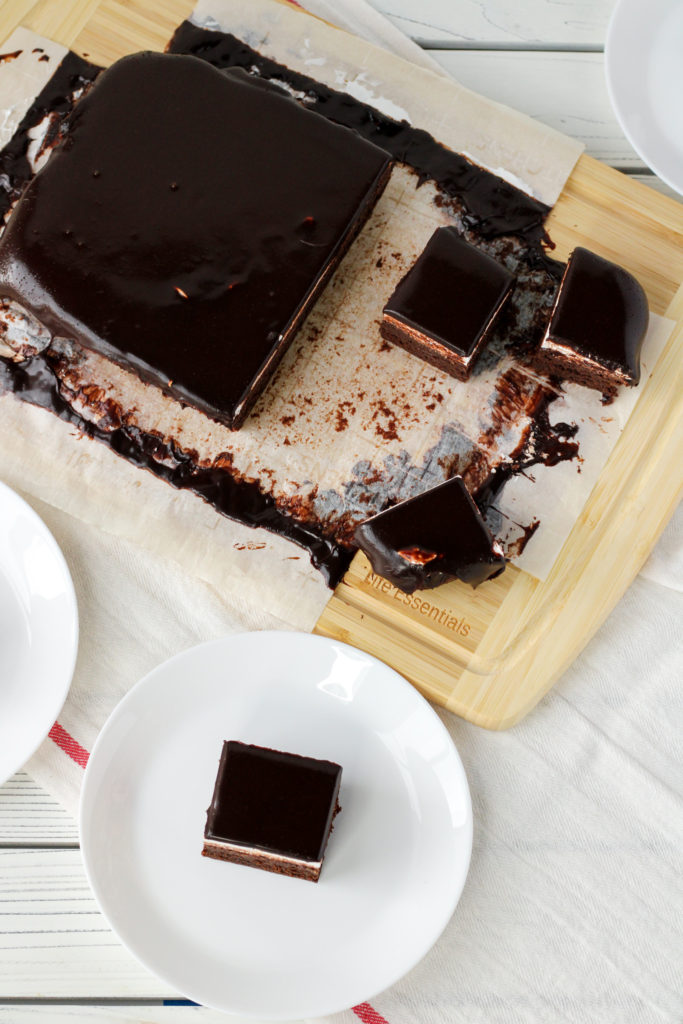
If you don’t have a 7×11 pan, I would try using a standard 9×13 inch pan. Your brownies will be a bit thinner and you might need to adjust the bake time as well. I would also suggest doubling the marshmallow layer because I don’t know if there would be enough to cover a larger pan.
Jump to Recipe
Easy Marshmallow Layer
I’ve made traditional marshmallows before using this recipe from Mean Green Chef. It’s simple and straightforward, so I figured I’d cut the recipe down and use it as my topping for these gluten free brownies. As long as you have a candy thermometer, this will be a breeze! A stand mixer is a big help, but you might be able to do this with a hand mixer too.
Related Reading: Top 10 Basic Baking Tools
Once the marshmallow is done whipping up, you’ll want to work as quickly as possible so that it doesn’t set up too much before you’re done spreading it. Spray a silicone spatula or a small offset spatula with oil so that they won’t stick. Try to get the marshmallow layer as smooth and even as possible.
Chocolate Glaze
As soon as I decided to make gluten free marshmallow brownies, I knew I wanted to make a chocolate glaze to top it all off. Since these triple layer brownies were giving me Mint Chocolate Brownie vibes, I figured I’d use the same glaze.
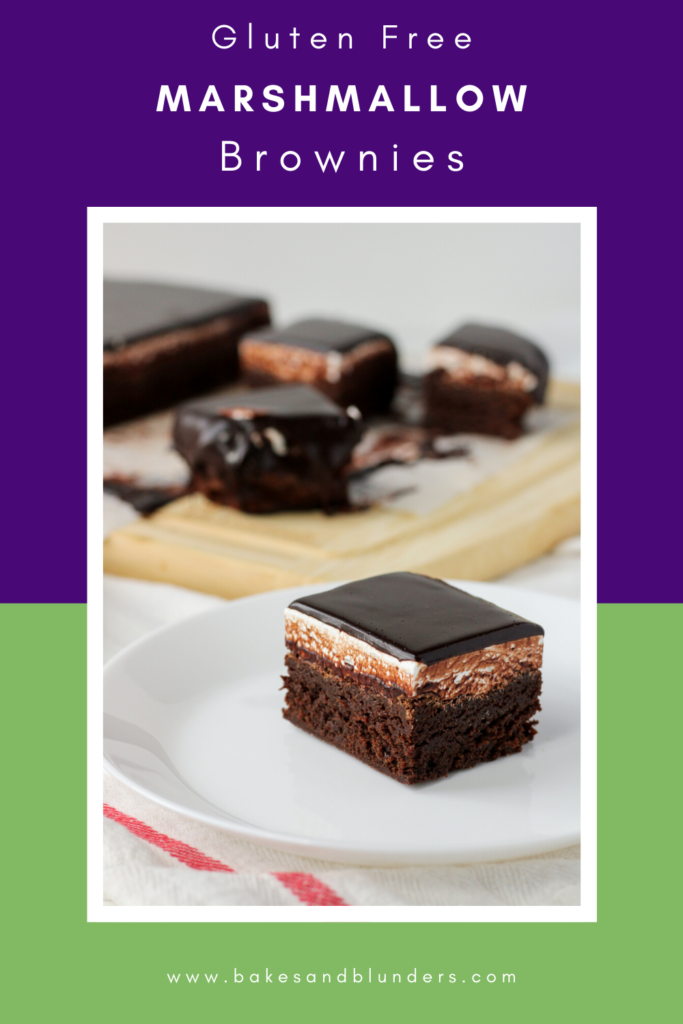 This chocolate glaze (aka ganache) is so crazy easy to make. If you’ve never made a ganache before, check out my step by step guide if you feel you need some pointers. Wait until the chocolate sauce is thick enough that it won’t run straight down the sides. Pour it over the marshmallows and smooth it over any bare areas.
Print Recipe
Enjoy!
Ben and I made another video to show you guys how it’s done! Since he wasn’t sure if he wanted to help, I measured all of the ingredients before we got started, so you won’t get to see the Green Toys Baking Set in action. If there’s any recipe or technique you’d like me to cover in a video, leave me a comment below, or just go ahead and comment on this YouTube video!
Gluten Free Marshmallow Brownies will help get you through this tough time. It may not give you social interaction, but it will distract you for a bit and give you comfort while you indulge your sweet tooth. If you make this recipe, post a picture on Instagram and tag @bakesandblunders so I can see it!
Gluten Free Marshmallow Brownies
Ingredients
Gluten Free Brownies
- 1 cup King Arthur gluten free measure for measure flour
- 2 cups sugar
- 1/2 tsp salt
- 1/2 tsp baking powder
- 1 cup cocoa powder sifted
- 1/2 cup unsalted butter room temperature
- 4 eggs room temperature
- 1 tsp vanilla
Vanilla Marshmallow
- 1 pkt unflavored gelatin
- 80 ml water divided
- 137 g sugar
- 30 g light corn syrup
- Pinch of salt
- 1 tsp vanilla
Chocolate Ganache
- 1 cup chocolate chopped
- 1/2 cup heavy cream
Instructions
Gluten Free Brownies
- Preheat the oven to 350°F. Line a 7x11 inch baking pan with parchment paper. Set aside.
- In a large bowl, add flour, sugar, salt, baking powder, and cocoa powder. Whisk until well combined. Set aside.
- In a medium bowl, beat butter on low until smooth and creamy. Beat in eggs one at a time. Beat in vanilla on medium- low until the mixture is combined. It may still be chunky.
- Add the butter mixture to the dry ingredients. Beat on low to combine, scraping down the bowl as necessary. The batter will be very thick.
- Pour batter into the prepared pan and use a spatula to smooth it into all four corners. Try to create an even and smooth top.
- Bake for 30 minutes or until a skewer comes out clean. Set aside to cool completely before making the marshmallow layer.
Vanilla Marshmallow
- In the bowl of a stand mixer fitted with a balloon whisk, combine gelatin and 40 ml of water. Set aside to bloom while you move onto the next step.
- In a small saucepan, add sugar, syrup, salt, and the other 40 ml of water. Stir to combine and place over medium heat. No more stirring allowed!
- Bring the mixture to a boil and then cover for one or two minutes. Remove the lid and continue to cook until the mixture hits 245°F. Remove from heat. (The lid traps condensation and helps prevent crystallization.)
- Turn the mixer on medium-low and slowly pour the syrup into the gelatin. Bump the speed up to medium and whisk for 5 minutes.
- Increase the speed to high and whisk for 5 more minutes. Add vanilla and whisk until combined. Immediately dump out the marshmallow onto the room temperature brownies and use a greased spatula to evenly spread out the marshmallow. Try to get the top as even and smooth as possible. Set aside to firm up.
Chocolate Ganache
- Once the marshmallow has been sitting for at least an hour, you can make the ganache. Place the chocolate in a heat proof bowl.
- Heat the cream in the microwave or on the stove top until hot, but not bubbling. Immediately pour over the chocolate, making sure all of the chocolate is submerged. Let it sit for 5 minutes.
- Stir the ganache until you have a smooth chocolate sauce. If the mixture is too thin, let it cool until it is pour-able, but thick enough that it won't run everywhere. Pour evenly over the marshmallow and place in the fridge to firm up.
- Let the brownies chill for at least an hour, or even overnight. It will be easiest to cut when cold, but the brownies will taste best at room temperature.
Notes
- I cut mine into 15 large brownies. 20- 30 brownies would give you a better portion.
- Not gluten free? Just use an equal amount of all- purpose flour instead.
- Use a 9x13 inch pan for slightly thinner brownies. You may need to change the bake time.
My Favorite Products for this Recipe

Colleen
Hi there! I’m Colleen, a novice baker with a passion for learning and improving my bakes… and blunders. On Bakes and Blunders, you can find all sorts of tasty recipes that range in difficulty, but most importantly, I’ll try to explain the reason behind important steps. If you know why a recipe works, you can tweak and adapt it to suit your unique tastes, and you’ll be able to reliably produce some very delicious treats. If you love baking and want to expand and grow your skills, or if you are a casual baker and just need some pointers, my blog is right up your alley! Join me on my baking journey and we’ll learn how to make more impressive recipes together.


4 Comments
Taleen
You’ve got me seriously craving these brownies! They look incredible! I’ve never attempted homemade marshmallows, but now I’m tempted to try.
Colleen
I’m craving these brownies again! Haha! Homemade marshmallow is actually pretty easy. And it adds fun flavor and texture to these already amazing brownies. I hope you get to try it 😀
Lindsey | These Hungry Kids
Um….YUM! These look amazing! And the fact they’re gluten-free is a total bonus!
Colleen
Thanks! They are so delicious and you can’t even tell they’re gluten free… but they totes are 😉