

Molasses Brown Bread Rolls


Fall is all about warm, spicy flavors, hearty breads, and good food. This recipe for molasses brown bread ticks all those boxes. I made these rolls to enjoy with a warm bowl of soup and it added so much flavor to the meal. But this bread can throw you some curve balls. Let’s chat.
This page contains affiliate links which means I may earn a commission as an Amazon Associate (or other affiliate program) from qualifying purchases. I only recommend products that I use and trust.
This recipe was originally published on October 24, 2019. It was republished on October 21, 2021 with updates.
Molasses Brown Bread
When I first looked at this recipe from Hostess at Heart, I thought they might be a bit too sweet. I mean, brown sugar, molasses, and honey?! But the whole wheat flour and bite of the molasses make this a mildly sweet roll that works wonders with a savory meal.

Fair warning though. This bread is not mild in flavor at all. It’s got a lot going on. Despite the strong flavor of molasses, I think this is a very versatile loaf that would work well with a lot of Fall meals.

Making the Dough
This molasses brown bread dough is a stiff, sticky mess! When you’re kneading the dough, be careful not to add too much flour. You don’t want it to be an unmanageable sticky mess, but too much flour will produce a dry roll. Aim for a moist dough that doesn’t stick to the counter. You could also try kneading with your stand mixer.
To shape the rolls, check out my step by step video. You’ll want to portion out the dough into equal amounts. Then shape your hand into a C and cup it slightly over the dough ball. Move your hand in a circular motion to bring the dough together. The dough should drag slightly on the counter. If your dough is too dry, lightly dampen the counter to give it some grip.
Baking Problems
If you’ve ever watched The Great British Baking Show, you know that adding cocoa powder to anything is going to give you issues with bake times. You cannot judge if this bread is ready by checking the color. And because the rolls are touching, you can’t lift one up and feel for doneness.

So what’s a little ole home baker to do? The best method is to check the internal temperature. You want the rolls to reach 190℉. I honestly don’t know any other way to determine if they are done. All ovens are different, so you may need a few minutes more or less compared to my bake time.
Blunders?
The first time I made these rolls (two years ago!) was not perfect. My biggest blunder was relying on the recipe and not the internal temperature to determine when to take the molasses brown bread rolls out of the oven.

I just assumed the original recipe was right and I didn’t need to check. Well, my husband ripped into his and, with his best Paul Hollywood impression, said “It’s under baked.” Oops. Luckily, I’ve learned a thing or two since then.
Related Reading: Do I Really Need a Stand Mixer?
How to Fix Under Baked Bread
It’s actually not the end of the world if your bread is under baked. You have a window of about 2 hours when you can still chuck the bread back into the oven for an extra 10- 20 minutes to get that internal temperature up.

This will dry out the bread a tiny bit, but I’ll take dry over doughy any day. You can always slather bread in butter to add a bit of moisture, but there’s no saving a doughy texture.
Top Tips for Yeast Breads
- Make sure your liquid is between 100℉- 115℉ before you add your yeast.
- Knead the dough until it passes the window pane test. You should be able to gently stretch a small bit of dough until you can see light through it.
- Is your house cold? Preheat your oven to its lowest setting while you prep the dough, then turn it off. Let your dough rise (covered) in the warm oven.
Danish Dough Whisk
So I bought a Danish dough whisk, two of them actually, a few months ago. We were about to move, but they were on sale (I want to say Amazon Prime Day…) and I’ve always been curious. Well, I finally decided to use it instead of my stand mixer.
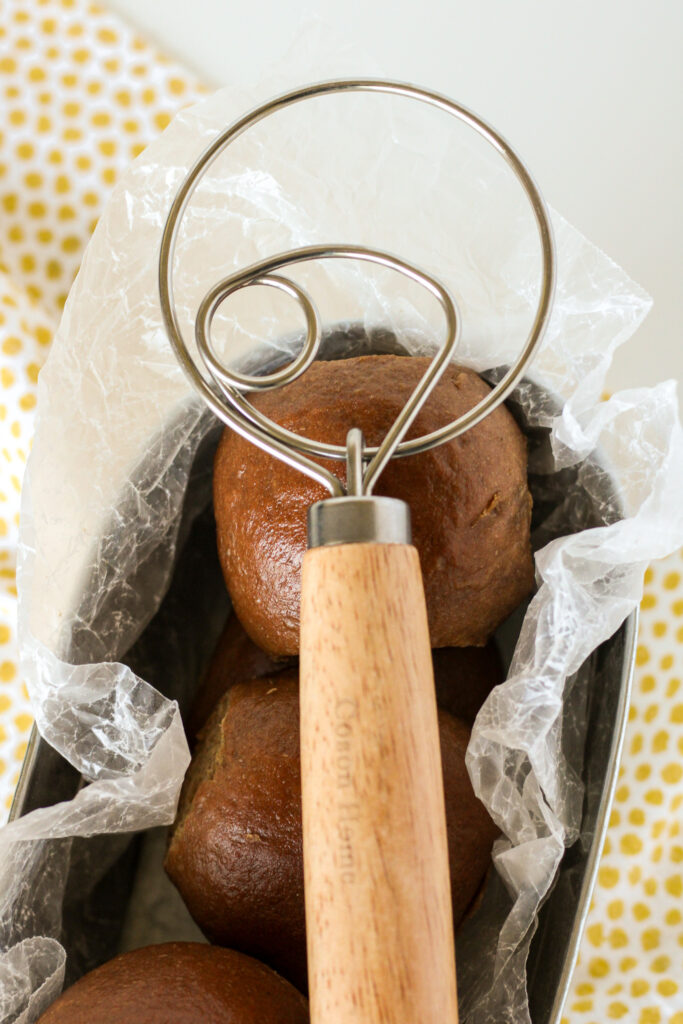
I love it! Is it absolutely necessary? No. But I will say that it brought my dough together quicker and easier than a wooden spoon. If you love making bread by hand, it’s totally worth spending a few bucks on one of these goofy looking contraptions.
Related Reading: Kolache: A Slovakian Walnut Roll
Enjoy!

Molasses brown bread rolls are packed with warm, spicy flavors that you love to eat this time of the year. Make a batch today and enjoy them with a warm, savory dinner.

Molasses Brown Bread Rolls
Ingredients
- 1 cup warm water (110°F - 115°F) 8 fl oz
- 4.5 tsps instant yeast 2 packets
- 1 egg (room temperature)
- 1/4 cup honey 3 oz
- 3 Tbsps molasses 2.5 oz
- 2 Tbsps cocoa powder
- 1/4 cup brown sugar 2.5 oz
- 2 cups bread flour 10 oz (plus extra for kneading)
- 2 cups whole wheat flour 8.5 oz
- 1 tsp salt
- 2- 3 Tbsps butter melted
Instructions
- Combine the water, yeast, egg, honey, molasses, cocoa powder, and brown sugar in a medium bowl.
- Add half of the flour and gently mix with a dough whisk or a wooden spoon to combine. Add most of the remaining flour and the salt to the bowl and stir gently until a shaggy dough forms.
- Dust your work surface with the leftover flour. Turn the dough out and knead until the dough is smooth and only slightly sticky, about 8- 10 minutes. Add more flour as necessary to prevent the dough from being too sticky.
- Place the dough in a lightly oiled bowl, turn to coat, and cover with cling wrap. Allow it to rise in a warm, draft free location. Rise until doubled in size, about 90 minutes.
- Punch down the dough and weigh it. Gently shape the dough into a rough log. Portion the dough into 15 equal chunks. I suggest dividing the weight by 15 to find out how many ounces each roll will weigh. It will probably be about 2.4oz - 2.5 oz each.
- Shape the rolls and place in a greased 9x13 pan. Cover with cling wrap and set aside to rise for an hour, or until puffed up.
- About 30 minutes before the rolls are done, begin preheating the oven to 350°F. When ready, bake for about 25- 30 minutes. The internal temperature should hit 190°F.
- Brush with melted butter as soon as they are done. These taste best warm and topped with more butter and honey!
My Favorite Products for this Recipe

Colleen
Hi there! I’m Colleen, a novice baker with a passion for learning and improving my bakes… and blunders. On Bakes and Blunders, you can find all sorts of tasty recipes that range in difficulty, but most importantly, I’ll try to explain the reason behind important steps. If you know why a recipe works, you can tweak and adapt it to suit your unique tastes, and you’ll be able to reliably produce some very delicious treats. If you love baking and want to expand and grow your skills, or if you are a casual baker and just need some pointers, my blog is right up your alley! Join me on my baking journey and we’ll learn how to make more impressive recipes together.



10 Comments
Nikki B.
It only took an hour to double in size the first rise, and about 35 minutes for the rolls to puff up on the second rise, so I encourage everyone to pay attention to the dough more than the recommended length of time for each rise!
Otherwise, these turned out SO yummy! Had ours with a beef stew, but also with butter and honey! These rolls worked very well with both! Nice, soft and warm texture you’d expect from a good roll! And the checking tge temp to make sure they’re done worked perfectly!
I’ll be making again!
Colleen
Yes, great point! Every kitchen has a different climate which greatly affects rising time. I’m glad you enjoyed the rolls 😀
Mary
May I make a round loaf instead of rolls? Thanks, Mary
Colleen
You absolutely should be able to. I’ve never tried this though, so I can’t advise you on any changes to the bake time.
Linda
This recipe looks delicious. I have not tried it yet. Can this recipe be used for a loaf of bread instead of rolls?
Colleen
I’ve never made this recipe as a loaf, but it should work just fine. Only thing is, I have no idea what the bake time would be. If you test it out, I’d love to hear how long it took to bake.
Carolyn
Could the ingredients be mixed in a bread machine?
Colleen
I’ve never used a bread machine before, so I’m really not sure. You could absolutely mix the dough in a stand mixer with a hook attachment though.
Chef Mireille
these look amazing – love the rich color and I like the tips about what to do if the bread is under baked – good advice!
Colleen
Thanks! Chocolate can complicate things, but numbers don’t lie 😀