

Classic Banana Bread Recipe


Now that I think about it, I don’t know anyone who doesn’t like classic banana bread. Sure, some are fanatics, and others are neutral, but I just can’t bring anyone to mind that actually dislikes banana bread, though, I’m sure they exist out there in this big ole world. For the 93% of the population that enjoys a full flavored, moist, easy banana bread, this recipe is for you!
This page contains affiliate links which means I may earn a commission as an Amazon Associate (or other affiliate program) from qualifying purchases. I only recommend products that I use and trust.
Jump to Recipe
Classic Banana Bread to Fuel Your Day
Okay, maybe don’t eat this banana bread as your main source of energy for the day (try these Puff Pastry Breakfast Pockets instead), but it will definitely put a smile on your face, and nothing is as energizing as a big smile. Josh asked me to make banana bread weeks ago, so I put it on this giant list I have of all sorts of food I want to make. I’m neurotic about my lists, but I never got around to the tasty golden loaf.
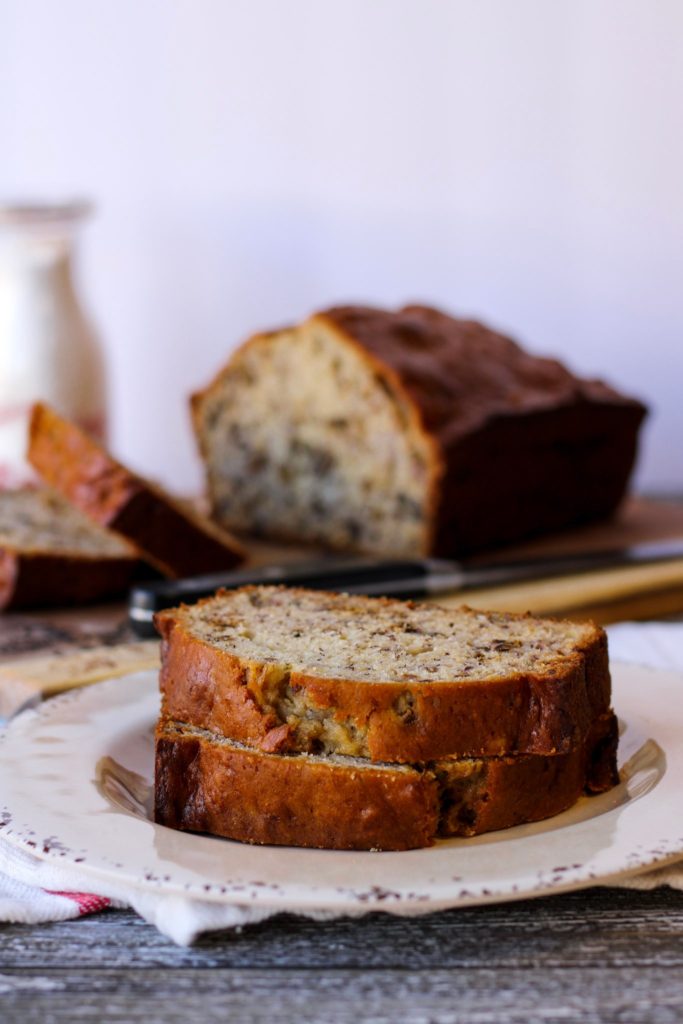
Well, when you’re preparing for a cross-country move, you’ve got to figure out a way to use up your extra eggs, butter, and bananas. This easy banana bread recipe from America’s Test Kitchen was my first choice. I’m inclined to over-complicate anything I touch (pancakes, cupcakes, personal interactions…), so Josh specifically requested I make a regular, classic banana bread. Nothing crazy.
Fine…
But to the Bread
While this recipe is quick and easy, there are a few points I’d like you to keep in mind. Toast the walnuts (okay, I didn’t have walnuts so I used pecans) while you prep the rest of your ingredients. Check them frequently because nuts go from golden to burnt in a snap. They need to cool down before going into the batter, so I threw them in the fridge, but if you toast them in advance, leaving them on the counter is fine.
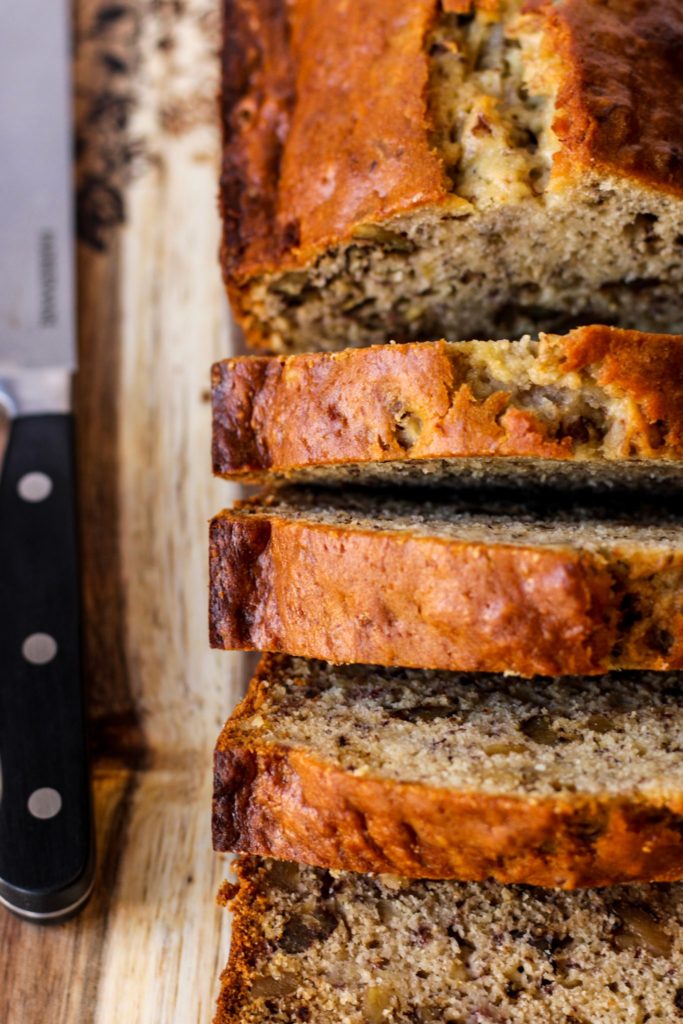
Don’t puree your bananas. It might sound like a good idea to have a uniform, smooth texture, but this will make the batter too thin. When the batter is too thin, the gases produced by the leavening agent (baking soda in this case) escape before the loaf has a chance to rise. Who wants a flat banana bread?
Print Recipe
Method Magic
For this recipe, we’ll be using the quick bread method. This means we mix together the dry ingredients in one bowl, wet in another, then add wet to dry and combine. Super easy. I told you so. The thing to keep in mind is to avoid developing a ton of gluten, just like making pie crust or biscuits.

Gluten begins to develop when moisture is added to the flour, and agitating the batter increases the development. Don’t be afraid to mix up those wet ingredients really well. You want them to be thoroughly combined because once you pour the banana mixture into the dry ingredients, the game changes. Fold the wet ingredients in gently, and only until there are no more streaks of flour.

Fun Tip
Whenever our bananas have gone a bit brown on the counter, I break them into quarters, pop ‘em in a baggie, and toss ‘em in the freezer. By breaking them into four chunks, I can easily grab a fraction of a banana if necessary, and it makes blending them in smoothies much easier. Or you can ripen bananas in the oven. Find out how in my post about Banana Bread Waffles.
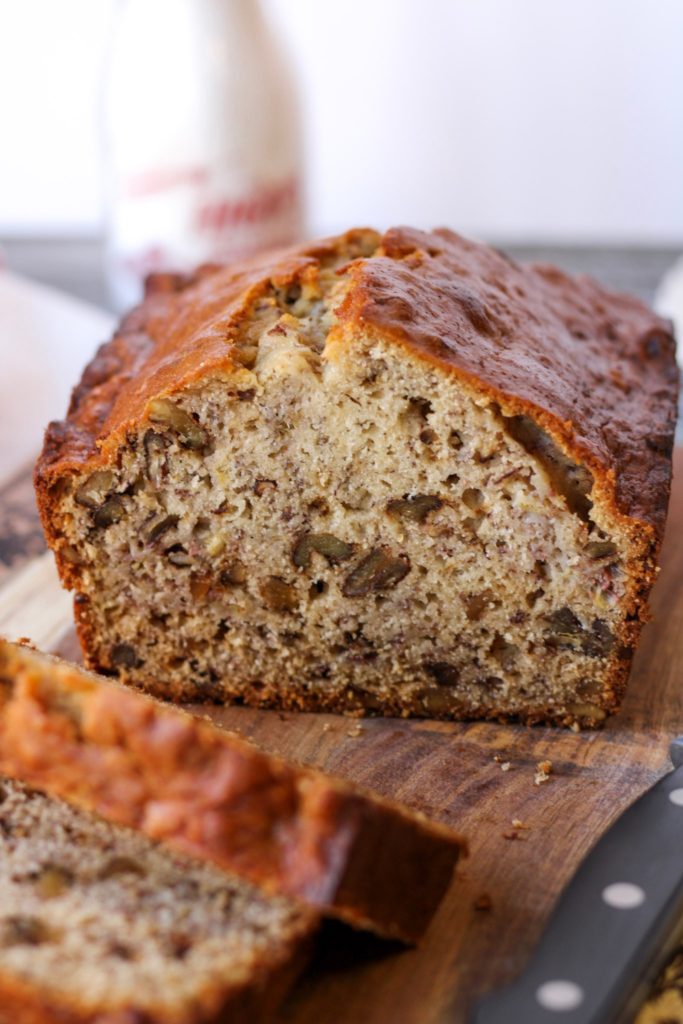
You can absolutely use frozen bananas in this recipe. I told you this was an easy, classic banana bread recipe! Take your frozen bananas out of the freezer and let them sit on the counter (in their bags please) for 20- 30 minutes. I wouldn’t zap them in the microwave or let them sit out too long because I worry that they would become too watery and mushy.
Jump to Recipe
Prepare to Have an Amazing Smelling House
The smell of a sweet treat baking in the oven is intoxicating, and this banana bread is no exception. Full confession, when I took it out of the oven, I got up close and personal to take a big ole whiff. Sooo good! And it had a caramel note to the scent. Unexpected, but wonderful.

I’ve got to be honest, that’s one of the best parts about baking. This recipe takes just a few minutes to throw together, and you don’t even need a mixer! Then your house smells like vanilla, bananas, and a bit like caramel for the rest of the day. Now, you could always take this classic banana bread recipe and give it a tasty spin. Throw in chocolate chips, peanut butter chips, shredded coconut, or anything you want. Then your house will smell even more delicious!
Blunders
My problem with quick breads is getting a fully cooked center. When I followed the directions in the original recipe, a tiny bit of the center was a bit under-cooked. In this recipe, I upped the cook time just slightly. You can always tent foil over the loaf to avoid burning. A slightly darker crust is much more enjoyable than a raw center.
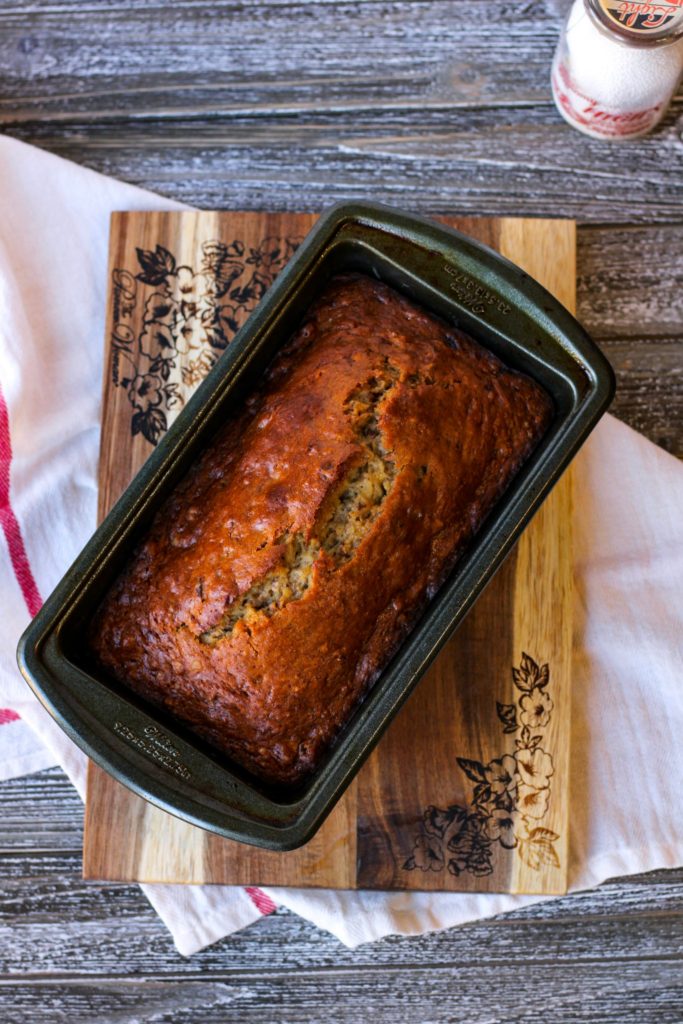
Update 2/10/20: I made this classic banana bread recipe again at the request of my husband. Quick breads have always been an issue for me because dark crusts scare me. This time around, I opted to use a digital thermometer and check the internal temperature to tell when the bread is done baking. Aim for 190℉- 200℉ for a well baked loaf.


Enjoy!
This quick, moist, and easy classic banana bread recipe is going to become your go to in the future. The batter comes together in a matter of minutes, then pop it in the oven to bask in the glorious smell of banana bread goodness. I loved that the loaf was moist, full flavored, and dense without being heavy. Check it out and don’t forget to follow Bakes & Blunders on Instagram for even more drool worthy food photos!
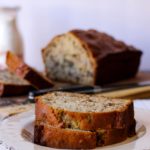
Classic Banana Bread
Ingredients
- 1 cup chopped walnuts or nut of your choice
- 10 oz all- purpose flour (2 cups)
- 5 1/4 oz sugar (3/4 cup)
- 3/4 tsp baking soda
- 1/2 tsp salt
- 3 ripe bananas about 1 1/2 cups
- 1/4 cup plain yogurt
- 2 eggs
- 1 tsp vanilla extract
- 6 Tbsps unsalted butter melted and cooled
Instructions
- Preheat the oven to 350℉ and toast the walnuts for 5- 10 minutes, shaking the pan occasionally. Be sure not to burn them. Remove to a bowl or plate to cool.
- Coat a loaf pan with Baker's Joy, or spray with oil and dust with flour.
- In a large bowl, sift together the flour, sugar, baking soda, and salt. Add the cooled walnuts and whisk to combine. Set aside.
- In a medium bowl, mash up your bananas with a fork or potato masher. Add yogurt, eggs, and vanilla. With a fork, whisk up the eggs in the mixture.
- Add the melted and cooled butter to the rest of the wet ingredients and mix with a wooden spoon until well combined.
- Make a well in the middle of the dry ingredients. Pour the banana mixture into the well and use a rubber spatula to gently combine the dry and wet ingredients. Mix just until there are no streaks of flour. The batter will be chunky.
- Pour the batter into the prepared loaf pan and use the spatula to evenly spread the mixture into all four corners.
- Bake for 60- 70 minutes. After 45 minutes, tent a piece of foil over the bread. After the loaf is done baking, use a cake tester to check the the middle of the loaf is cooked through. Or check that the internal temperature is 190°F- 200°F
- Cool in the pan for 15- 30 minutes before turning out onto a cooling rack. Make sure to cool completely before slicing.
Notes
- Don't puree the bananas. If the batter is too thin, the gases produced by the baking soda will escape before the bread has a chance to rise.
- Don't be afraid to mix the wet ingredients thoroughly BEFORE adding them to the dry. Once wet and dry have been combined, you must be gentle to avoid developing gluten.
My Favorite Products For This Recipe

Colleen
Hi there! I’m Colleen, a novice baker with a passion for learning and improving my bakes… and blunders. On Bakes and Blunders, you can find all sorts of tasty recipes that range in difficulty, but most importantly, I’ll try to explain the reason behind important steps. If you know why a recipe works, you can tweak and adapt it to suit your unique tastes, and you’ll be able to reliably produce some very delicious treats. If you love baking and want to expand and grow your skills, or if you are a casual baker and just need some pointers, my blog is right up your alley! Join me on my baking journey and we’ll learn how to make more impressive recipes together.




10 Comments
Kim
I love banana bread and I could never have too many recipes!
Colleen
It’s such a classic loaf!
Angela Greven | Mean Green Chef
I adore banana bread too, love the addition of sour cream in your recipe! It makes for such a moist, tender cake and you can see it! 😍
Colleen
It definitely makes this loaf very moist 🙂
Erika
Banana bread is awesome, and I love the addition of walnuts.
Colleen
I’m kinda wanting a slice of this right now…
angela
Thanks for sharing this yummy looking recipe. I freeze older bananas too – perfect for this.
Colleen
I frequently have a giant stash of frozen bananas! They make great smoothies too.
Morgan
I’m obsessed with banana bread! This looks so delicious!
Colleen
Banana bread is just one of those recipes that makes you smile when you smell it baking in the oven 🙂