

Blueberry Tarts with a Lemon Cream Cheese Mousse


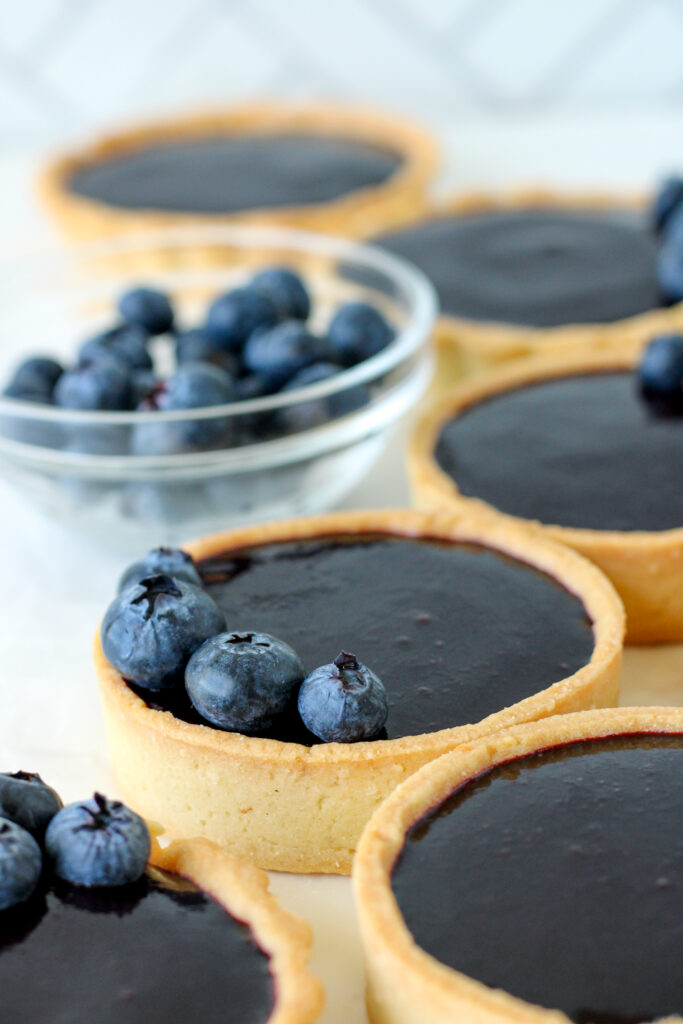
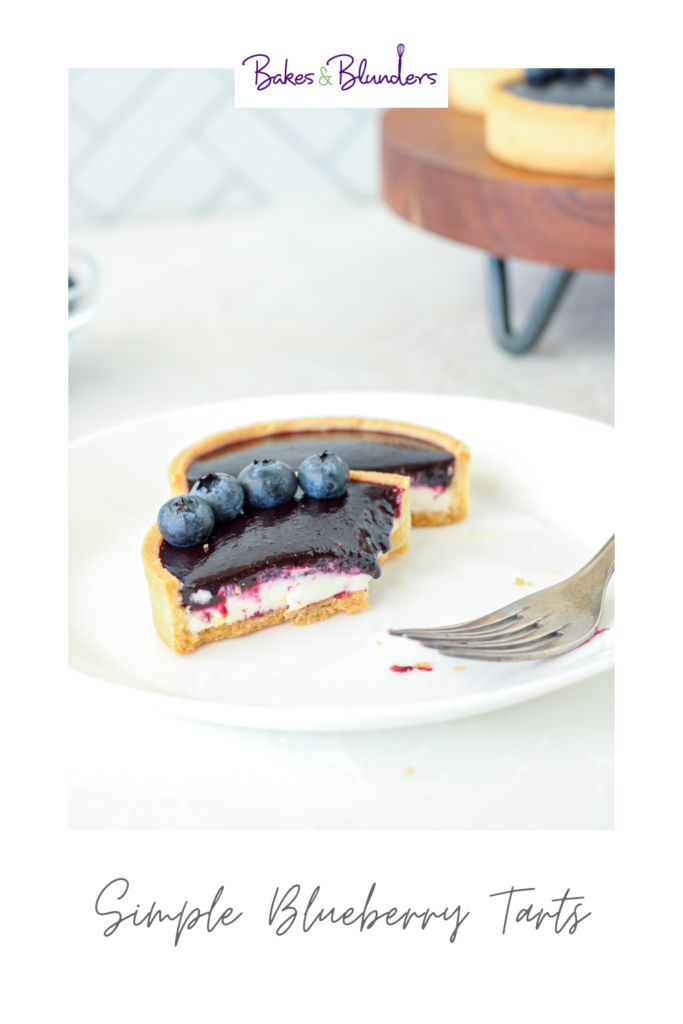
Fresh, juicy blueberries are the star of these blueberry tarts! The lemon zested pastry shells are filled with a lemon cream cheese mousse and topped with a blueberry coulis. Leave these simple mini tarts unadorned, or top with more fresh blueberries.
This page contains affiliate links which means I may earn a commission as an Amazon Associate (or other affiliate program) from qualifying purchases. I only recommend products that I use and trust.
Fresh Blueberry Tarts
While you can find lemon in every element in these blueberry tarts, lemon is not the hero flavor. Instead, it adds a subtle citrusy sharpness that brings out the mild flavor of the blueberries. The cream cheese mousse creates a bit of a cheesecake vibe, but again, serves to highlight the juicy berries.
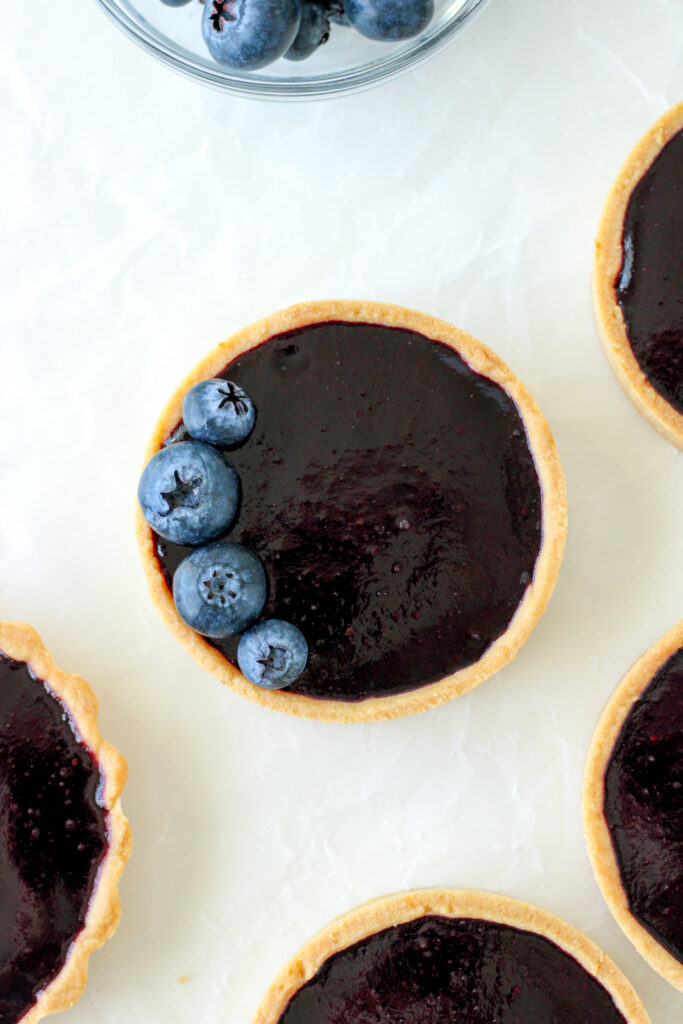
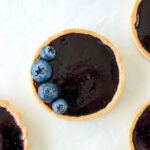
You can absolutely leave the finished blueberry tarts naked, without any decorations. The deep color of the blueberry coulis is gorgeous enough as is. However, adding a few fresh blueberries on top is not only beautiful, but it adds even more flavor.
Almond Pate Sucree
This almond pate sucree is based off the dough I used to make the pistachio, rose, and strawberry tartlets. Adding a bit of lemon zest is just a delicious way to increase the flavor in each bite.
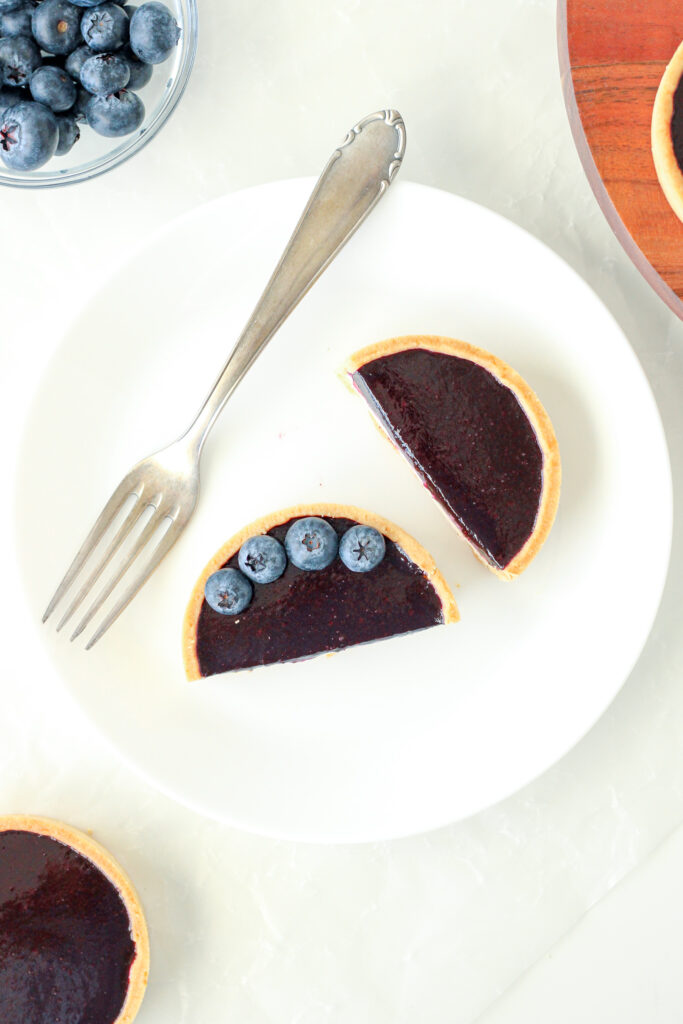
I used the tart rings I got from a previous baking kit to make these blueberry tarts. However, I only had 5 rings and plenty more pastry dough after I lined them. So I used my other, more common, mini tart pans to use up the rest of the tart dough.
Lemon Cream Cheese Mousse
This cream cheese mousse is very similar to the filling in my honey, goat cheese, and pistachio tart! It’s light, fluffy, and has just a hint of lemon. The tang of cream cheese and citrus pairs beautifully with the blueberry coulis we’ll add later.
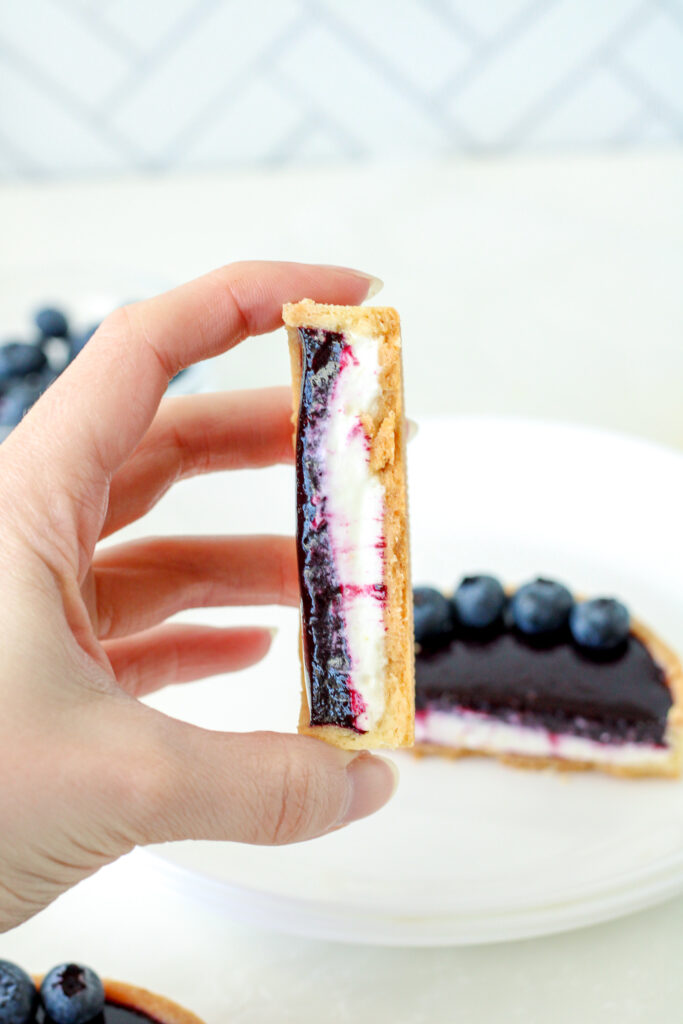
You will have enough mousse to generously fill 11 mini tart shells. Once you pipe the mousse into the shells, give them a gentle wiggle to level out. Then let the tarts chill in the fridge while you begin making the blueberry coulis.
Blueberry Coulis
This stuff looks gorgeous and tastes lovely, but boy howdy did it make a mess! Toss the coulis ingredients together in a saucepan and bring that mixture up to a boil. You’ll want to increase the heat gradually so that the sugar doesn’t burn before the juices start to release.
As the berry mixture boils, you can help it along by gently smushing the blueberries in the pan. But be warned! Those little boogers explode and shoot juice everywhere! My arms and stovetop are now covered in purple juice.
Related Reading: Mini Pavlovas with Fresh Berries
Step by Step Video
These blueberry tarts are not very complicated or complex, but if you’re new to the techniques, a step by step video tutorial can make a world of difference. In this video, I’ll show you how to make each element and put it all together.
As I mentioned earlier, you can use tart rings or standard mini tart pans. I baked mine one tray at a time. Simply keep the unused pastry dough wrapped up in the fridge while the first round bakes. Let the rings/ pans cool down, then proceed with the next batch.
Tools You’ll Need
- Tart Rings
- Mini Tart Pans
- Perforated Silicone Baking Mat (mine is a smaller size, but this is similar)
- Small Offset Spatula
- Stand Mixer
- Saucepan
- Glass mixing Bowls with Lids
Fresh vs. Frozen Blueberries
Since it’s that time of year, I used a big carton of fresh blueberries to make the blueberry tarts. I had enough for the coulis with a handful or two leftover for toppings. If you can get your hands on fresh berries, I suggest using them.
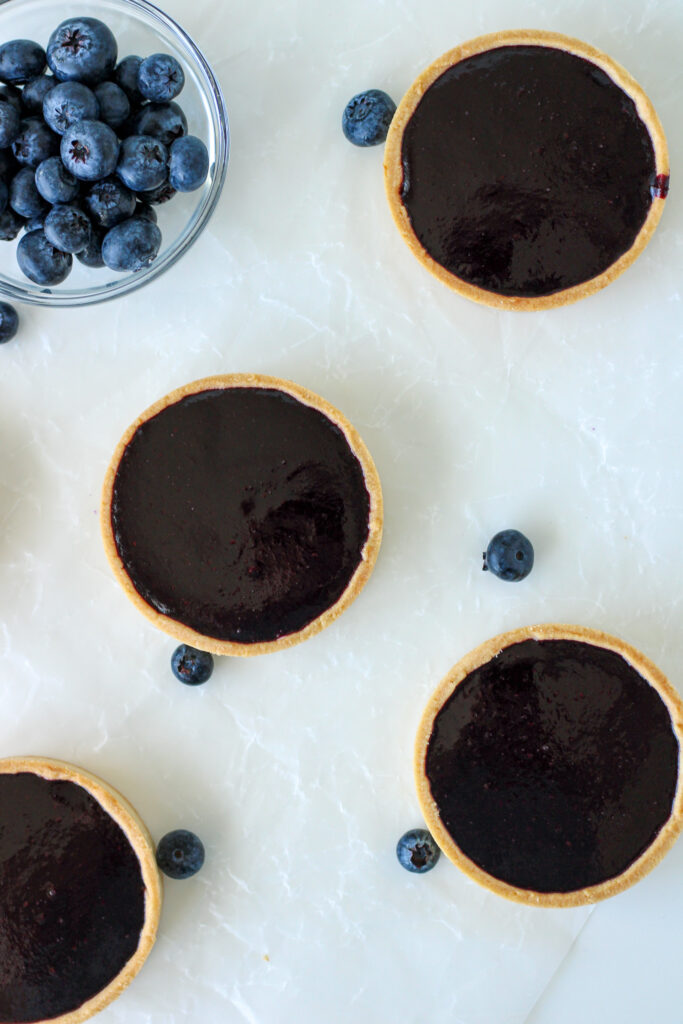
However, that’s not always an option due to the seasons, availability, or prices. While I haven’t tried it, I do think that frozen blueberries would work as well. Any excess liquid would cook out in the process, so I think this may be a good option.
Queen of Shadows
I actually decided to make some blueberry tarts after reading Queen of Shadows by Sarah J Maas. It’s the 5th book of the Throne of Glass series. I like to come up with book and recipe pairings, and I just did another Bakes & Books blog post, so it was on my mind.
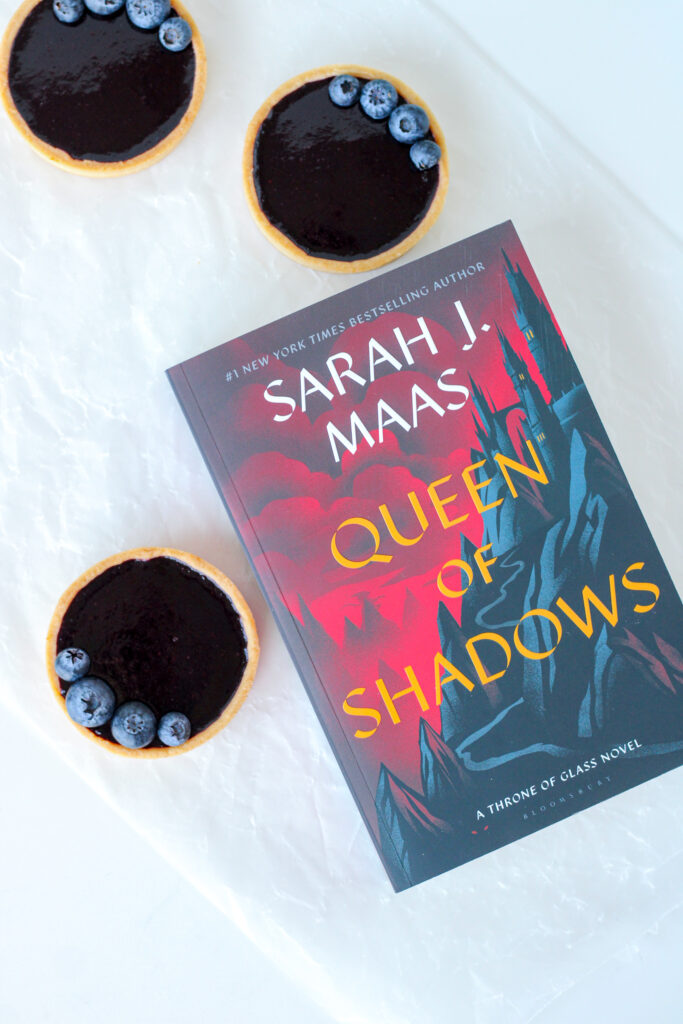
In the book, the main character offers someone a blueberry tart during a pretty tense reunion scene. The blueberry tart is not specifically important, but since it was specifically mentioned, I just had to make some!
Enjoy!
Lemon zested pastry shells filled with a lemon mousse and blueberry coulis make for a delicious springtime dessert. Top the mini tarts with a small handful of fresh blueberries to add a beautiful visual element and even more flavor.
If you enjoyed this recipe, or at least liked looking at the photos, pop on over to the Bakes & Blunders Instagram account and hit follow! I’d love to pepper your Insta feed with gorgeous food photos.
Mini Blueberry Tarts
Ingredients
Almond Pate Sucree
- 113 g unsalted butter cold and cubed
- 70 g powdered sugar sifted
- Zest of 1 lemon
- 1 egg
- 60 g almond flour
- Pinch of salt
- 230 g all purpose flour
Lemon Cream Cheese Mousse
- 50 g sugar
- 25 g water
- 120 g cream cheese
- Zest of 1 lemon
- 120 g heavy whipping cream cold
Blueberry Coulis
- 1 tsp unflavored gelatin
- 1 Tbsp cold water
- 400 g fresh blueberries plus extra for topping
- 75 g sugar
- 1 Tbsp lemon juice
Instructions
Almond Pate Sucree
- Add the butter, sugar, and lemon zest to the bowl of a stand mixer. Beat on a medium low speed until smooth.
- Scrape the bowl down and add the egg. Mix on a low speed just until the egg starts to incorporate, but is not fully combined.
- Scrape the bowl down. Add the almond flour and salt to the stand mixer. Beat on a medium low speed until fully incorporated. Scrape the bowl down.
- Add the flour and beat on low until only just combined. A few streaks of flour okay. If needed, finish mixing the dough by hand with a spatula.
- Divide the dough into two equal portions. Wrap them in cling wrap and chill in the fridge for 10- 15 minutes.
- Place one portion of dough in between two sheets or parchment paper. Roll the dough out to 2mm (1/16 in), or slightly thinner. Place the dough (still between the paper) flat in the freezer. Repeat this step with the other portion of dough.
- Freeze the two dough sheets for 20- 30 minutes.
- Preheat the oven to 315℉. Line a baking sheet with a silicone mat.
- Take out one portion of the frozen dough out of the freezer and remove the top layer of the paper. Use a tart ring to cut out 5 circles. With the help of a small offset spatula, remove each circle of dough from the parchment paper and line a tart ring on the prepared baking sheet.
- Gently press any dough scraps together, wrap in cling wrap, and chill in the fridge. Place the baking sheet in the fridge while you work with the next portion of dough.
- Take out the second portion of the frozen dough out of the freezer and remove the top layer of the paper. Cut the dough into strips that are long enough to line the tart rings (about 10 inches) and wide enough to be taller than the tart ring (about 1 inch).
- Take the baking sheet with the tart rings out of the fridge. Working quickly and carefully, use a small offset spatula to remove a strip of dough from the paper and line the inside of the tart ring. Gently press the two pieces of dough together to seal the seam together.
- Gently press any dough scraps together, wrap in cling wrap, and chill in the fridge. Place the baking sheet back in the fridge for 10 minutes.
- Double check that the tart dough is adhered to the sides of the tart ring and the seam is sealed. Use a sharp knife to trim off the excess dough that extends above the ring. Gently press any dough scraps together, wrap in cling wrap, and chill in the fridge.
- Use a fork to poke a bunch of small holes in the bottom of the tart. This will prevent the tart shell from puffing up when they bake.
- Place the baking sheet in the fridge again for 15 minutes.
- Bake until a light golden brown, about 30 minutes. If your dough ended up thinner than mine, you could need as little as 20 minutes, and if it's thicker it could take 35 minutes. Keep an eye on the tart shells.
- Gently roll the dough scraps out between two pieces of parchment paper. Repeat the process of freezing and cutting out tart shells. For my second batch of tart shells, I used mini tart pans instead of tart rings.
- Once baked, cool 15 minutes before removing the tart rings. Transfer to a cooling rack to cool completely. If not using within the hour, place the tart shells in an airtight container for up to a day before filling.
Lemon Cream Cheese Mousse
- Add the sugar and water to a small saucepan over medium heat. Stir to combine. Bring to a boil and heat for one minute. Set aside to cool for 5 minutes.
- Cube the cream cheese and place in a microwave safe bowl. Microwave on half power for one to three 30 second bursts, stirring well between each burst. The cheese should be slightly warm, creamy, and well combined.
- Whisk the sugar syrup into the cream cheese until the mixture is smooth. The mixture will be warm, but should not be hot. Set the bowl aside.
- In a chilled bowl, combine the heavy cream and lemon zest. Whip until you have soft- medium peaks. Fold the whipped cream into the cheese mixture.
- Transfer the lemon cream cheese mousse to a large piping bag. Snip the tip of the bag off and fill the cooled tart shells halfway with the mousse. There is enough to fill 11 or 12 tarts.
- Place the tarts in the fridge to chill while you make the blueberry coulis.
Blueberry Coulis
- Combine the gelatin and water in a small bowl. Mix well to ensure there are no lumps. Set aside to bloom.
- In a medium saucepan, combine the blueberries, sugar, and lemon juice. Cook on a medium low heat for several minutes to prevent the sugar from burning. Gradually increase the heat to medium high.
- Bring the mixture just to a boil, then reduce the heat to medium. Stir constantly and continue to simmer for about 15 minutes. The mixture should be thickened, most of the blueberries should be mush, and it should be glossy.
- Use an immersion blender or food processor to puree the blueberry mixture until smooth. Pour throw a sieve into a bowl. Push all of the liquid and juices out of the sieve, discard the pulp.
- Add the bloomed gelatin to the hot blueberry sauce. Stir until the gelatin has melted completely. At this point, the mixture should be warm, but not very hot.
- Remove the partially filled tart shells from the fridge. Carefully spoon the blueberry coulis into the tart shells. There should be enough to fill the tart shells to the top.
- Chill in the fridge for at least two hours, longer is better. Once the coulis is set, you can decorate the tarts with any extra fresh blueberries.
Notes
- Watch the video tutorial for more help.
- Work quickly when working with the tart dough. If it gets too soft at any point, put it back in the fridge for a few minutes.
- The filled tarts will keep in the fridge for about 3 days.

Colleen
Hi there! I’m Colleen, a novice baker with a passion for learning and improving my bakes… and blunders. On Bakes and Blunders, you can find all sorts of tasty recipes that range in difficulty, but most importantly, I’ll try to explain the reason behind important steps. If you know why a recipe works, you can tweak and adapt it to suit your unique tastes, and you’ll be able to reliably produce some very delicious treats. If you love baking and want to expand and grow your skills, or if you are a casual baker and just need some pointers, my blog is right up your alley! Join me on my baking journey and we’ll learn how to make more impressive recipes together.

Horchata Macarons From Scratch

You May Also Like

How to Create Your Own Baking Recipes

Eggnog Cake with Rum Frosting for the Holidays
