

Rough Puff Pastry From Scratch


Puff pastry is a useful ingredient in so many recipes and it’s very easy to find in the frozen section of any grocery store. But have you ever considered making it at home? Since I’m a bit extra, I decided to make rough puff pastry from scratch and tell you all about it!
This page contains affiliate links which means I may earn a commission as an Amazon Associate (or other affiliate program) from qualifying purchases. I only recommend products that I use and trust.
Jump to Recipe
Rough Puff Pastry vs Puff Pastry
One of the first questions you have is probably what is the difference between rough puff pastry and regular puff pastry? Rough puff pastry cuts cold butter into the pastry dough and then you fold, or “laminate”, the dough to create the many layers of puff pastry.
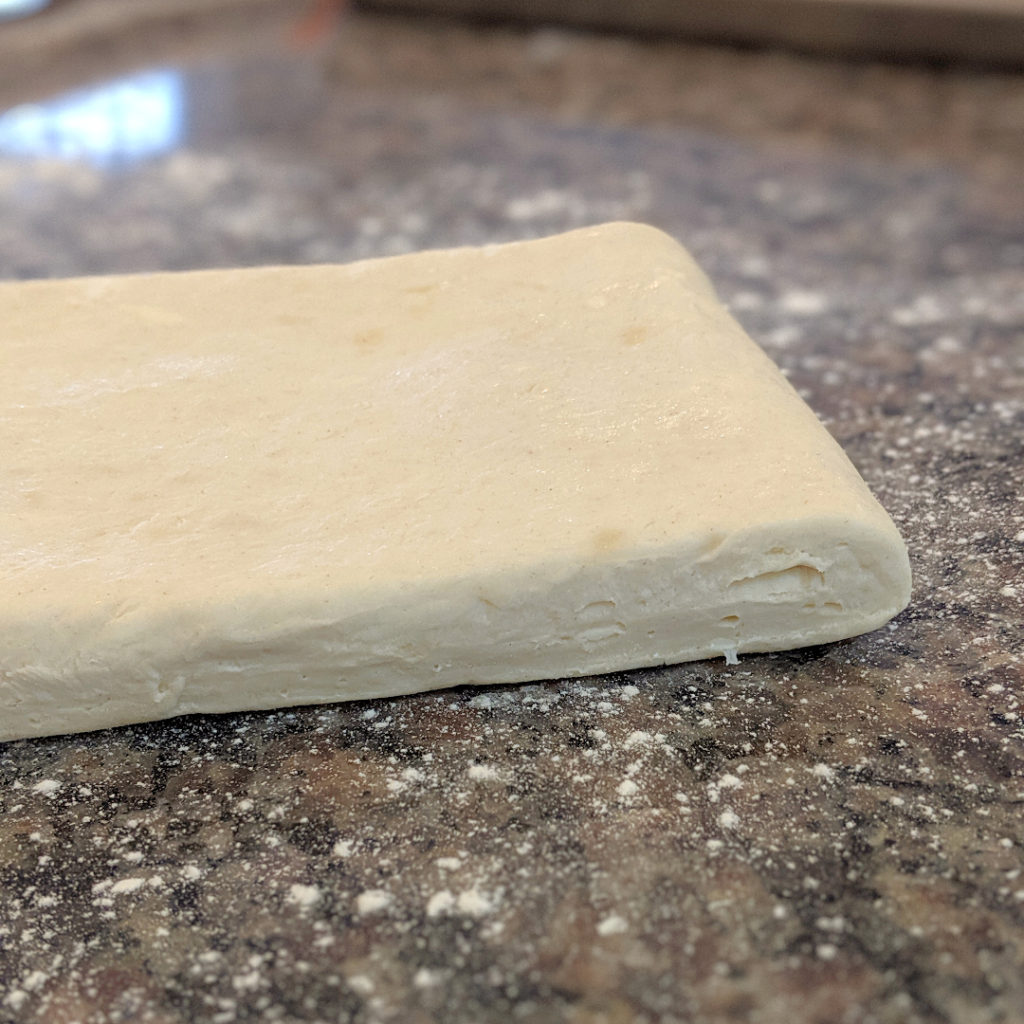
In contrast, proper puff pastry folds a cold slab of butter into the dough, very similar to how I made these croissants. However, croissants are made with a yeast dough so the final product is very different. Rough puff pastry is a cheat to make the process a smidge faster and easier.
But Why From Scratch?
Look, I know I may seem like a crazy person to some of you. Why the heck would someone make puff pastry from scratch when you can just grab some at the grocery store? Long story short, I’m extra. Longer story, my experience with The Great American Baking Show lit a little pastry fire under my butt.

The main reason I made rough puff pastry from scratch was simply to be able to say that I did it. For a lot of home bakers, that might not be a good enough reason. But since I’ve tried it, I gotta say, the flavor is way better and you know exactly what is going into the recipe. If you’ve got the time, this might make it worth it.
Print Recipe
How to Make Rough Puff Pastry
This recipe only has a few basic ingredients that I can all but guarantee that you have in your pantry. But it’s how you use these basic ingredients that creates beautiful layers of pastry. You can read more about the original recipe from Food52 if you’d like.
Related Reading: How to Make Croissants Three Ways
First we’ll start off by smushing butter into the flour and salt. You can try this in a stand mixer if you have hot hands like me. Use the dough hook, maybe the paddle, on a low speed. Or use your hands and rub the butter into the flour with your palms. The goal is to create flat slivers of butter that are about the size of a walnut half.
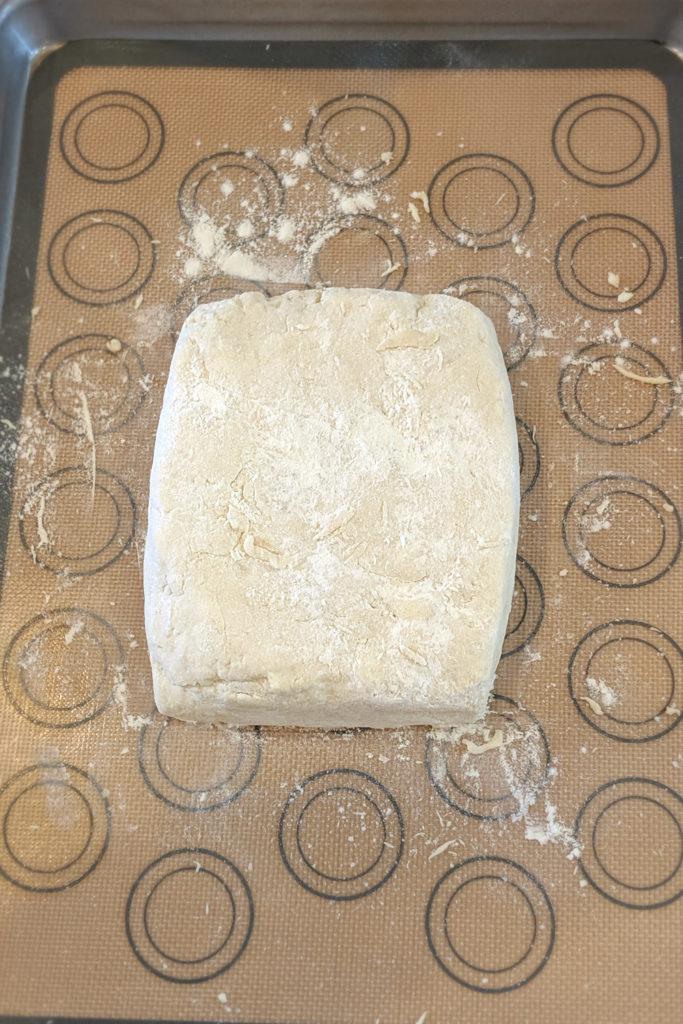
Make a well in the bowl and add 6 ounces of cold water. Use the stand mixer or a spoon to gently combine. You want the dough to be cohesive, but not super wet and sticky. Add up to 3 more ounces of water a bit at a time until you reach this consistency. Transfer the dough to a lightly floured baking sheet lined with a silicone mat and shape into a rectangle. Cover and chill until firm, but pliable, about 30 minutes.
Shaping the Dough
When you’re shaping dough, it’s best to keep it in the shape you want to end up with. In this case, we want a rectangle with very precise corners. Throughout the shaping process, use your hands and scrapers to keep these corners sharp. If they end up rounded, your rough puff pastry will not come out as well.
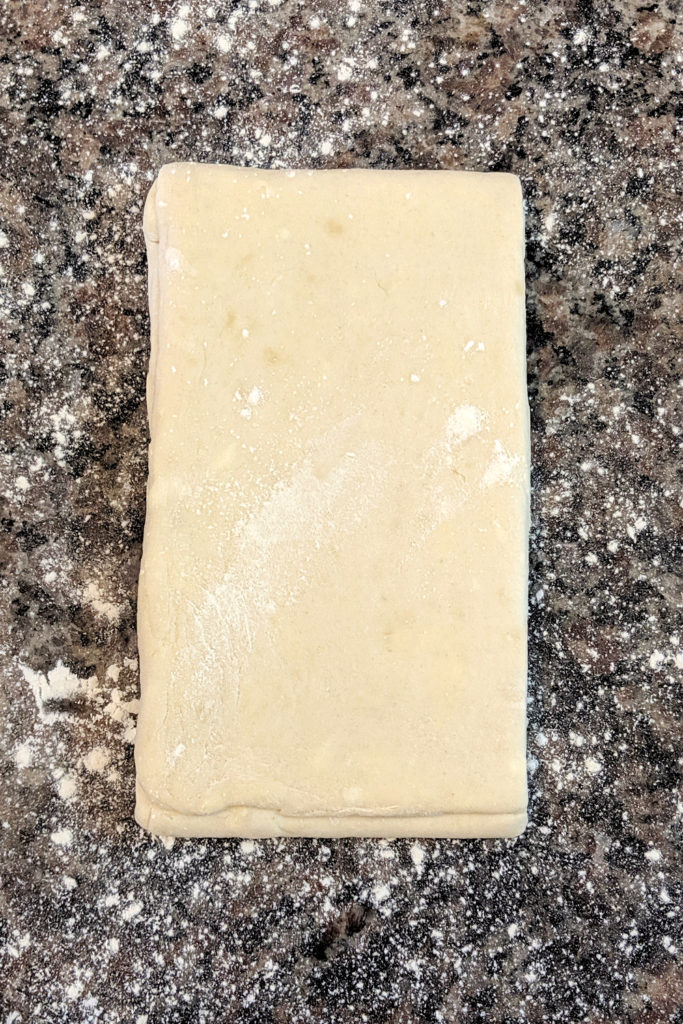
We will fold the dough four times using two different styles of folds. They are called a four fold and a three fold. This will create the many layers of our rough puff pastry. The chill time between folds keeps the butter firm, but pliable, so that it doesn’t melt into the dough before we bake.
Jump to Recipe
Folding Time
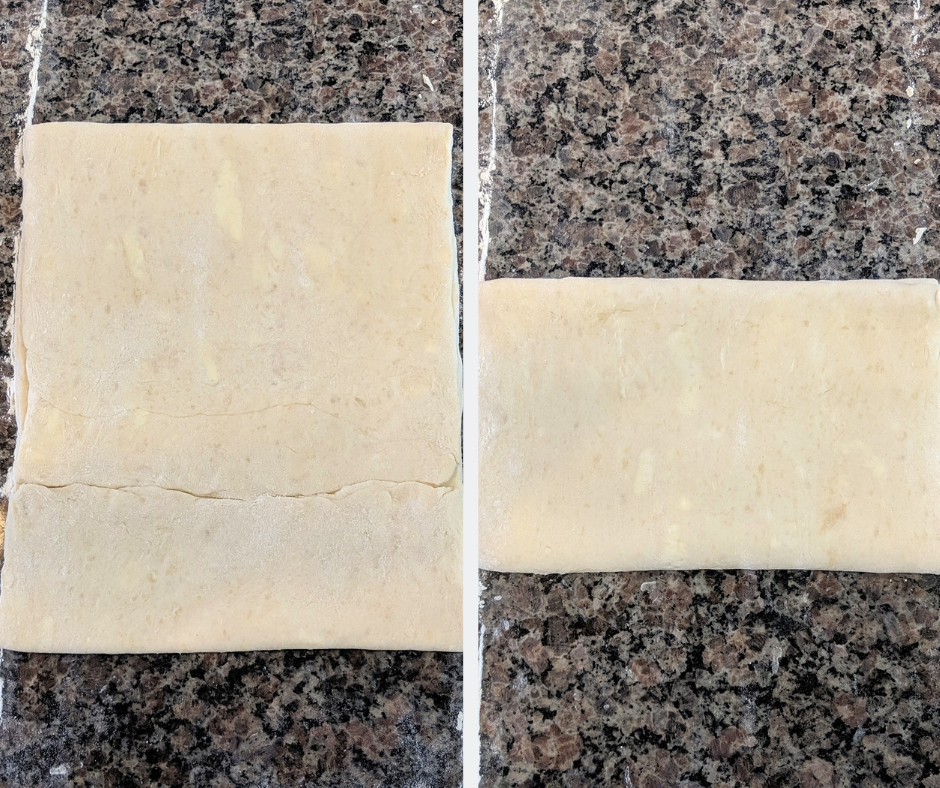
Transfer your chilled pastry to a floured counter top. Roll it out to a 10×25 inch rectangle. I prefer to roll it out directly in front of me, but you can do whatever works best for you and your counter space. Now fold the dough ¾ of the way back towards you. Fold the remaining dough up to meet the other edge. Fold the dough in half, do a quarter turn and transfer it back to your baking sheet. Cover and chill for 20- 30 minutes. That was the first four fold.
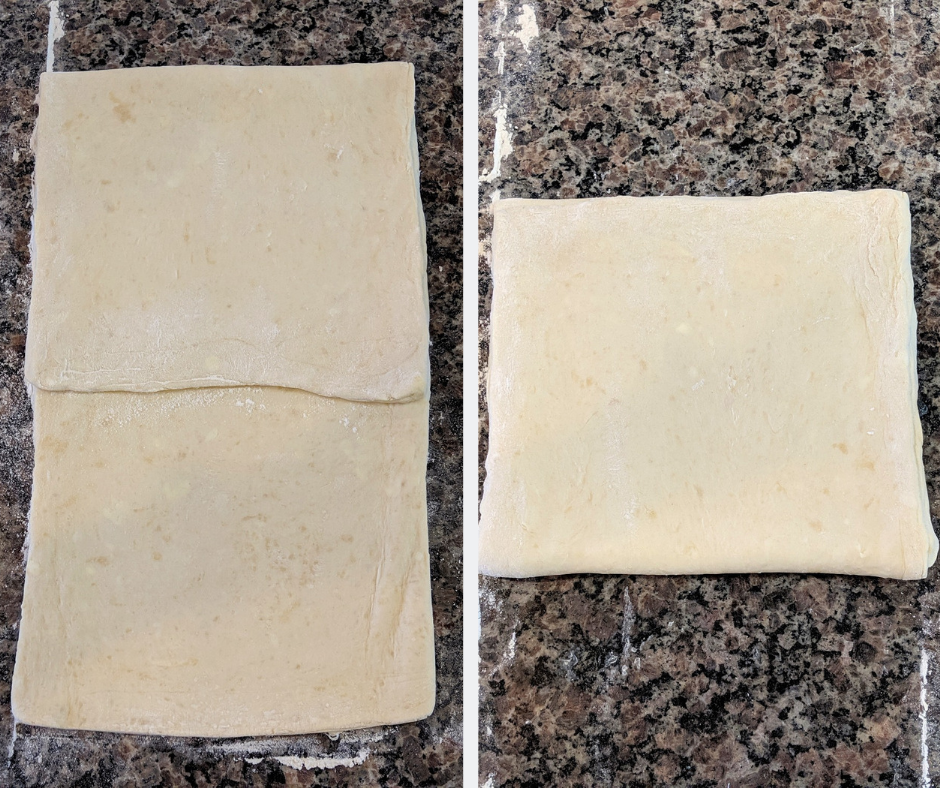
Take the chilled dough out of the fridge and transfer to a floured counter top. Once again, roll the dough out to a 10×25 inch rectangle, keeping those corners sharp. This time we will do a three fold, which is the same as the book turns from my croissants. Fold the top third of the dough down, and bring the bottom third of dough up and over it. Rotate a quarter turn and transfer back to the baking sheet. Cover and chill for 20- 30 minutes.
You’ll repeat with another four fold and another three fold. Every time I take the pastry dough out of the fridge, I like to invert the dough onto the counter top. This helps the dough roll out evenly.
How to Use Puff Pastry
This recipe makes two “servings” of rough puff pastry. But I don’t mean you should eat an entire half by yourself! The boxes of frozen puff pastry come with two sheets. Similarly, you’ll divide the finished dough and end up with two even portions of rough puff pastry.

Now that you’ve got homemade rough puff pastry, how will you use it? It would be amazing with my Puff Pastry Breakfast Pockets. I used this particular recipe to make Mille Feuille with Elderflower Custard. But I’ve still got a half batch to use somehow…
Rough Puff Pastry
Ingredients
- 1 lb all- purpose flour and extra for dusting
- 1 1/4 tsp salt
- 1 lb unsalted butter cold and diced
- 6- 8 oz cold water
Instructions
- Whisk flour and salt together to combine.
- Either with a stand mixer on low, or by hand, rub the butter into the flour to create flat strips of butter about the size of walnut halves. Be sure not to let the butter get too warm.
- Make a well in the bowl and add 6 ounces of water. With a stand mixer on low, or by hand, stir until combined. The dough should be cohesive, but not overly wet and sticky. Add the remaining water a bit at a time until you reach the right consistency.
- Turn the dough out onto a baking sheet lined with a silicone mat that has been lightly dusted with flour. Shape the dough into a thick rectangle (about 4x6 inches) with sharp edges and corners. Cover and chill for 30 minutes or until the dough is firm, but pliable.
- Transfer the chilled dough onto a floured counter top and roll into a 10x25 inch rectangle. Complete the first four fold by folding the top ¾ of the dough down and the remaining ¼ up to meet the other edge. Now fold the dough in half again. Rotate the dough a quarter turn and place it back on the baking sheet. Cover and chill for 20- 30 minutes.
- Transfer the chilled dough onto a floured counter top and roll into a 10x25 inch rectangle. Complete the first three fold by folding the top third of the dough down. Fold the bottom third of the dough up and over it. Rotate the dough a quarter turn and place it back on the baking sheet. Cover and chill for 20- 30 minutes.
- Repeat step 5 to complete the second four fold.
- After chilling, repeat step 6 to complete the second three fold.
- After finishing all of the folds, chill in the fridge for 20- 30 minutes, or even overnight. Now you can slice the dough in half evenly. Each half is about the amount of dough you'd find in a standard sheet of puff pastry. Use in any puff pastry recipe!
Notes
- If the dough becomes sticky at any point, chill for about 20 minutes to firm up.
- To store the puff pastry, wrap in cling film and store in an air tight container or plastic bag. It will keep in the fridge for 2-3 days or in the freezer for a month.
My Favorite Products for this Recipe

Colleen
Hi there! I’m Colleen, a novice baker with a passion for learning and improving my bakes… and blunders. On Bakes and Blunders, you can find all sorts of tasty recipes that range in difficulty, but most importantly, I’ll try to explain the reason behind important steps. If you know why a recipe works, you can tweak and adapt it to suit your unique tastes, and you’ll be able to reliably produce some very delicious treats. If you love baking and want to expand and grow your skills, or if you are a casual baker and just need some pointers, my blog is right up your alley! Join me on my baking journey and we’ll learn how to make more impressive recipes together.


4 Comments
Lori
I’ve been wanting to try this for a long time! Thanks for sharing!
Colleen
I was so scared to get started, but it wasn’t too bad! Way easier than croissants 😀
Beth
My hat’s off to you for making a process like this pastry look so do-able for me as a home baker. I haven’t had much call for puff pastry but now I see how it’s done, that could change!
Colleen
Store bought is so easy, but it was so cool to be able to make it from scratch!