
The Secret to Frosting a 4 Inch Cake


Mini cakes are the most adorable cake trend and I am here for those 4 inch cuties! But let’s get real. If you’ve ever tried to frost one of those gremlins, they stop being quite as cute. At least that’s how I felt until I started using acrylic cake discs!
This page contains affiliate links which means I may earn a commission as an Amazon Associate (or other affiliate program) from qualifying purchases. I only recommend products that I use and trust.
My Secret Is Acrylic Cake Discs
When I first tried using acrylic cake discs on my 6 inch cakes, I was not impressed. But within just a few attempts, I figured out the best technique and I haven’t looked back! You can read all about that in this blog post, but it’s just about the same process with a 4 inch cake.
After getting hooked on cake discs, I decided to see if they would make frosting a 4 inch cake easier too. They totes did! To be honest, they are still finicky mini devils, but using the discs makes a big difference.

How to Use 4 Inch Acrylic Cake Discs
Okay, I get it. You’re interested and you want the deets. Luckily for you, I’ve got a video and step by step instructions to walk you through the entire process. Let’s dive in!
Supplies
- Acrylic cake discs
- Press’n Seal
- 4 inch cake board + decorated 6 inch board
- Palette knife
- Cake scrapers (get bench scrapers from the Dollar Tree for $1)
- Grippy mat and/ or small cutting board (Dollar Tree for the win again)
- Level
- Turntable
1. Wrap the acrylic cake discs in Press’n Seal
This will make removing the discs soooo much easier. I did not do this the first time and it has made a huge difference. It will leave a slight textured look on the top of the cake, but if that bothers you, lightly go over the area with a warm scraper after you take the discs off.
Not sure how to do this? Check out the acrylic disc tutorial I made for my 6 inch cakes. You can see exactly how I wrapped mine.
2. Fill, stack, and crumb coat your 4 inch cake.
For these mini cakes, I like to anchor my disc onto a small glass cutting board I got from the dollar store. Place the cake board on the acrylic cake disc, then fill and stack your 4 inch cake as usual.
3. Chill your cake until firm.

Place the cake in the fridge for about 15- 20 minutes or until the crumb coat is firm. If your cake is on a small cutting board, you can just move that to the fridge, or if you have the space, you can just chill it, turntable and all!
Related Reading: Fill & Stack a One Tier cake with Confidence
4. Top the cake with your final cake disc.
Add a generous dollop of frosting to the top of your chilled cake and use your palette knife to smooth it into a level coating. Try your best to get the frosting to hang over the edge of the cake.

Carefully, place the final cake disc covered side down onto the top of the cake. Use one or two cake scrapers to make sure the two discs line up. Work your way around the cake and press the scraper to the discs and make sure they meet. I like to then take a scraper on each side of the cake and double check everything is in order.
5. Make the sure the cake is level.
Place your level on top of the acrylic cake disc. If the bubble isn’t centered, push down on the top of the disc until your cake is level. This is essential in order to get perfectly straight sides. Then triple check that the two acrylic discs are lined up by using your cake scrapers and just going around the cake. Everything should match up nicely.
6. Add your final coat to the cake.
Start at the top cake disc and work your way around to add frosting to the top edge of the cake. Now you can apply frosting to the entire cake with your spatula or a piping bag.

Smooth the sides of the cake with a bench scraper. Make sure the scraper touches both cake discs. After a swipe, go back and fill in any holes with more frosting. Repeat until the cake has smooth, straight sides. I like to heat my metal scraper with hot water or a torch for the final few passes to get a super smooth look.
I suggest using small passes with your scraper. You want to be gentle so that you don’t accidentally push your tiny cake around. If necessary, you can even lightly place a hand on the top disc to help hold it steady.
7. Chill the cake until super duper firm.
Place the cake (and the turntable if you want) in the fridge to chill for about an hour. You want the cake to be super duper firm because we’re about to get flippy and we don’t want those straight sides and sharp edges to go to waste.
8. Remove the discs and transfer the mini cake to your cake stand.
Have your decorated cake board or pretty cake stand on hand for this step. Carefully remove the cake from your turntable and flip it upside down onto the turntable. Gently remove the cutting board (if using) and peel the plastic wrap off of the cake disc. Then work your way around the cake to use the plastic to carefully pull the disc off of the bottom of the cake.
Add a thin smear of frosting to the bottom of the cake board and grab your decorated cake board or cake stand. Place it on the bottom of the cake and do your best to make sure it is centered. Carefully flip the cake back over so that it is right side up.

Now you can do the same process to remove the top acrylic cake disc. If the frosting seems to be becoming soft at any point, place it back in the fridge for 20 minutes.
9. Tidy up and decorate!
I like to use a small palette knife to patch up and smooth over any small areas on top of the cake that need tending to. Once you’re happy with the top of the cake, you can decorate however you like!
Related Viewing: Buttercream Pointillism Tutorial
Tips & Tricks for Frosting 4 Inch Cakes
- Gentle pressure is key. If you push too hard with the scraper, you’ll just be pushing your cake around the turntable.
- Small movements help. With larger cakes, I usually do large passes with my scraper that go all the way around the cake in one motion. With mini cakes, multiple small scrapes work better.
- Have your buttercream or ganache at the right consistency. Too hard and you’ll just tear up the cake. Too soft and you’ll end up with a mess.
- And if I haven’t made it clear yet, use acrylic cake discs to get sharp edges and straight sides.
Happy Caking!
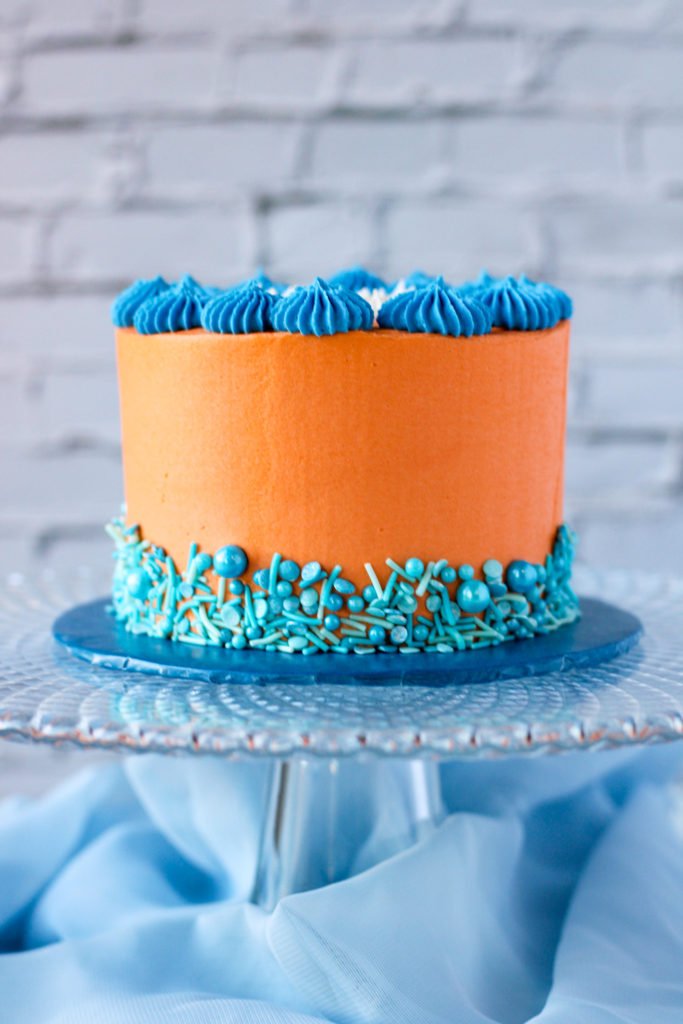
Mini cakes are cute. We can all agree on that. But covering them in frosting can be a sloppy mess. With acrylic cake discs, it is so much easier to get straight sides and sharp corners on those 4 inch cakes!

If you’ve made it this far, I have to assume that you love caking and baking. You should totes follow @bakesandblunders on Instagram! We can drool over pictures of food together.
My Favorite Products For This Tutorial
Colleen
Hi there! I’m Colleen, a novice baker with a passion for learning and improving my bakes… and blunders. On Bakes and Blunders, you can find all sorts of tasty recipes that range in difficulty, but most importantly, I’ll try to explain the reason behind important steps. If you know why a recipe works, you can tweak and adapt it to suit your unique tastes, and you’ll be able to reliably produce some very delicious treats. If you love baking and want to expand and grow your skills, or if you are a casual baker and just need some pointers, my blog is right up your alley! Join me on my baking journey and we’ll learn how to make more impressive recipes together.

Cookie Dough Macarons

You May Also Like

Wonderful Wednesday Blog Hop 338

How to Make a Wafer Paper Ranunculus
