

Wafer Paper Strawberry Blossoms Tutorial


Wafer paper is a wonderful medium for creating unique cake decorations, especially gorgeous flowers. In today’s tutorial, you’ll learn a super simple way to make wafer paper strawberry blossoms. No wires required!! There are step by step photos and a video to walk you through the process.
This page contains affiliate links which means I may earn a commission as an Amazon Associate (or other affiliate program) from qualifying purchases. I only recommend products that I use and trust.
Wafer Paper Strawberry Blossoms
Ben has asked for a strawberry cake for his birthday for the past two years. This year, I decided to use two of his favorite cake elements (wafer paper and sprinkles) to create a theme specific decoration. Wafer paper strawberry blossoms!
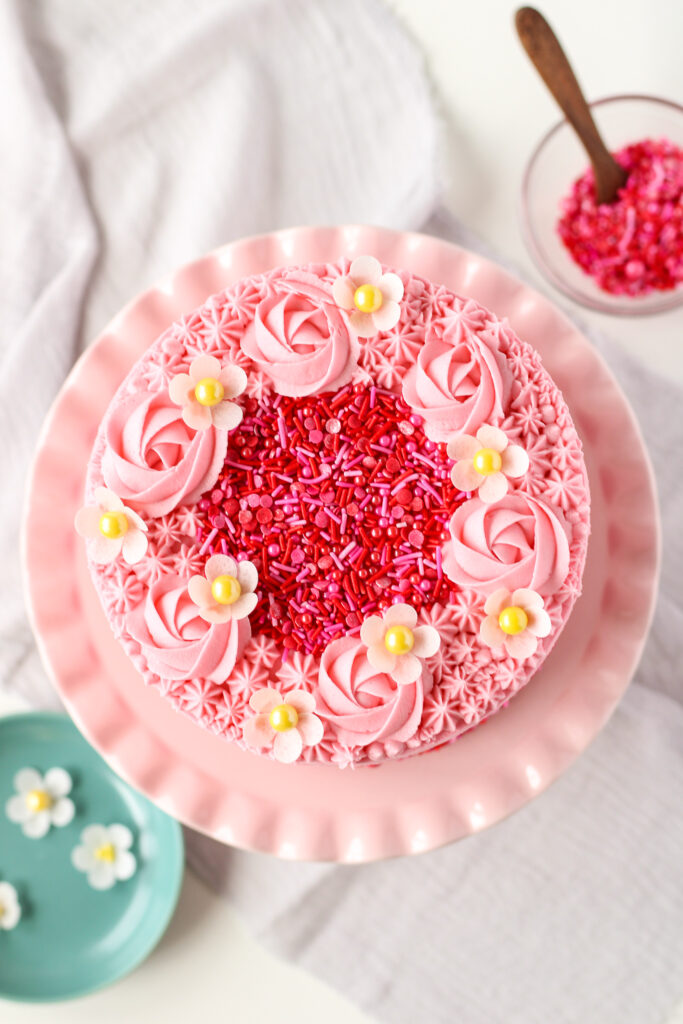
In the past, I’ve used wafer paper to make a solar system cake, roll up roses, and ranunculus. It’s so easy to work with. Personally, I find it a better choice for beginners than fondant or sugar paste.
Supplies
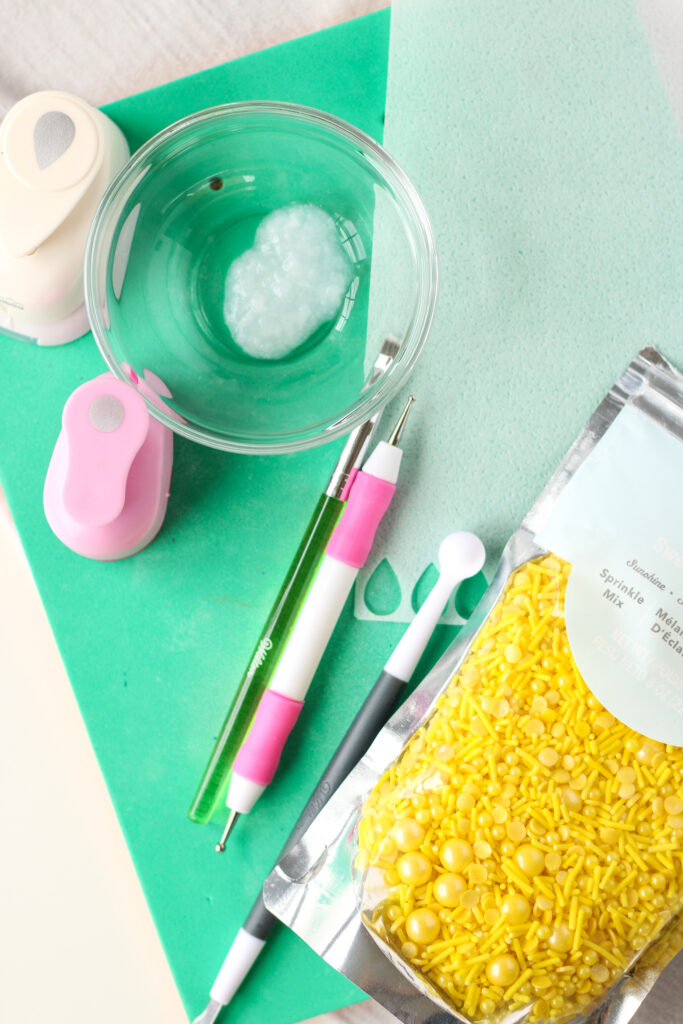
- Wafer paper
- Large round sprinkles
- Shaping foam pad
- Ball tool (my small one is from the Dollar Tree!!)
- Paint brush
- Tear drop punch
- Circle punch (optional)
- Wafer paper glue and/ or piping gel
- Mister (optional)
What Is Wafer Paper Glue?
Basically it is cut up wafer paper scraps mixed with water until it forms a piping gel consistency. It is perfect for attaching wafer paper to more wafer paper. This is why I always save my scraps! I like to cut up some scraps into tiny bits and mix with distilled or boiled water. Then I let it sit in my fridge overnight. To adjust the consistency, just add more scraps or water. It’ll keep in the fridge for about a week or two.
You can use piping gel instead though. It’s more sticky, which can lead to a tiny mess. I do prefer it for attaching the sprinkle center, but you can use just wafer paper glue or just piping gel. Up to you!
Step by Step Tutorial
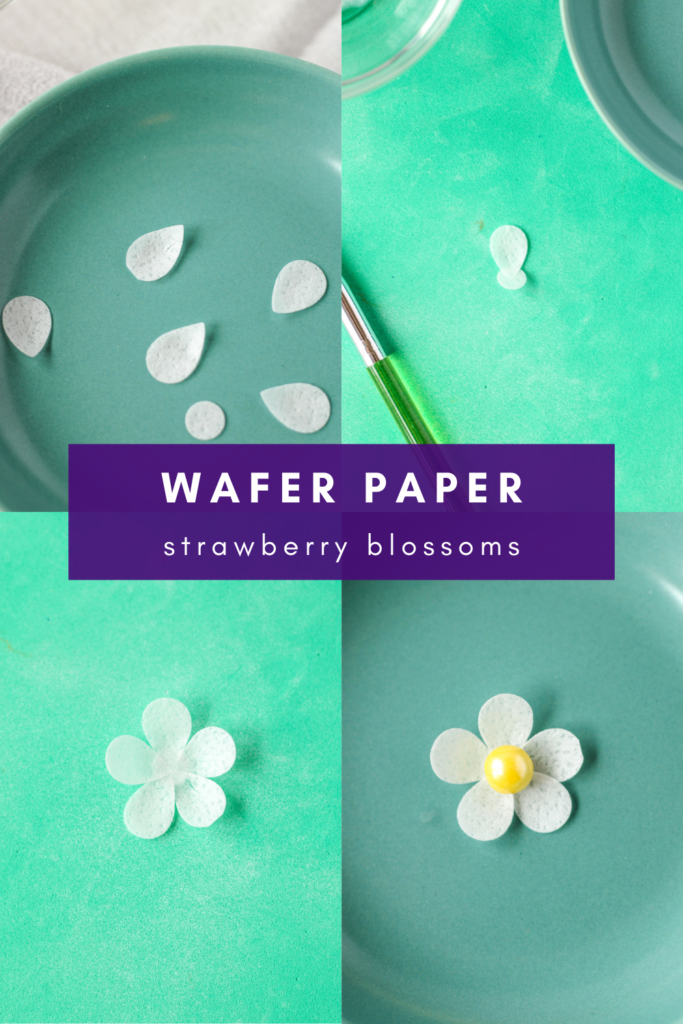
1. Cut Out Shapes
Use the tear drop punch to cut out a line of wafer paper petals. Use a small hole punch or scissors to create several circles. These will be the base for our petals. Set the shapes aside, preferably in two small bowls or containers. Each wafer paper blossom will consist of 5 petals and 1 circle.
Related Reading: How to Make a Simple Wafer Paper Rose
2. Shape Petals
Use the ball tools to add dimension to the flowers. If the air in your home is dry, lightly mist or breathe on the petals (like when you clean glasses) to add a bit of humidity. First, run the larger ball tool on the back of a petal.
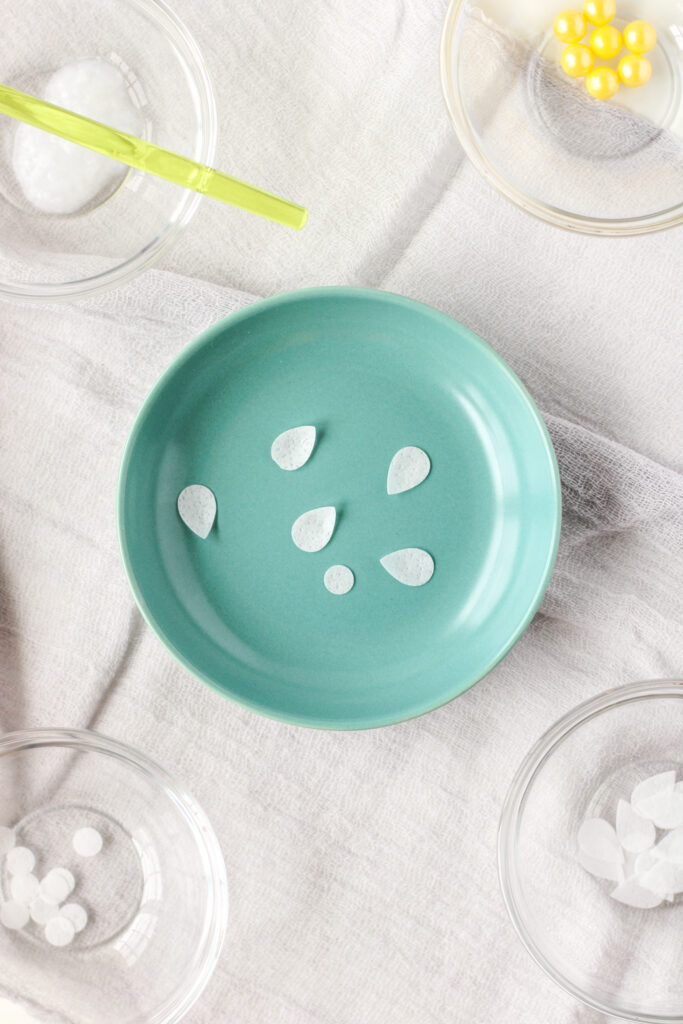
Flip the petal over and do the same on the front. Use the smaller ball tool at the base of the petal to gently cup the petals.
3. Attach the Petals
Take a petal and lightly brush the back of the tip with wafer paper glue. Place the petal onto the circle so that the point is in the center. Press lightly to adhere. Repeat this step with 4 more petals.
4. Add the Center
A strawberry blossom’s center is a beautiful yellow. I am using a large yellow sprinkle as my center. You could use a tiny ball of fondant if that’s easier or more readily available.
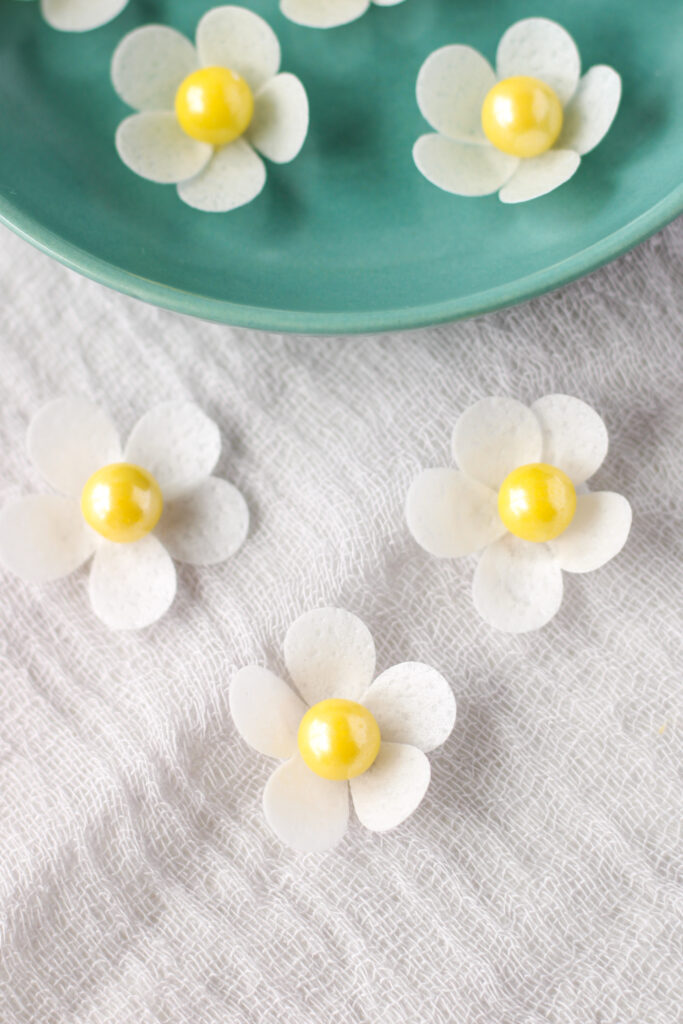
Add a small dab of piping gel or wafer paper glue to the center of the flower. Gently press the large yellow sprinkle into the center. Let the flower dry before moving or applying to a cake.

Tips For Wafer Paper Petals
Keep in mind, nature is full of variety, so not every wafer paper strawberry blossom needs to look 100% identical. Feel free to adjust the petals slightly before adding the center sprinkle. Just be careful!
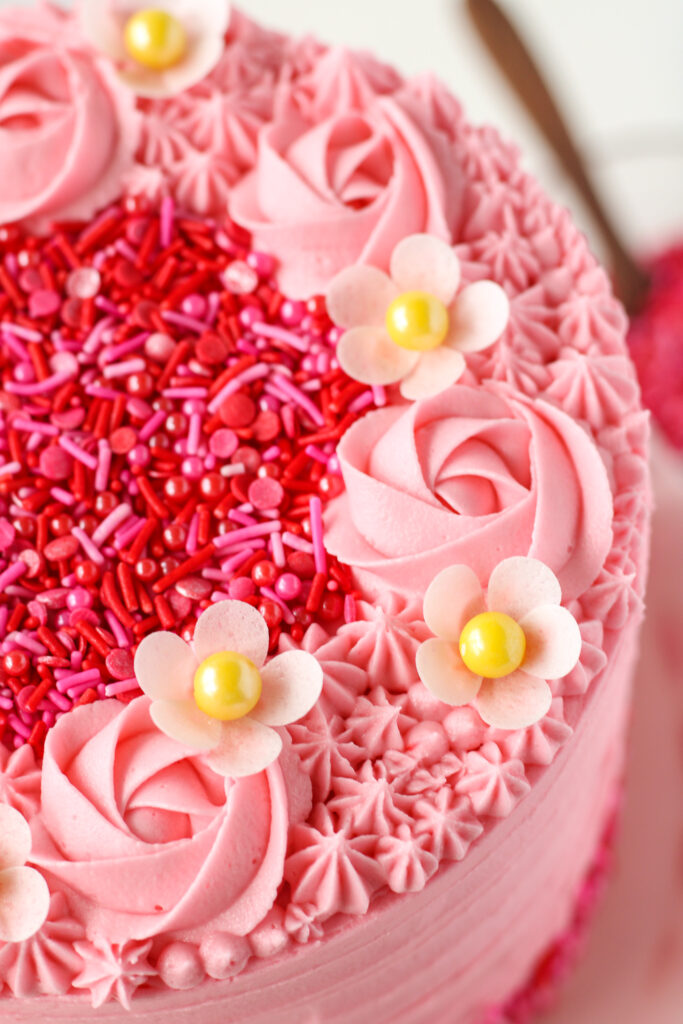
Once your flower is finished, you can prop up any drooping petals with your tools. Once it dries, it will hold that shape. Use this to create more closed or more open flowers for variety.
Visual Learners, I Got You
I think step by step photos are great, but it can make a world of difference to have a front row seat to the action. Check out this video tutorial for these adorable wafer paper strawberry blossoms.
If you are supes into the whole wafer paper scene, check out my entire wafer paper playlist. You might find even more inspiration for future projects!
Get Creative
Now, this does not look 100% like a strawberry blossom, but it’s pretty dang close. However, you could go crazy and color the petals, use a different colored center, or several smaller sprinkles as the center.
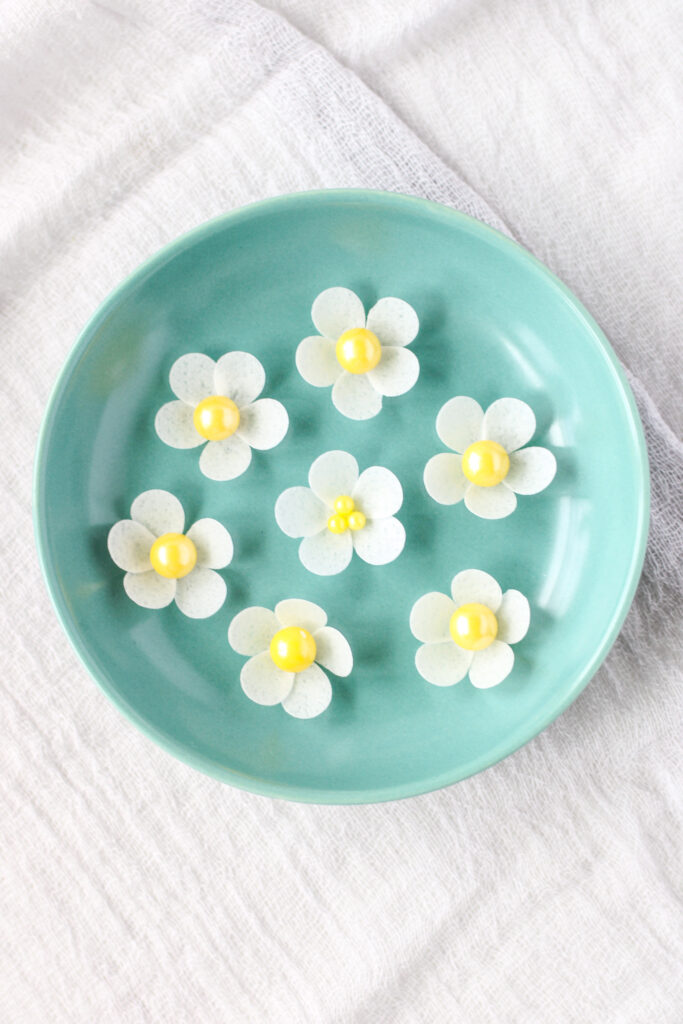
This technique is easy, so feel free to get creative and make your own unique flowers. Heck, you could even play around with the petal shape and size. This is your wafer paper flower playground!
Now Get Papering
I cannot wait to see your beautiful wafer paper strawberry blossoms. If you use this tutorial, please share a picture of your work on Facebook or Instagram and tag @bakesandblunders so I can see how amazing you are.
Thanks for joining me today. Happy wafer papering!!
My Favorite Products For This Tutorial

Colleen
Hi there! I’m Colleen, a novice baker with a passion for learning and improving my bakes… and blunders. On Bakes and Blunders, you can find all sorts of tasty recipes that range in difficulty, but most importantly, I’ll try to explain the reason behind important steps. If you know why a recipe works, you can tweak and adapt it to suit your unique tastes, and you’ll be able to reliably produce some very delicious treats. If you love baking and want to expand and grow your skills, or if you are a casual baker and just need some pointers, my blog is right up your alley! Join me on my baking journey and we’ll learn how to make more impressive recipes together.


You May Also Like

A Peek Inside My Baking Resource Library

10 Christmas Cookies to Make with Family
